How to Plan a Watercolor Painting Before You Start
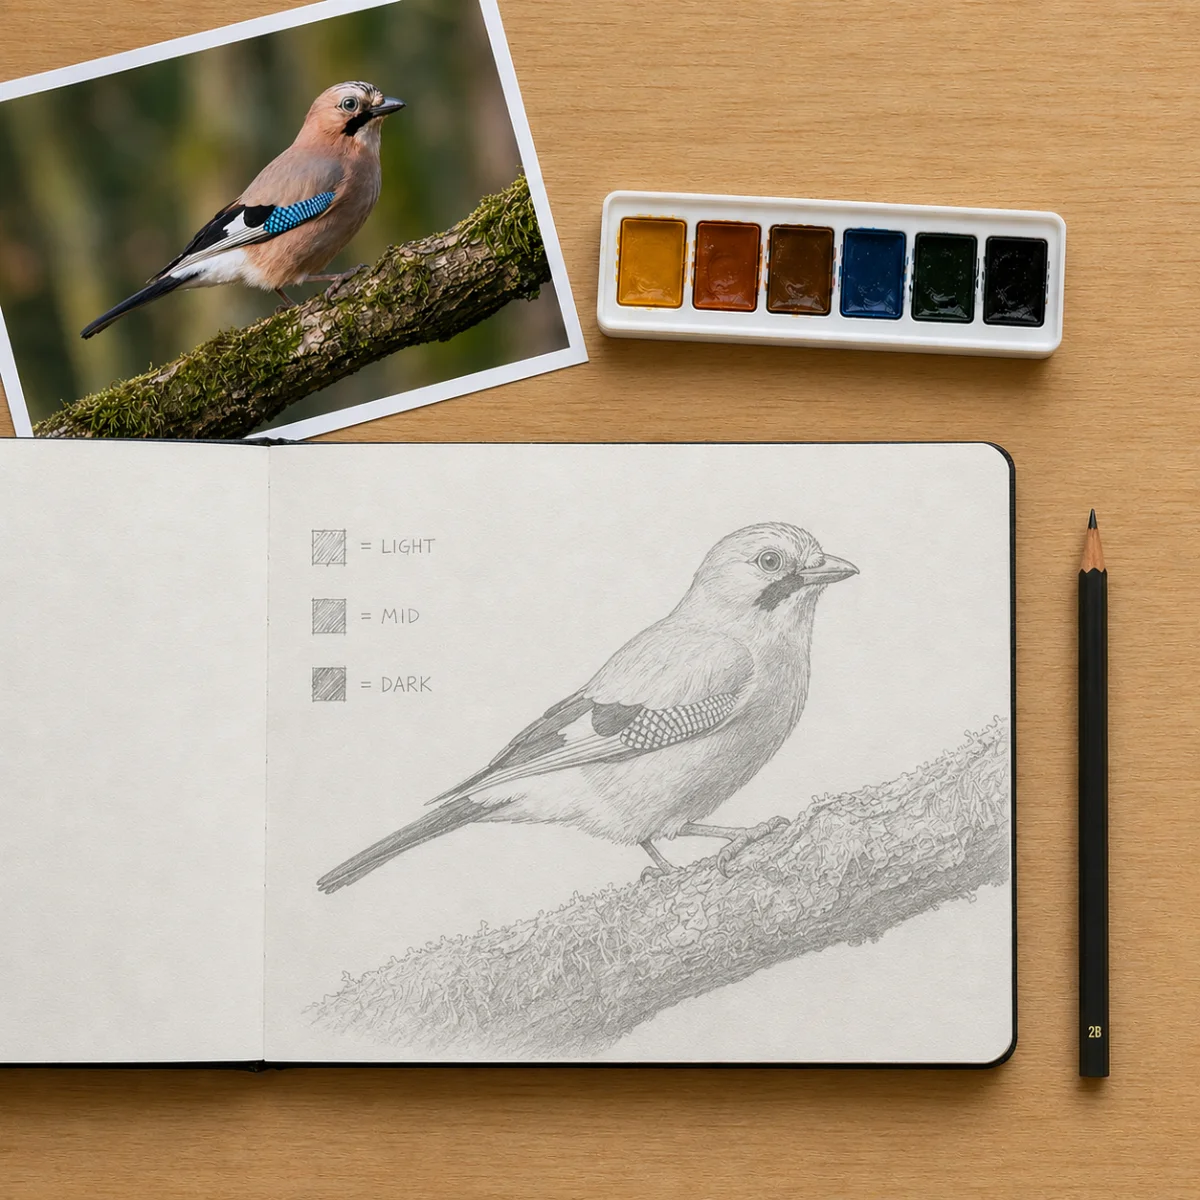
In watercolour, the white paper forms your canvas and it is the water that causes all the effects to take place. Once you have wet the paper you must act quickly. If you don't decide on things such as values or backgrounds while you are still at the beginning of painting, then the water will make those decisions for you. The following is a way of making a simple plan which will enable you to succeed each time.
A lot of people who are just starting out fail to plan since they want to begin painting immediately. They pick a colour, fill the brush, and then go ahead and start. It feels wonderful for the first thirty seconds, but after that the paint begins to flow in directions that weren't anticipated, the background hasn't been decided upon, and the paper dries up before you can decide what to do.
Watercolor is less tolerant of indecision than any other medium, but here's the positive point: you don't have to have special talent in order to plan well. All you need is ten minutes and a simple sketchbook. By carrying out these seven steps before you begin painting, you'll end up feeling calm, prepared, and ready to make confident decisions.
The 7 Steps of Watercolor Pre-Planning
-
1. Begin with your reference.
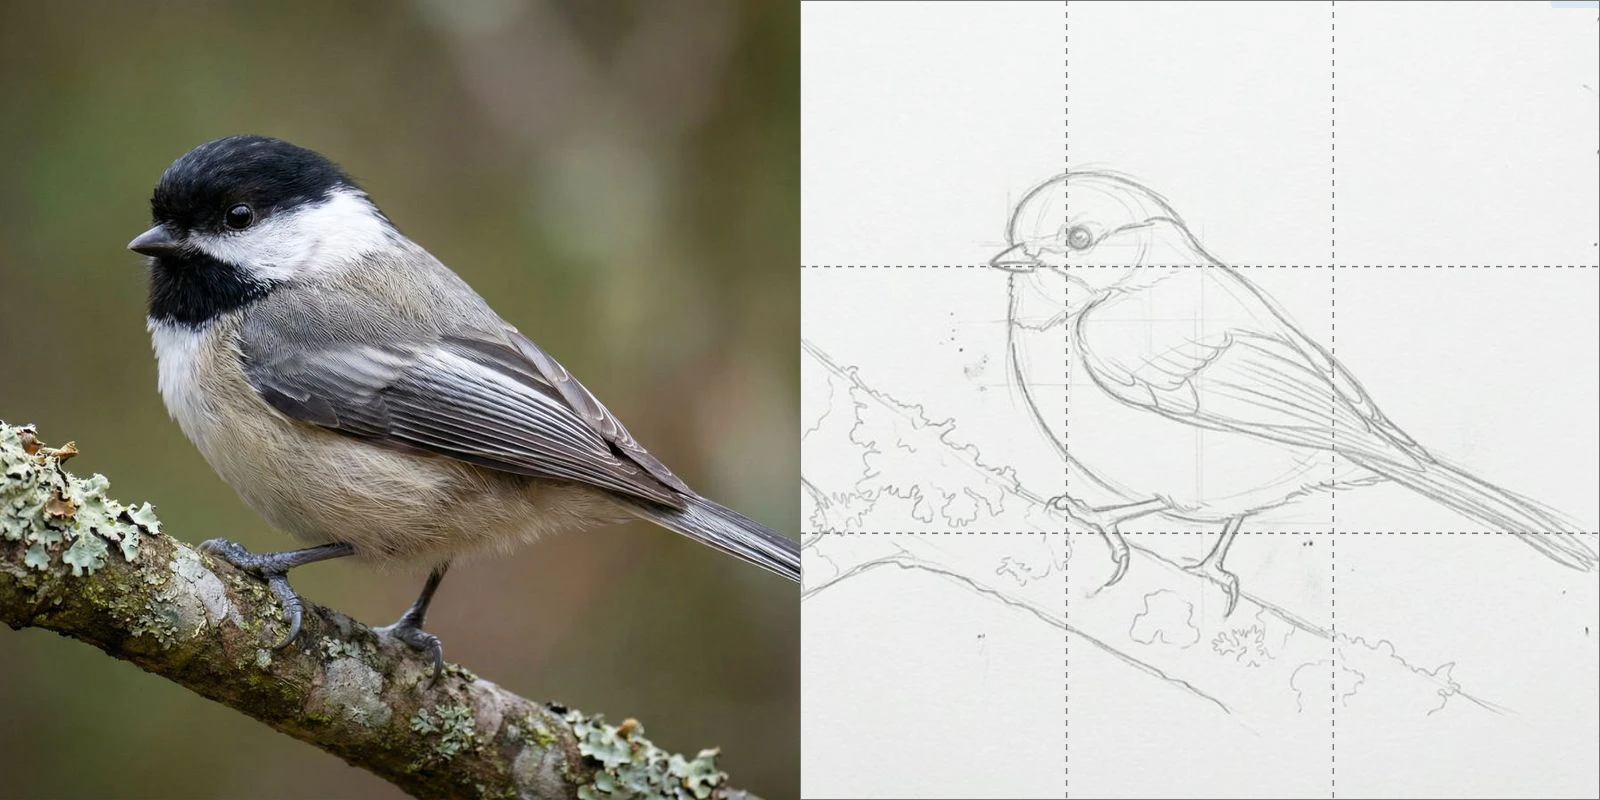
Choose a subject and determine the way in which you are going to deal with it. Will you be using a single photograph or are you going to combine elements from different pictures, for example a bird from one and a branch from another? Either method is acceptable, but it is important that you decide this before beginning your good paper.
Print out or draw your reference and keep it within your line of sight. It's basically impossible to change your mind during a watercolour painting about the position of a wing or the way a branch curves. Fix these decisions now. (If you're still uncomfortable about drawing, see my complete guide on why tracing or using references isn't cheating).
-
2. Make a Thumbnail Sketch
In your sketchbook, quickly draw a 2-inch box and work out your composition there, not on your watercolor paper; locate your focal point, mark the areas that will be the lightest, and determine where the viewer's eye will go into and out of the picture.
A drawing needn't be a good one; it just has to address this question: does the composition work? If it fails in a two-inch space, then it will fail on a full sheet as well. Check this now since it will cost you nothing.
-
3. Plan Your Values
Although color is often the focus, it is the values, that is to say your light and dark areas, that are truly important. Before you mix any color, use your pencil to add notes to your thumbnail sketch. Leave the paper white for the brightest highlights, use light shading for the middle tones, and press harder for the darkest shadows.
Keep the value map with you while you paint, since it is a straightforward reference, though many novices omit it and later wish they hadn't. Flat, lifeless paintings usually result not from color choice, but from weak values. The map will help you avoid that featureless middle section where nothing catches the eye. Moreover, a strong value scale also helps create a sense of depth, even when you use only a small number of colors.
-
4. Choose Your Paper
Once you've established what your painting requires, select the type of paper that suits it. If the composition is portrait, landscape, or square in format, use your thumbnail sketch to help you make your choice. (For more information, refer to our guide on cotton versus wood pulp paper.)
140lb paper will cope with most tasks comfortably. Should you intend to carry out heavy, layered wet-on-wet washes in the background, then you should either go up to 300lb or pre-stretch your 140lb paper first. It's a frustrating experience to find out halfway through that your paper isn't strong enough to deal with a wet background wash, a lesson which you can easily prevent. Use my step-by-step technique to stretch the watercolor paper tightly like a drum so that it will never buckle.
-
5. Select and Try Out Your Color Palette
Before you mix any colors on your palette, try your selected colors on a piece of scrap paper to see whether they blend well or if they end up looking muddy; also check whether the combination appears warm or cool and if that suits the mood you wish to create in your painting; it is usually the case that over-mixing causes watercolor to look muddy.
Before you start, decide whether you want to use a restricted color palette or all the colors at your disposal. Either option is acceptable, but make your intention clear. Choosing only three or four colors makes it easier to achieve harmony because these colors are related from the start. Although a full range of colors gives you more choices, it also increases the chance of including a color that doesn't suit. If you're still building up your confidence, then it's best to stick with a limited palette. You can always add more colors later and move up to professional paints for cleaner mixtures (see cheap versus professional watercolor paints for why).
-
6. Identify the source of your light and its temperature.
Select a direction for your light source and stick to it; whether that direction is top right, top left, or directly from above, what's important is that all the shadows in your painting originate from the same place.
First, decide whether your light is warm or cool, since this will keep your painting consistent. Warm sunlight creates cool shadows, which typically contain soft blues and violets, while cool daylight produces warm shadows made of ochres and siennas. Make this decision before you mix your first shadow color, and stick to it.
-
7. Choose Your Background Strategy
Many people delay too long in planning the background. Before you begin to paint, decide what kind of background you want—for example, a soft wet-on-wet wash, a more detailed scene, or simply clean white paper.
This decision matters because it affects the entire process. When you're aiming to create a wet-on-wet background, paint it first so it can blend naturally behind your subject. If you want a white background, you must protect the edges carefully from the start. Although both techniques will work, you can't switch once you've started. Make your choice now, before the paper gets wet, so you stay in control. For further information about backgrounds, refer to my tutorial on simplifying them.
Taking ten minutes to plan before you begin painting will help you avoid an hour of frustration later. If you plan in advance, your painting will go much more smoothly.

30 Bird Reference Photos Pack
High-resolution reference photos curated strictly for watercolor painters.
View on Etsy
British Garden Birds Pack
10 songbirds with clean outlines, sketch grids, and premium reference photos.
View on Etsy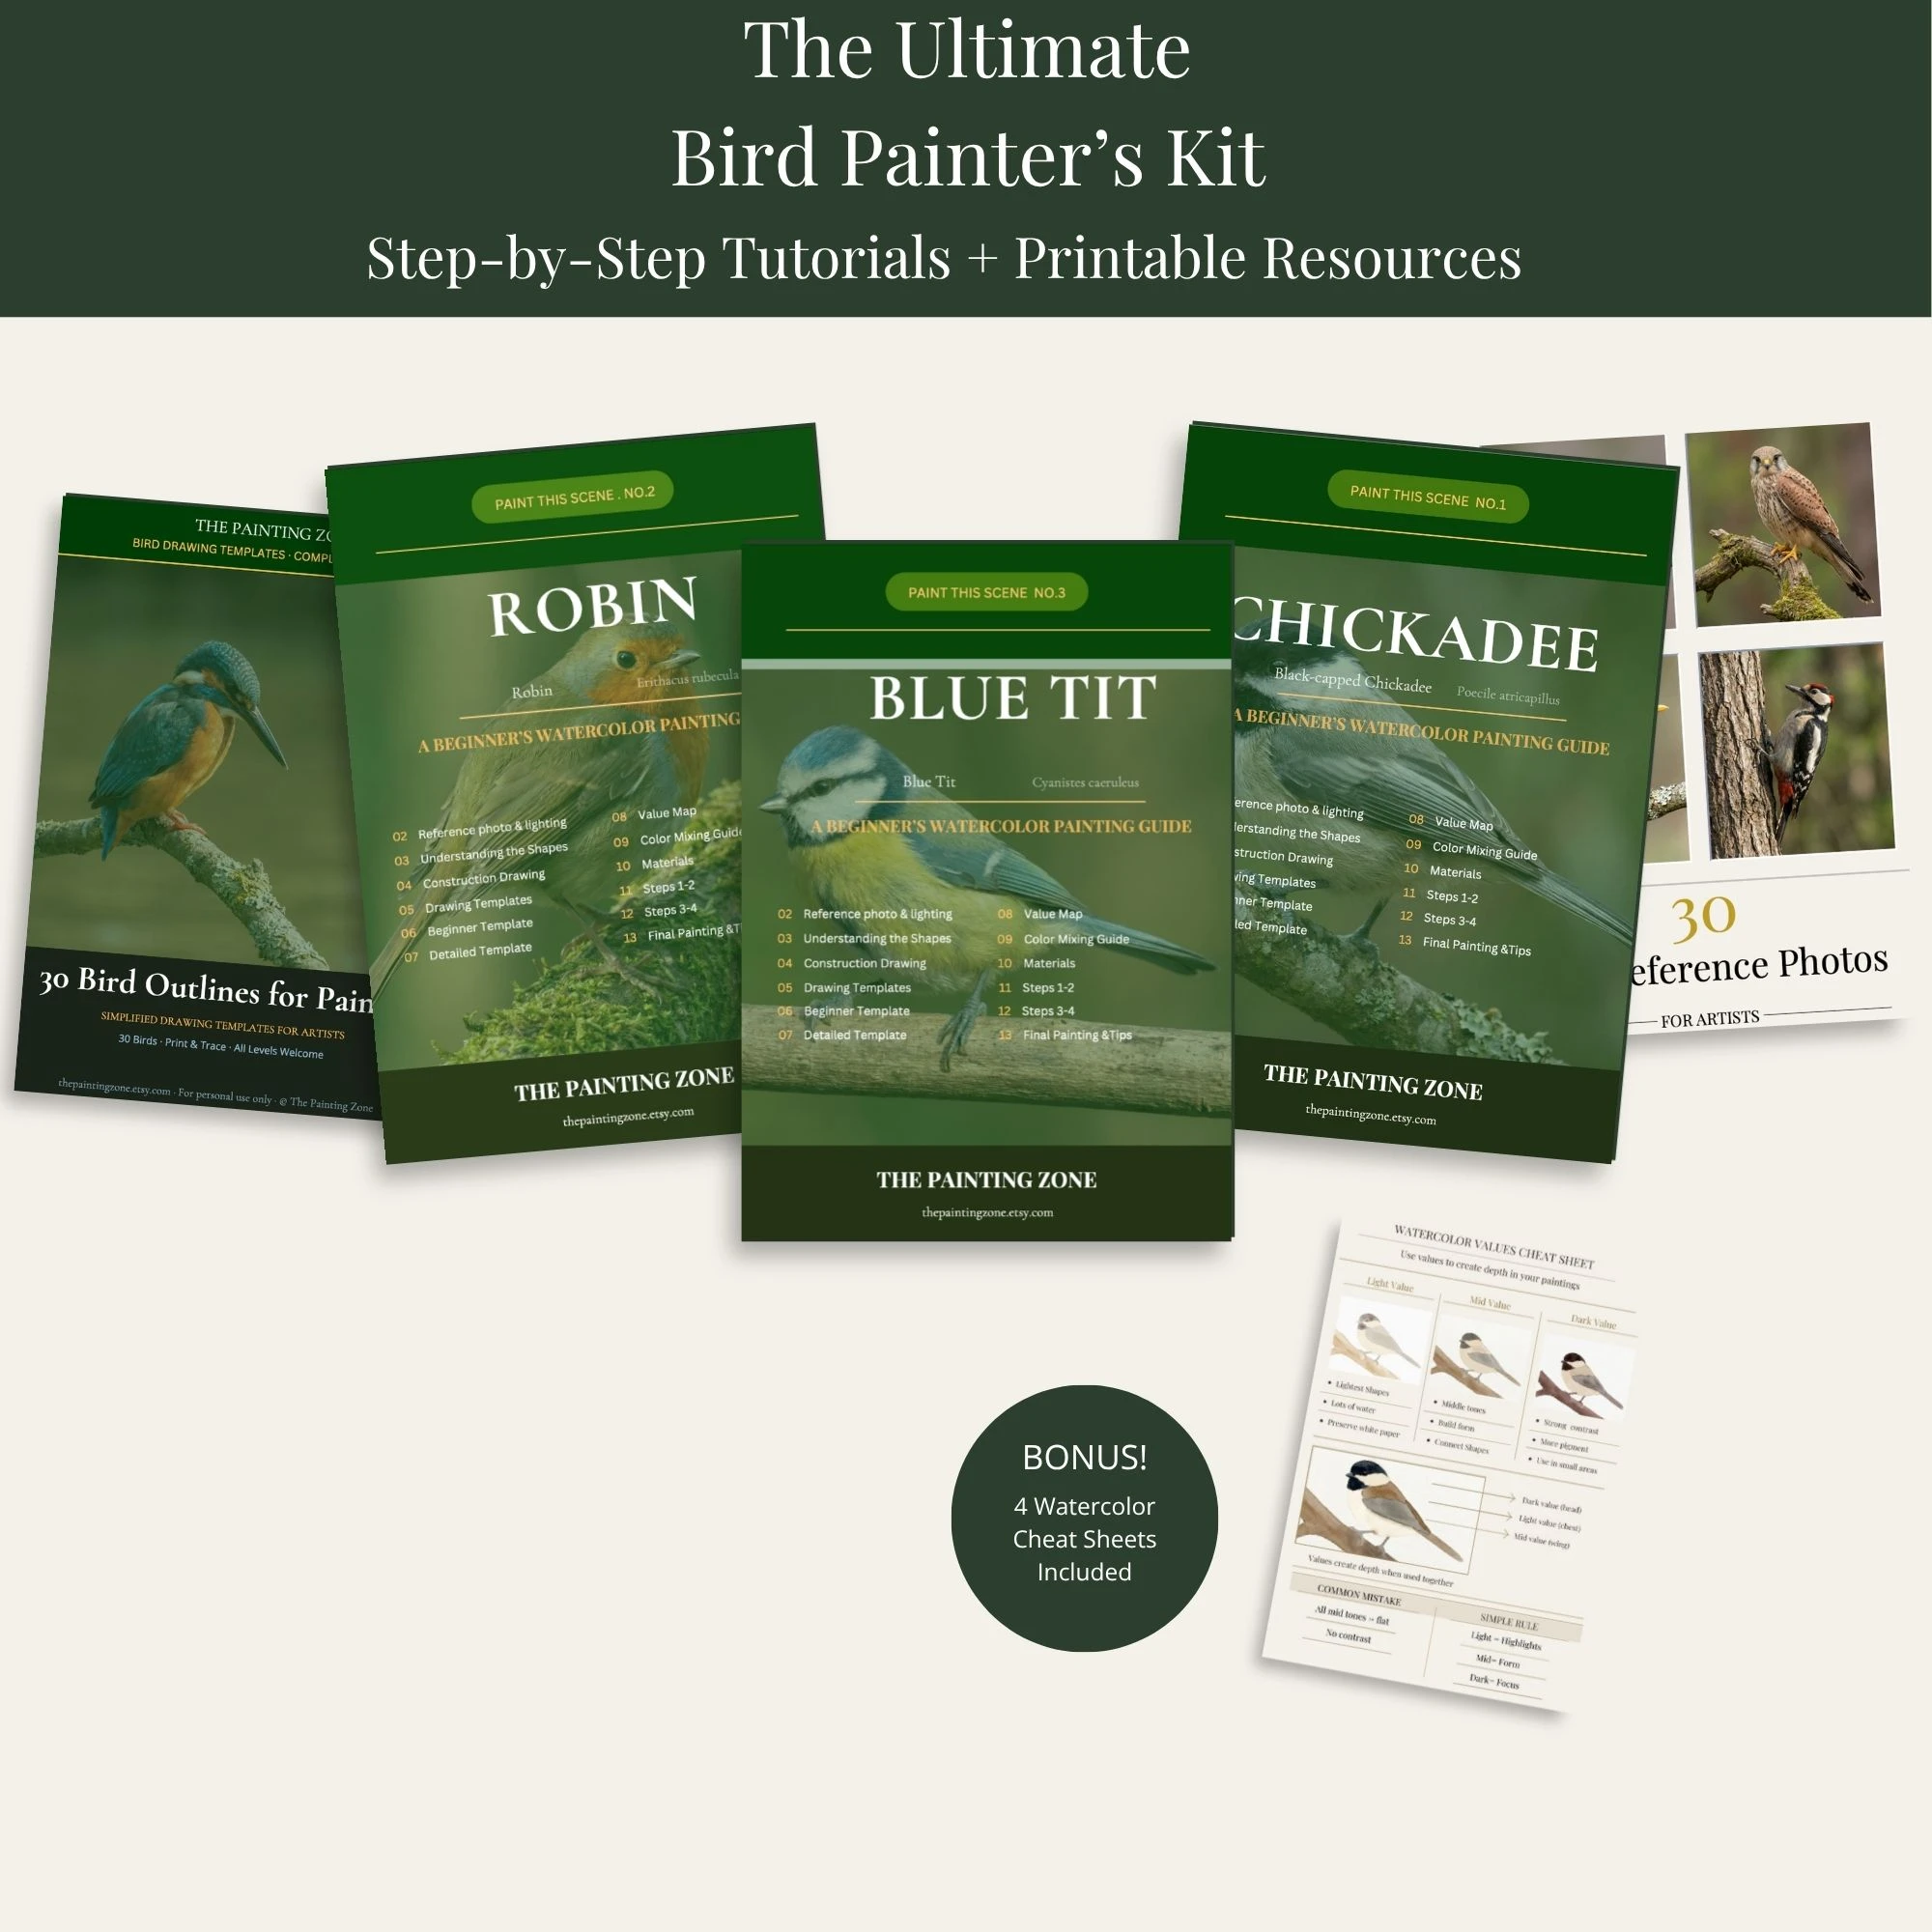
Ultimate Bird Painter's Kit
My master bundle combining step-by-step guides, 30 outlines, and cheat sheets.
View on EtsyContinue learning with the next step in this watercolor series.