Painting bird beaks: simple shapes that look realistic
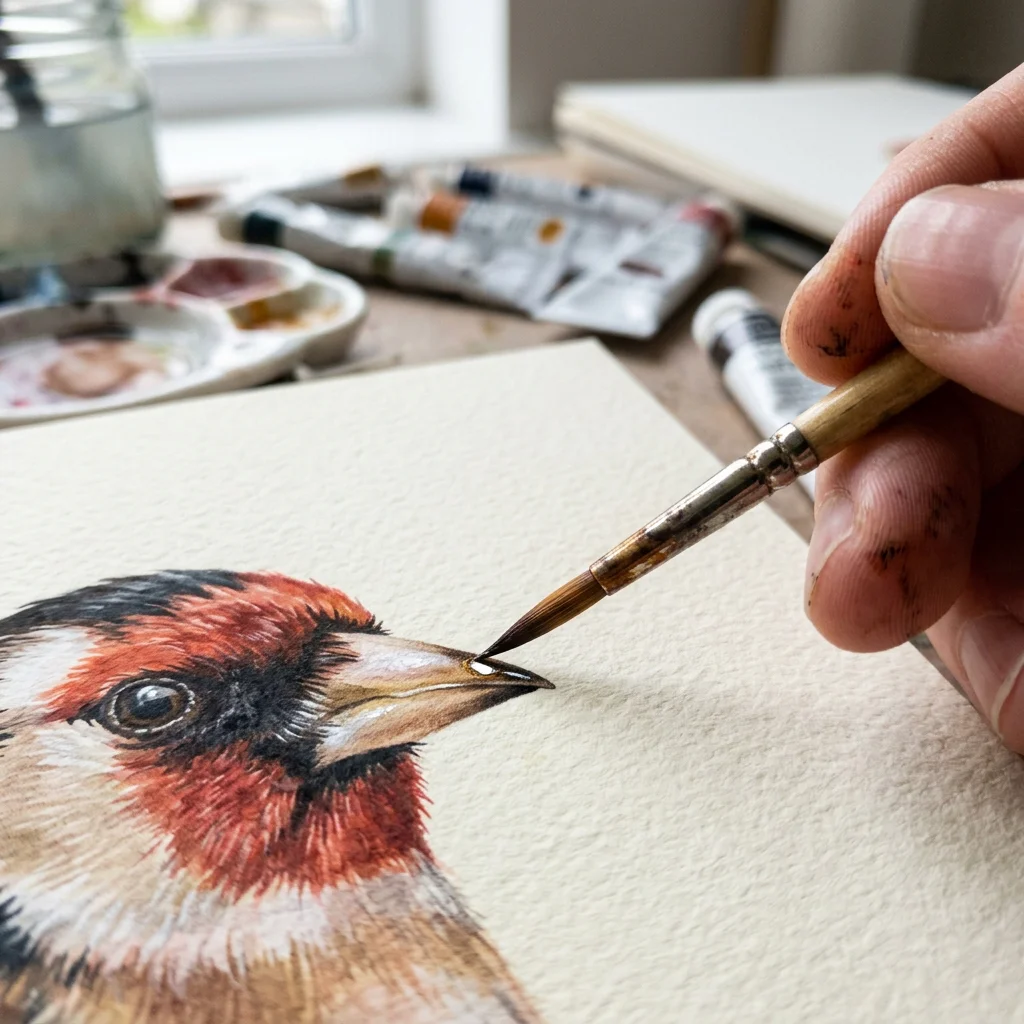
"I try to paint the beak, but in the end it looks like a flat, clumsy triangle glued onto the bird's face."
Nearly all bird portraits make a mistake when dealing with the beak, usually for the same reason. Those who are just starting out see a "yellow beak" or a "black beak" and paint it as a single flat area. However, a beak is not merely one colour; it is a three-dimensional cone or cylinder. The light falls on the ridge, the central part displays the main colour and the shadow appears underneath. Only when you paint these three sections do you move beyond simply painting a beak and start to paint a solid object in space.
The good news is that all you need are three values, as long as they are used in the correct order.
Break It Down Into Light and Shadow
When you mix a color, first determine three beak zones: the highlight on the upper ridge, the mid-tone over the main part of the beak (the actual local color), and the shadow where the lower mandible meets the chin.
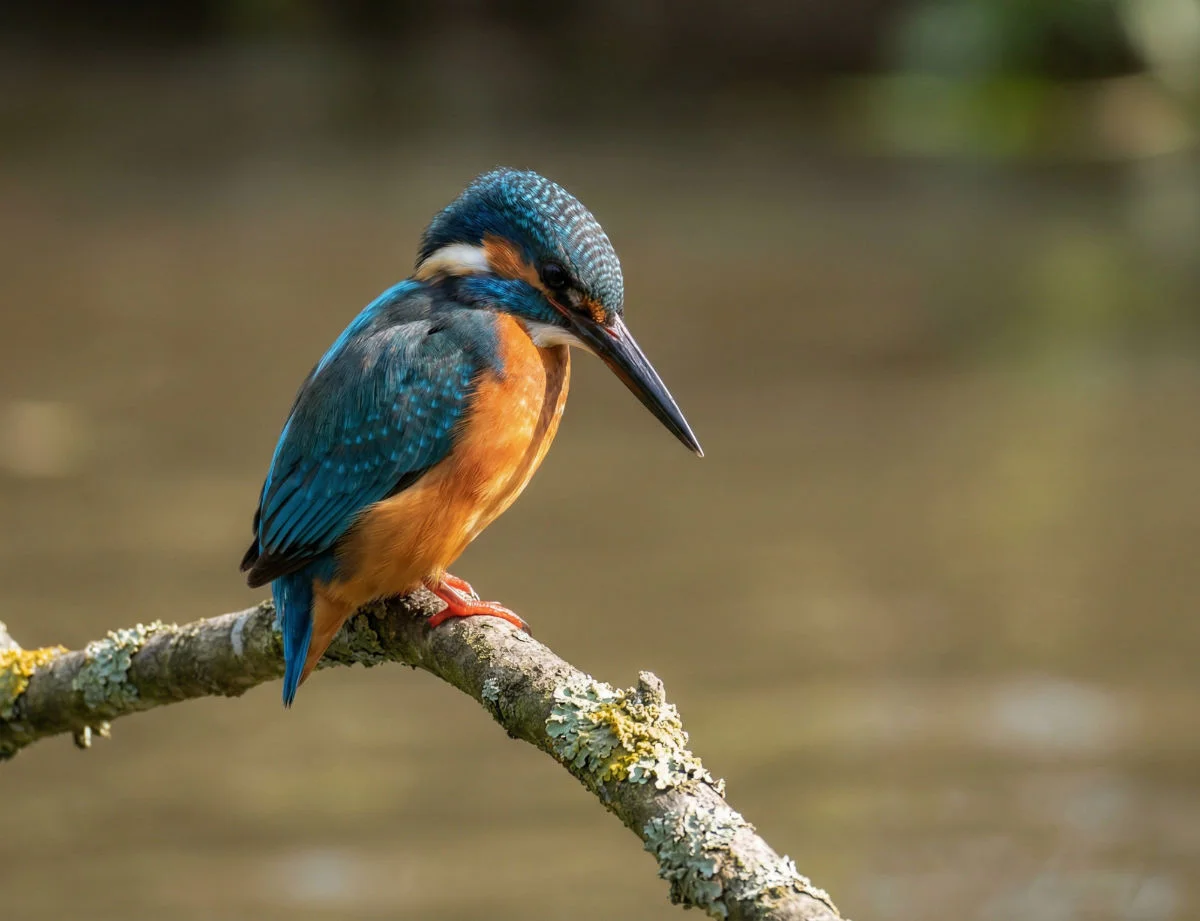
Begin with the mid-tone and proceed outward. While the paper is still damp, add shadow below it so it blends into the mid-tone. For the highlight on the top ridge, leave a thin strip of bare white paper from the beginning. This unaltered paper gives the beak a hard, shiny, three-dimensional appearance that no subsequent brushwork can match.
Connecting the Beak to the Face
A beak that looks stuck on is almost certainly due to an edge problem. Since a beak grows from the skull and is surrounded by small, soft feathers that blur the boundary between keratin and skin, mimicking that transition will make the beak look as if it belongs there.
- Soften the base: As you paint the base where the beak meets the face, soften that back edge immediately with a clean, damp brush, letting it bleed gently into the surrounding feathers rather than sitting on top of them as a hard line.
- Disrupt the mouth line: The line which divides the upper and lower jaws, known as the mouth line, is another area in which beginners tend to make errors. Rather than drawing it as a solid, continuous black line, which would look like a cartoon, vary the line by altering the pressure. Make it darker close to the base and lighten it as it approaches the tip.
- Include a throat shadow: Lastly, add a small and sharp shadow at the point where the beak meets the throat; this one feature makes the beak appear more forward than any of the other steps.
THE WHOLE BEAK IN THREE STROKES
Begin with the mid-tone, then add the shadow when the paint is still damp and keep the highlight from the start. It is precisely by making those three decisions before you begin that a flat triangle becomes a beak which looks good enough to touch.
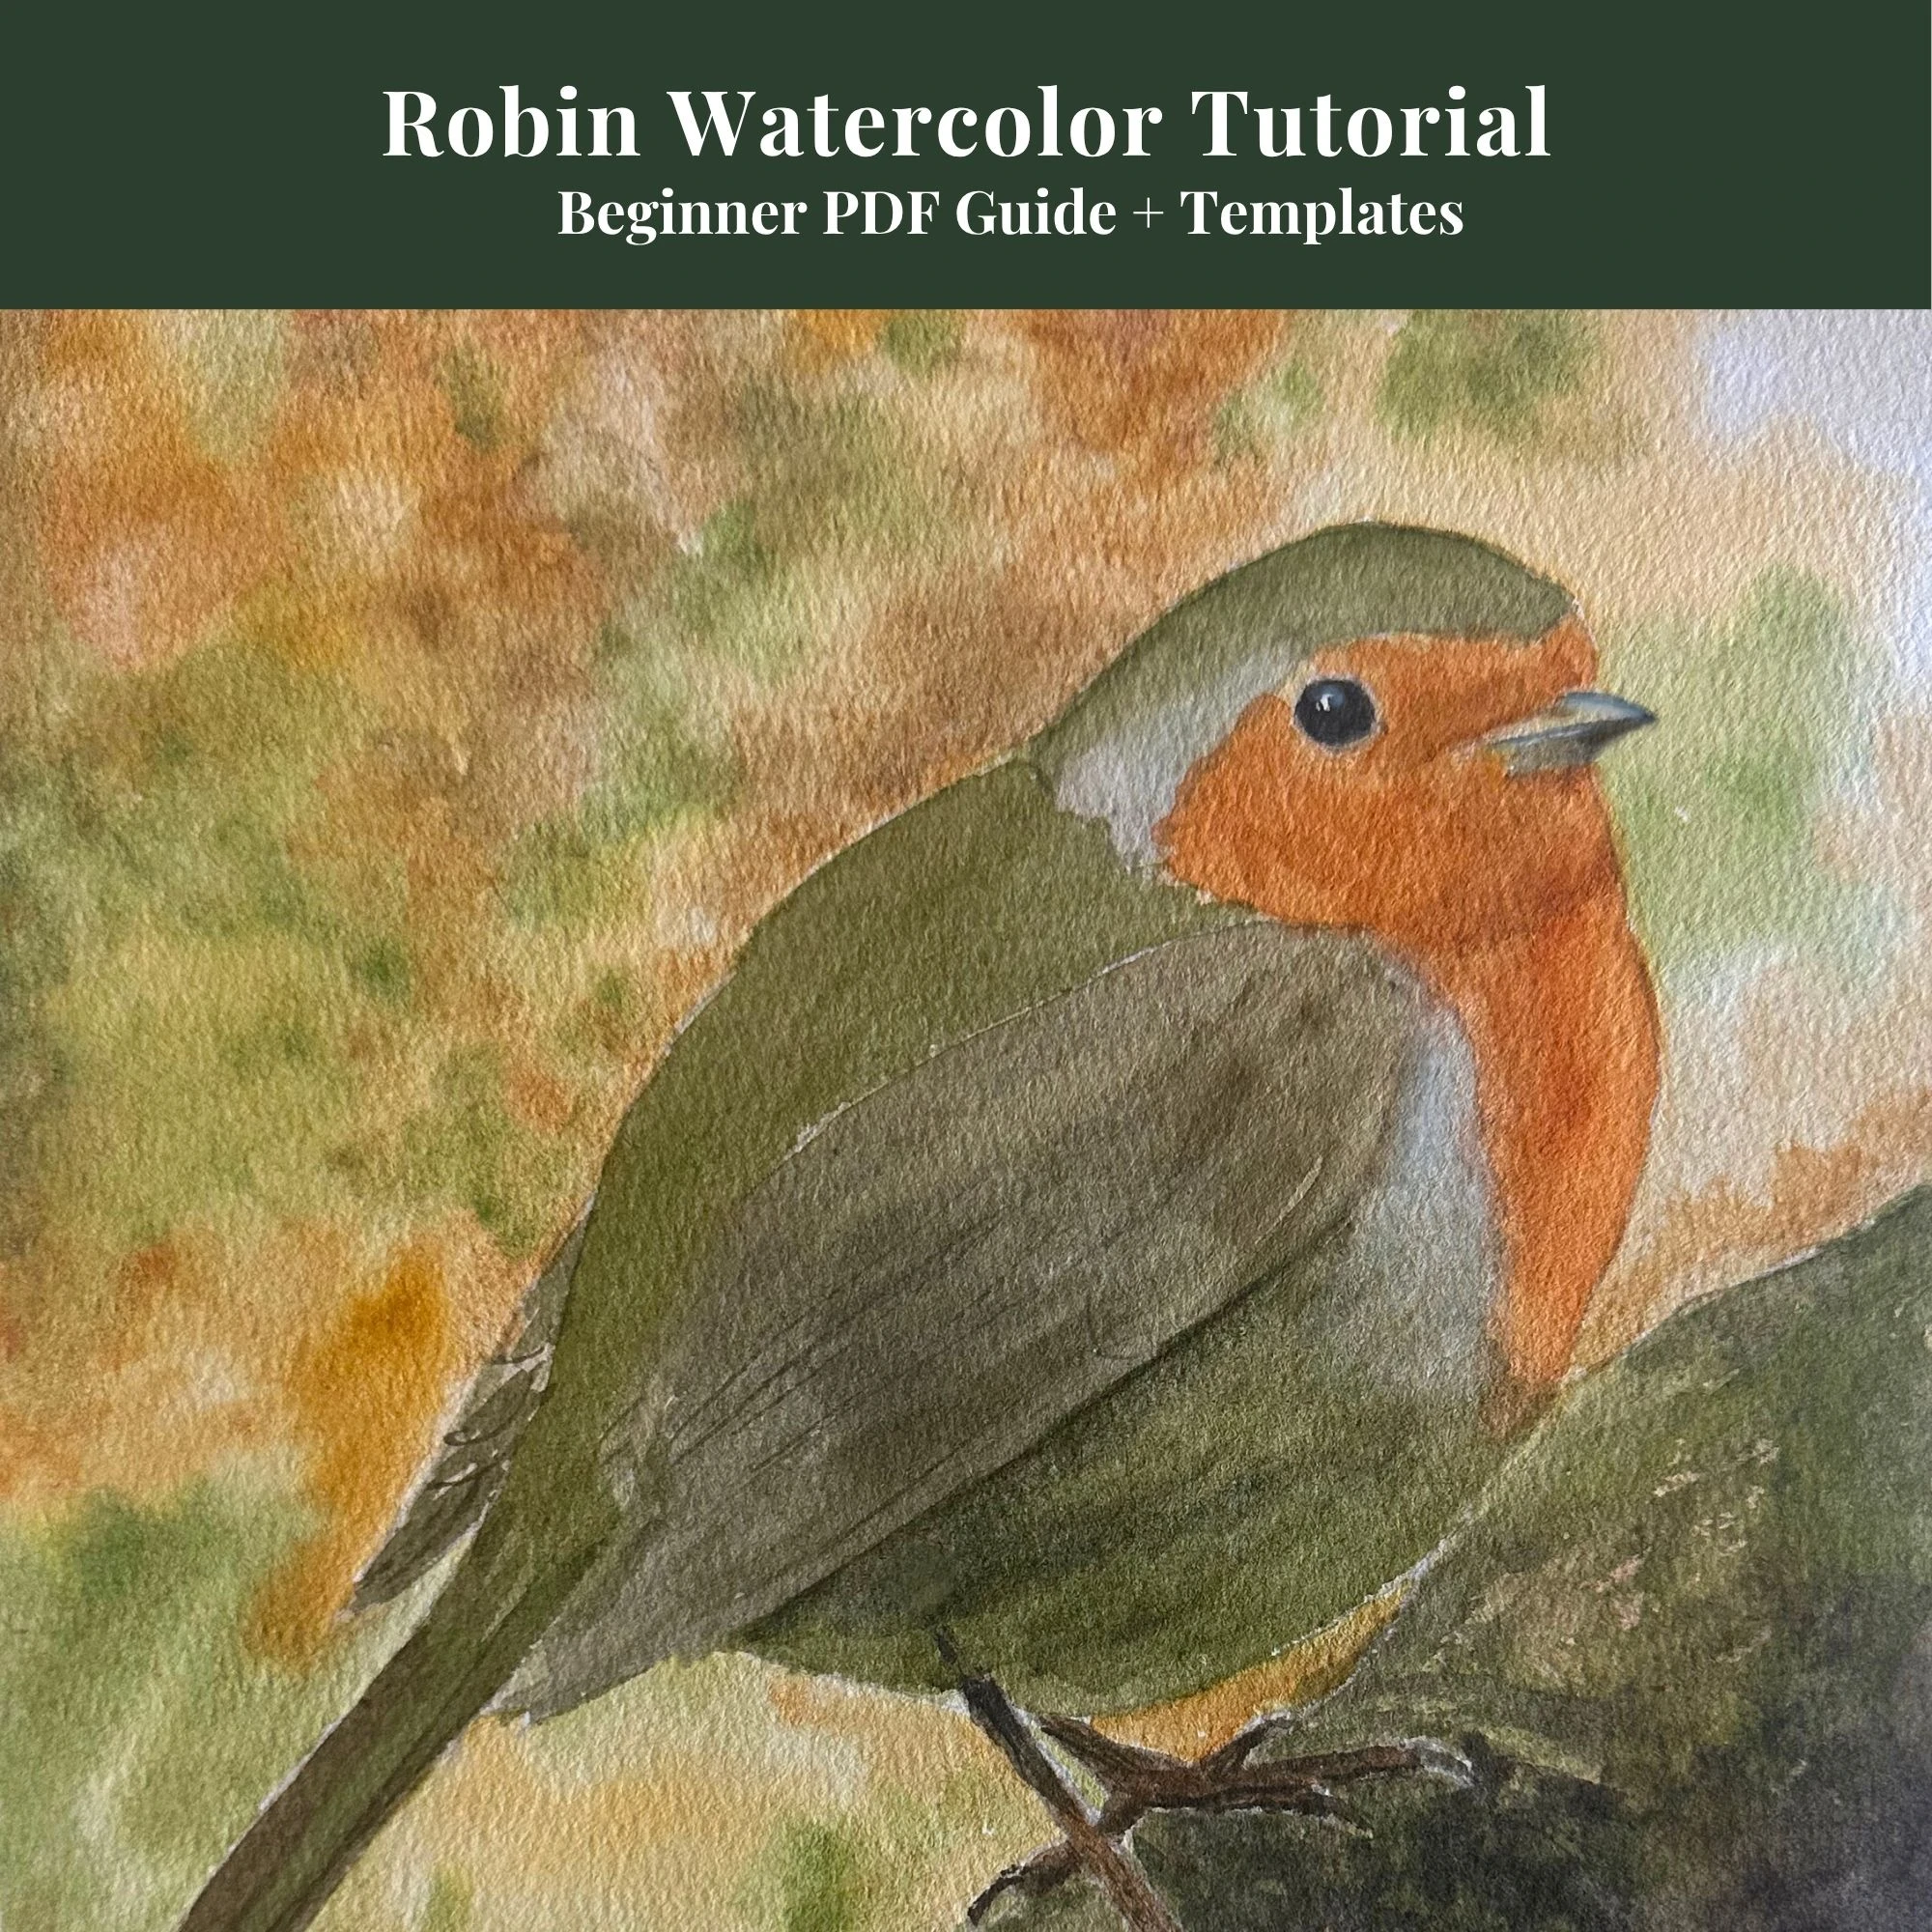
Beginners Robin Tutorial
Complete 13-page digital guide showing you step-by-step Robin wash layers.
View on Etsy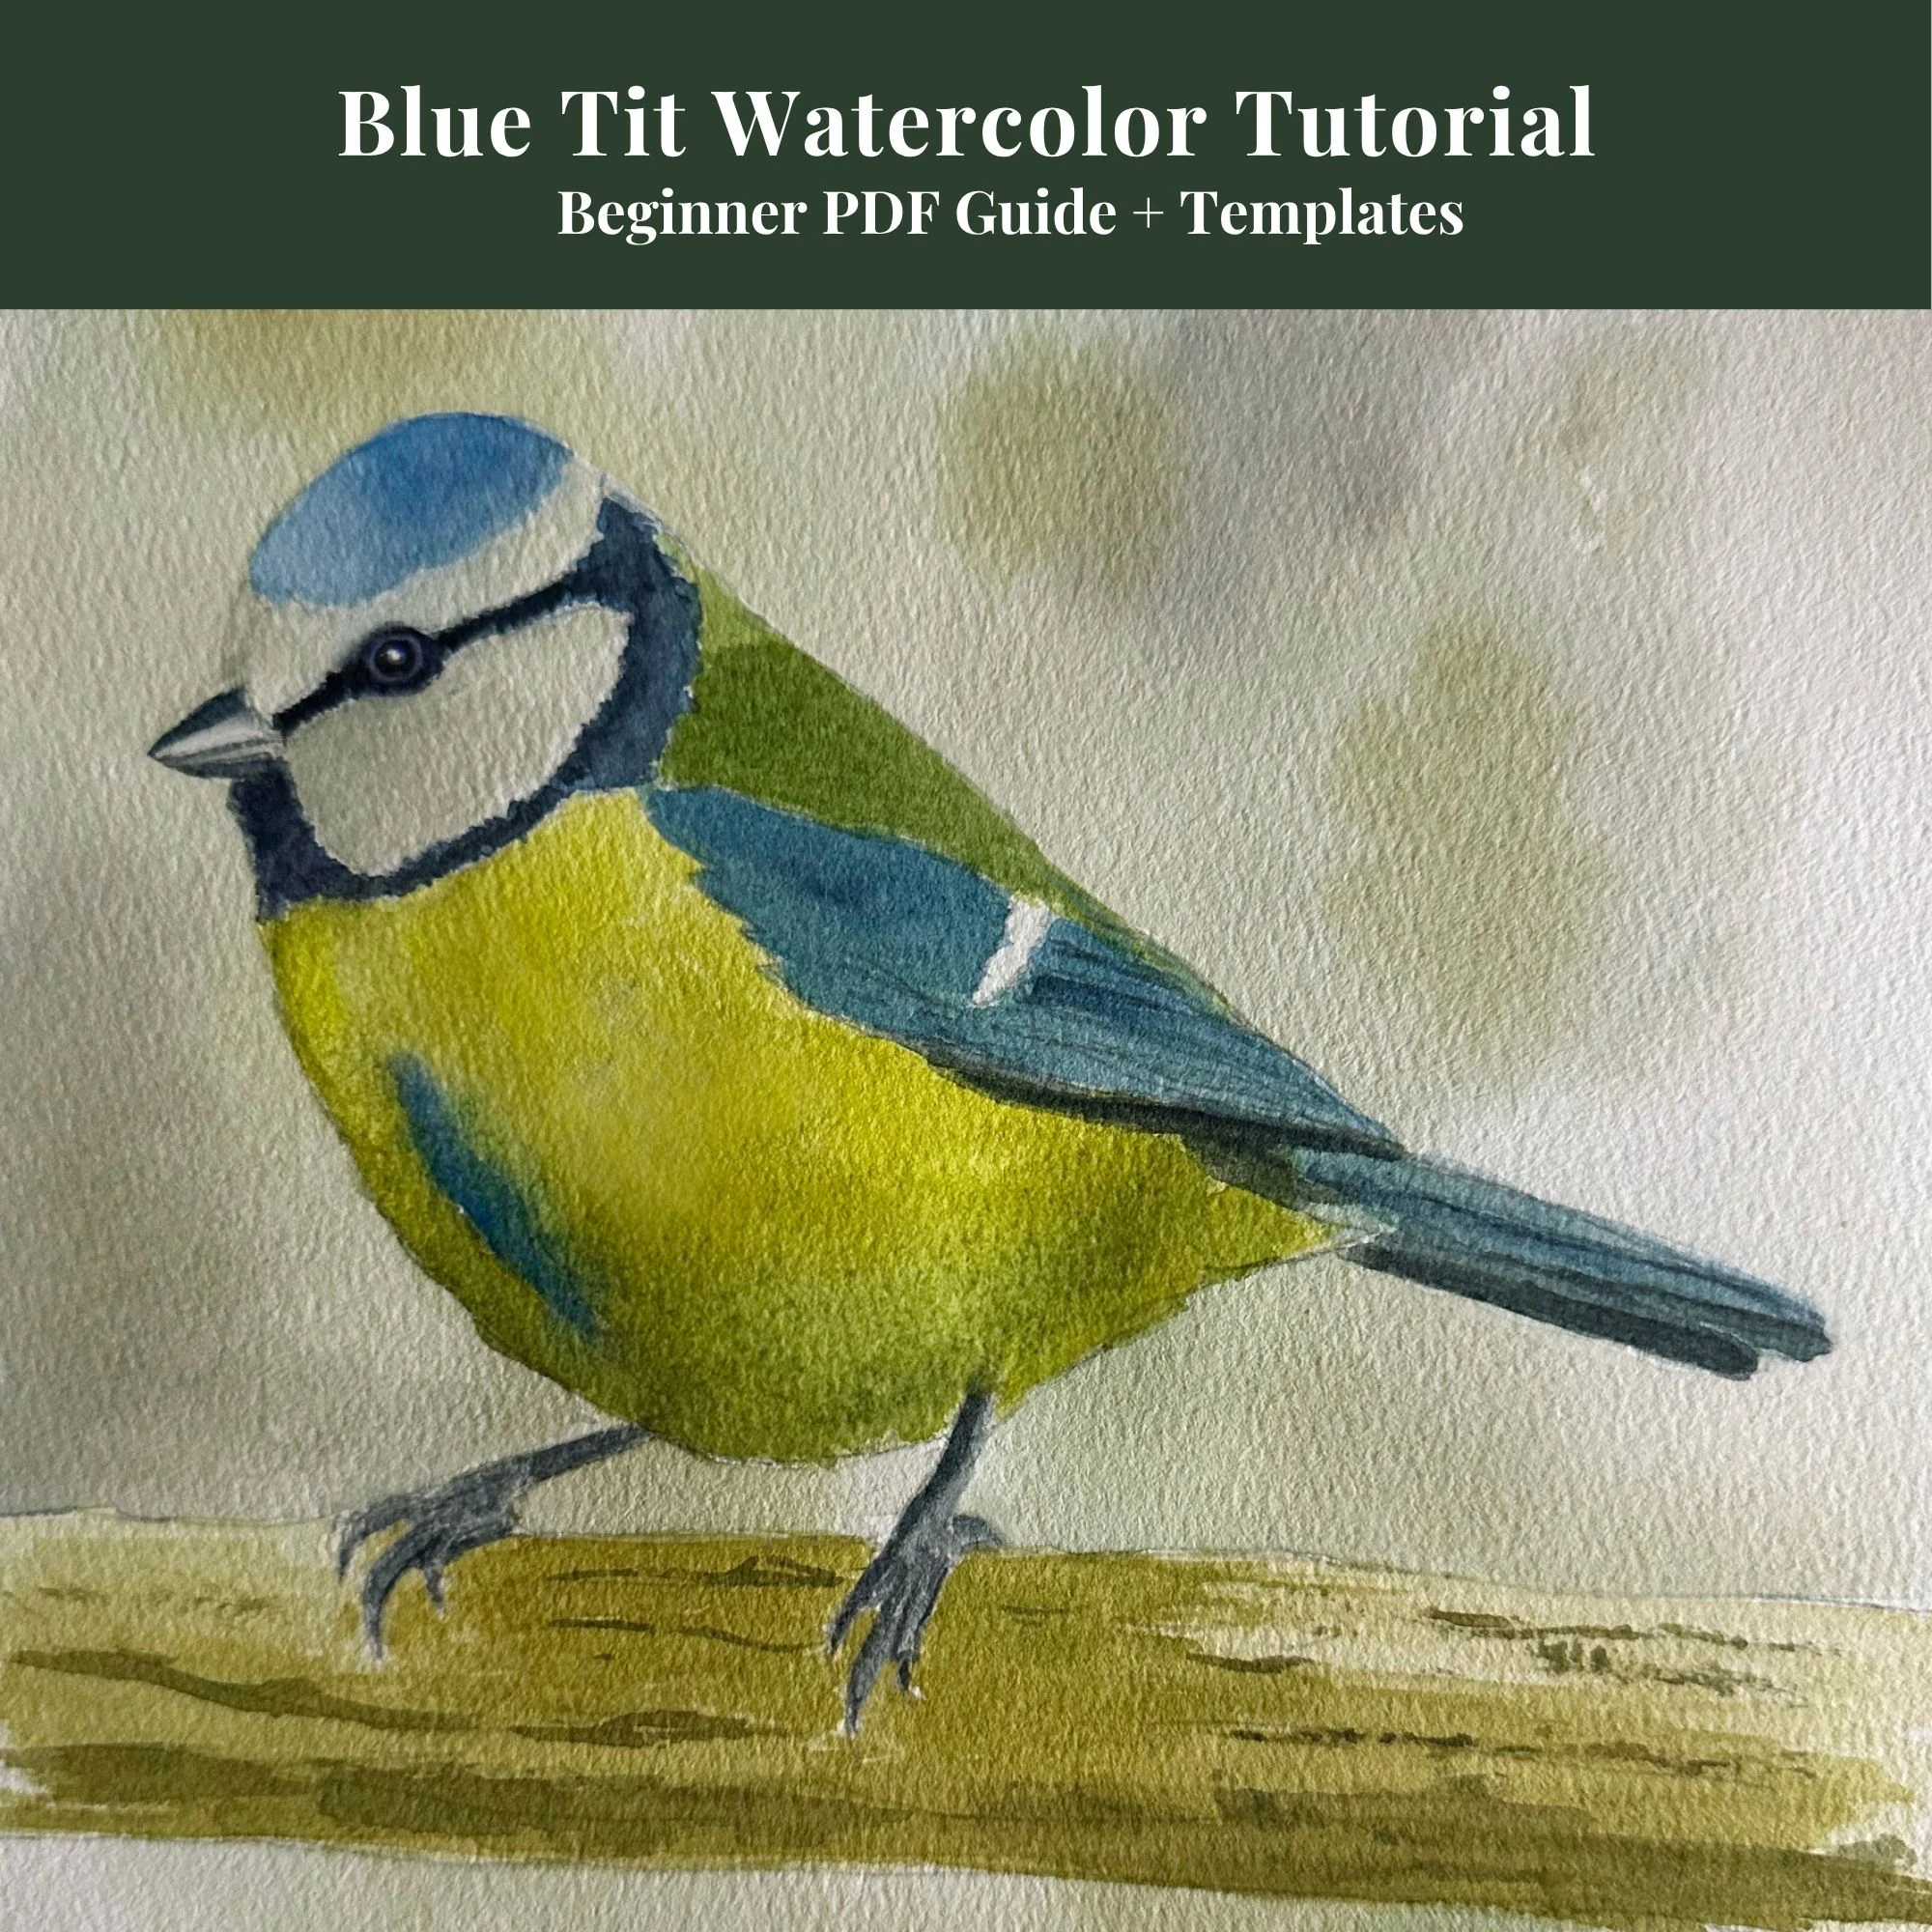
Beginners Blue Tit Tutorial
Learn my simple 4-stage color layering method with outlines included.
View on Etsy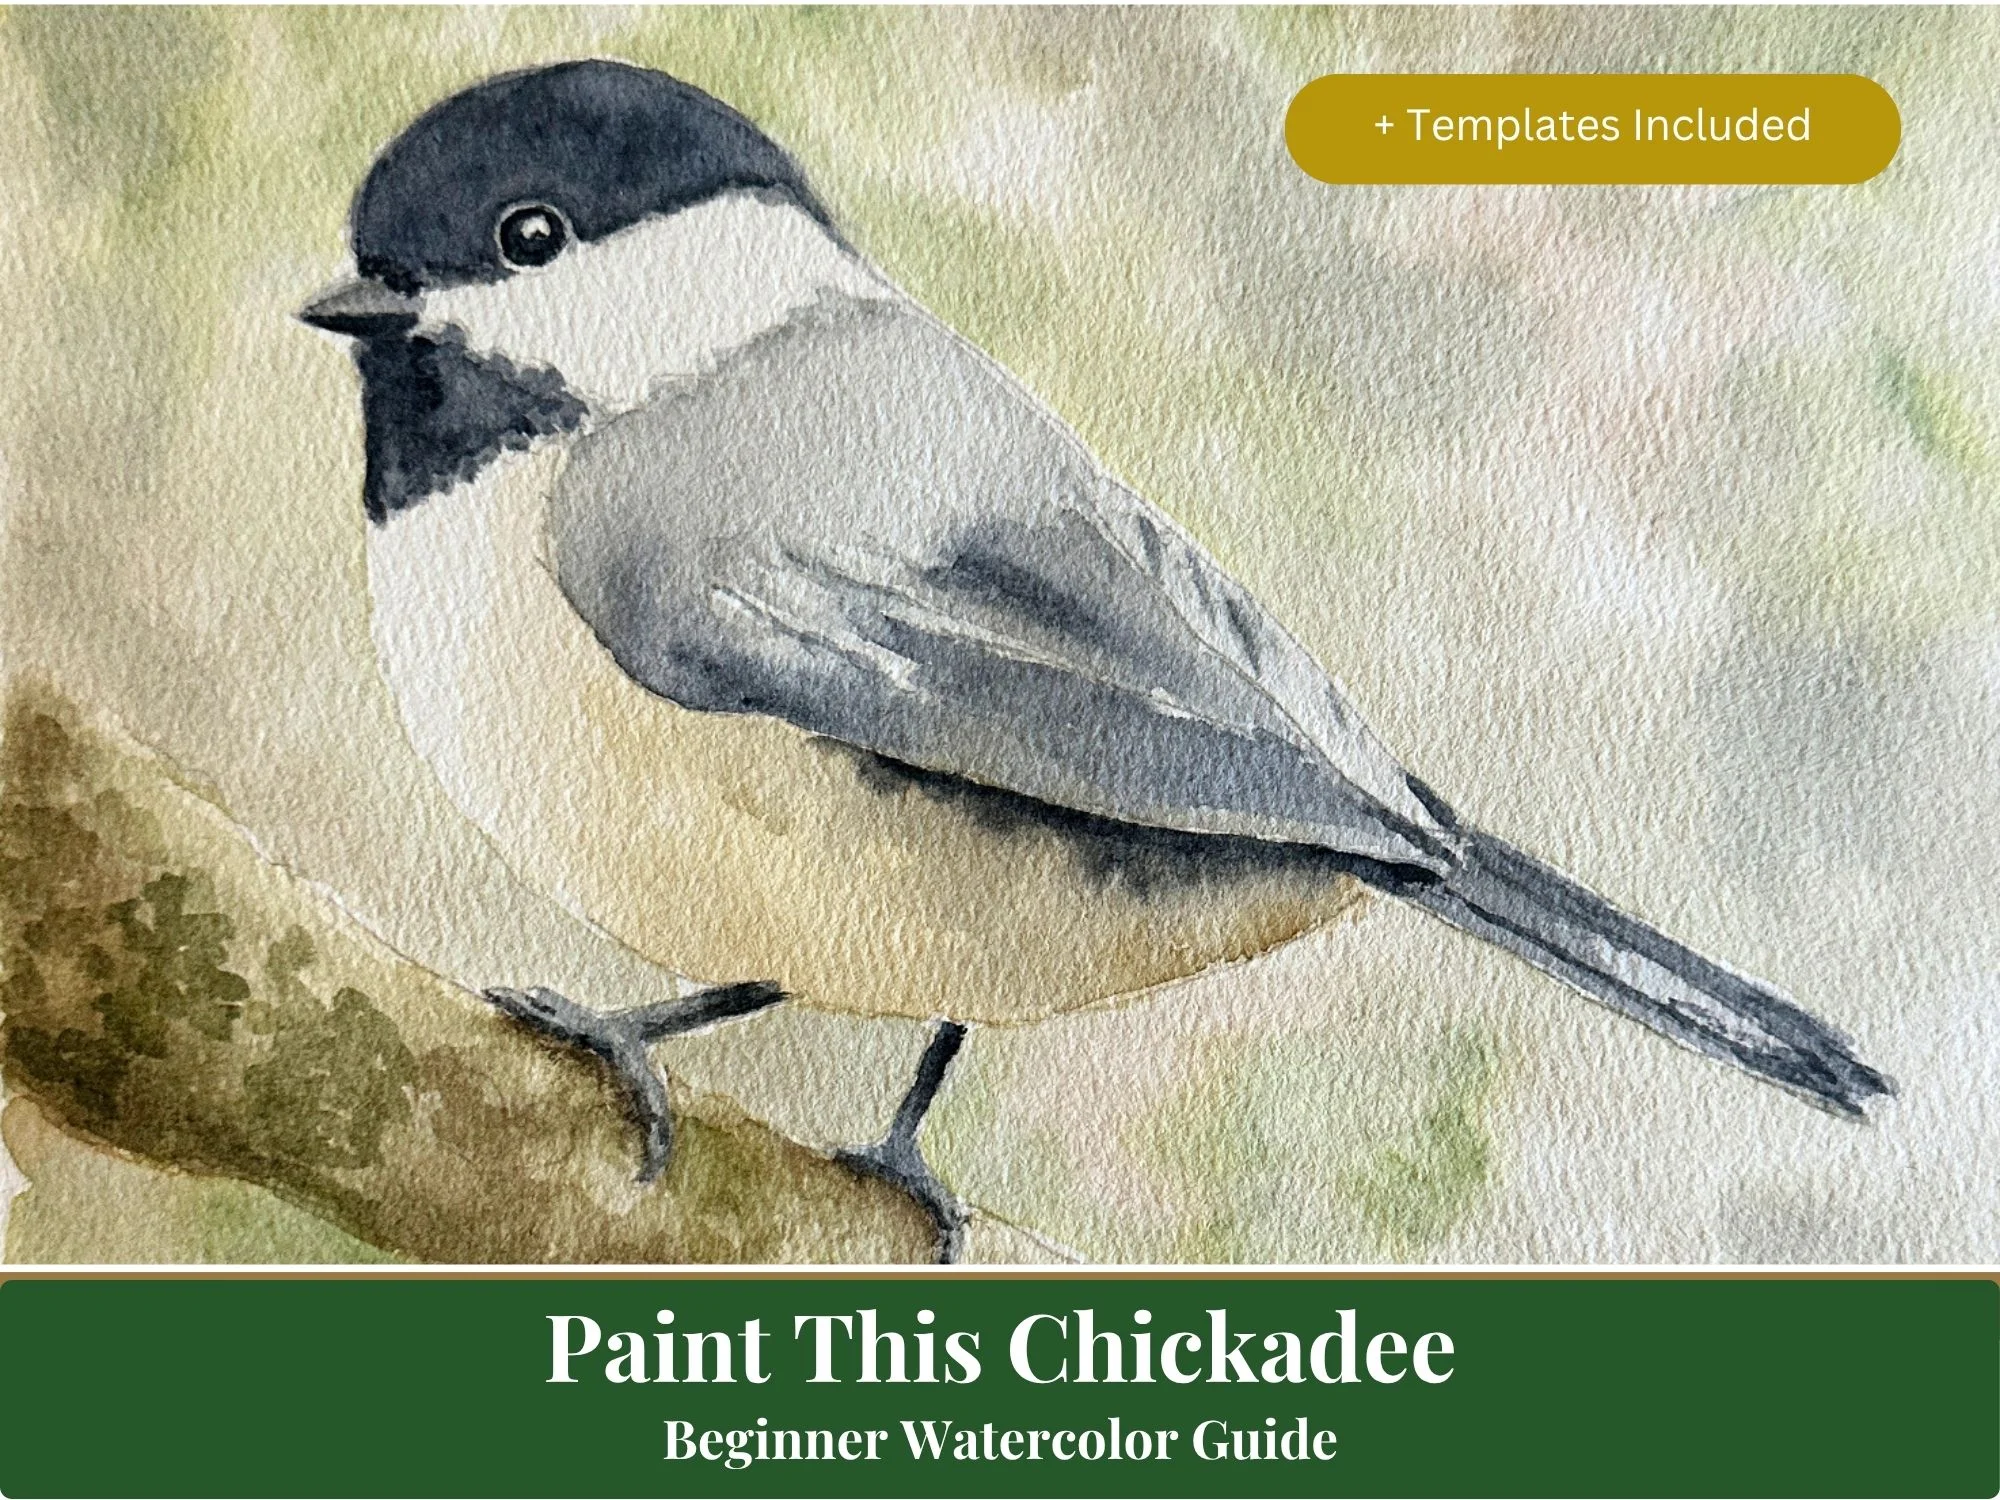
Beginners Chickadee Tutorial
A detailed beginner's guide covering head, bib, and wing glaze details.
View on Etsy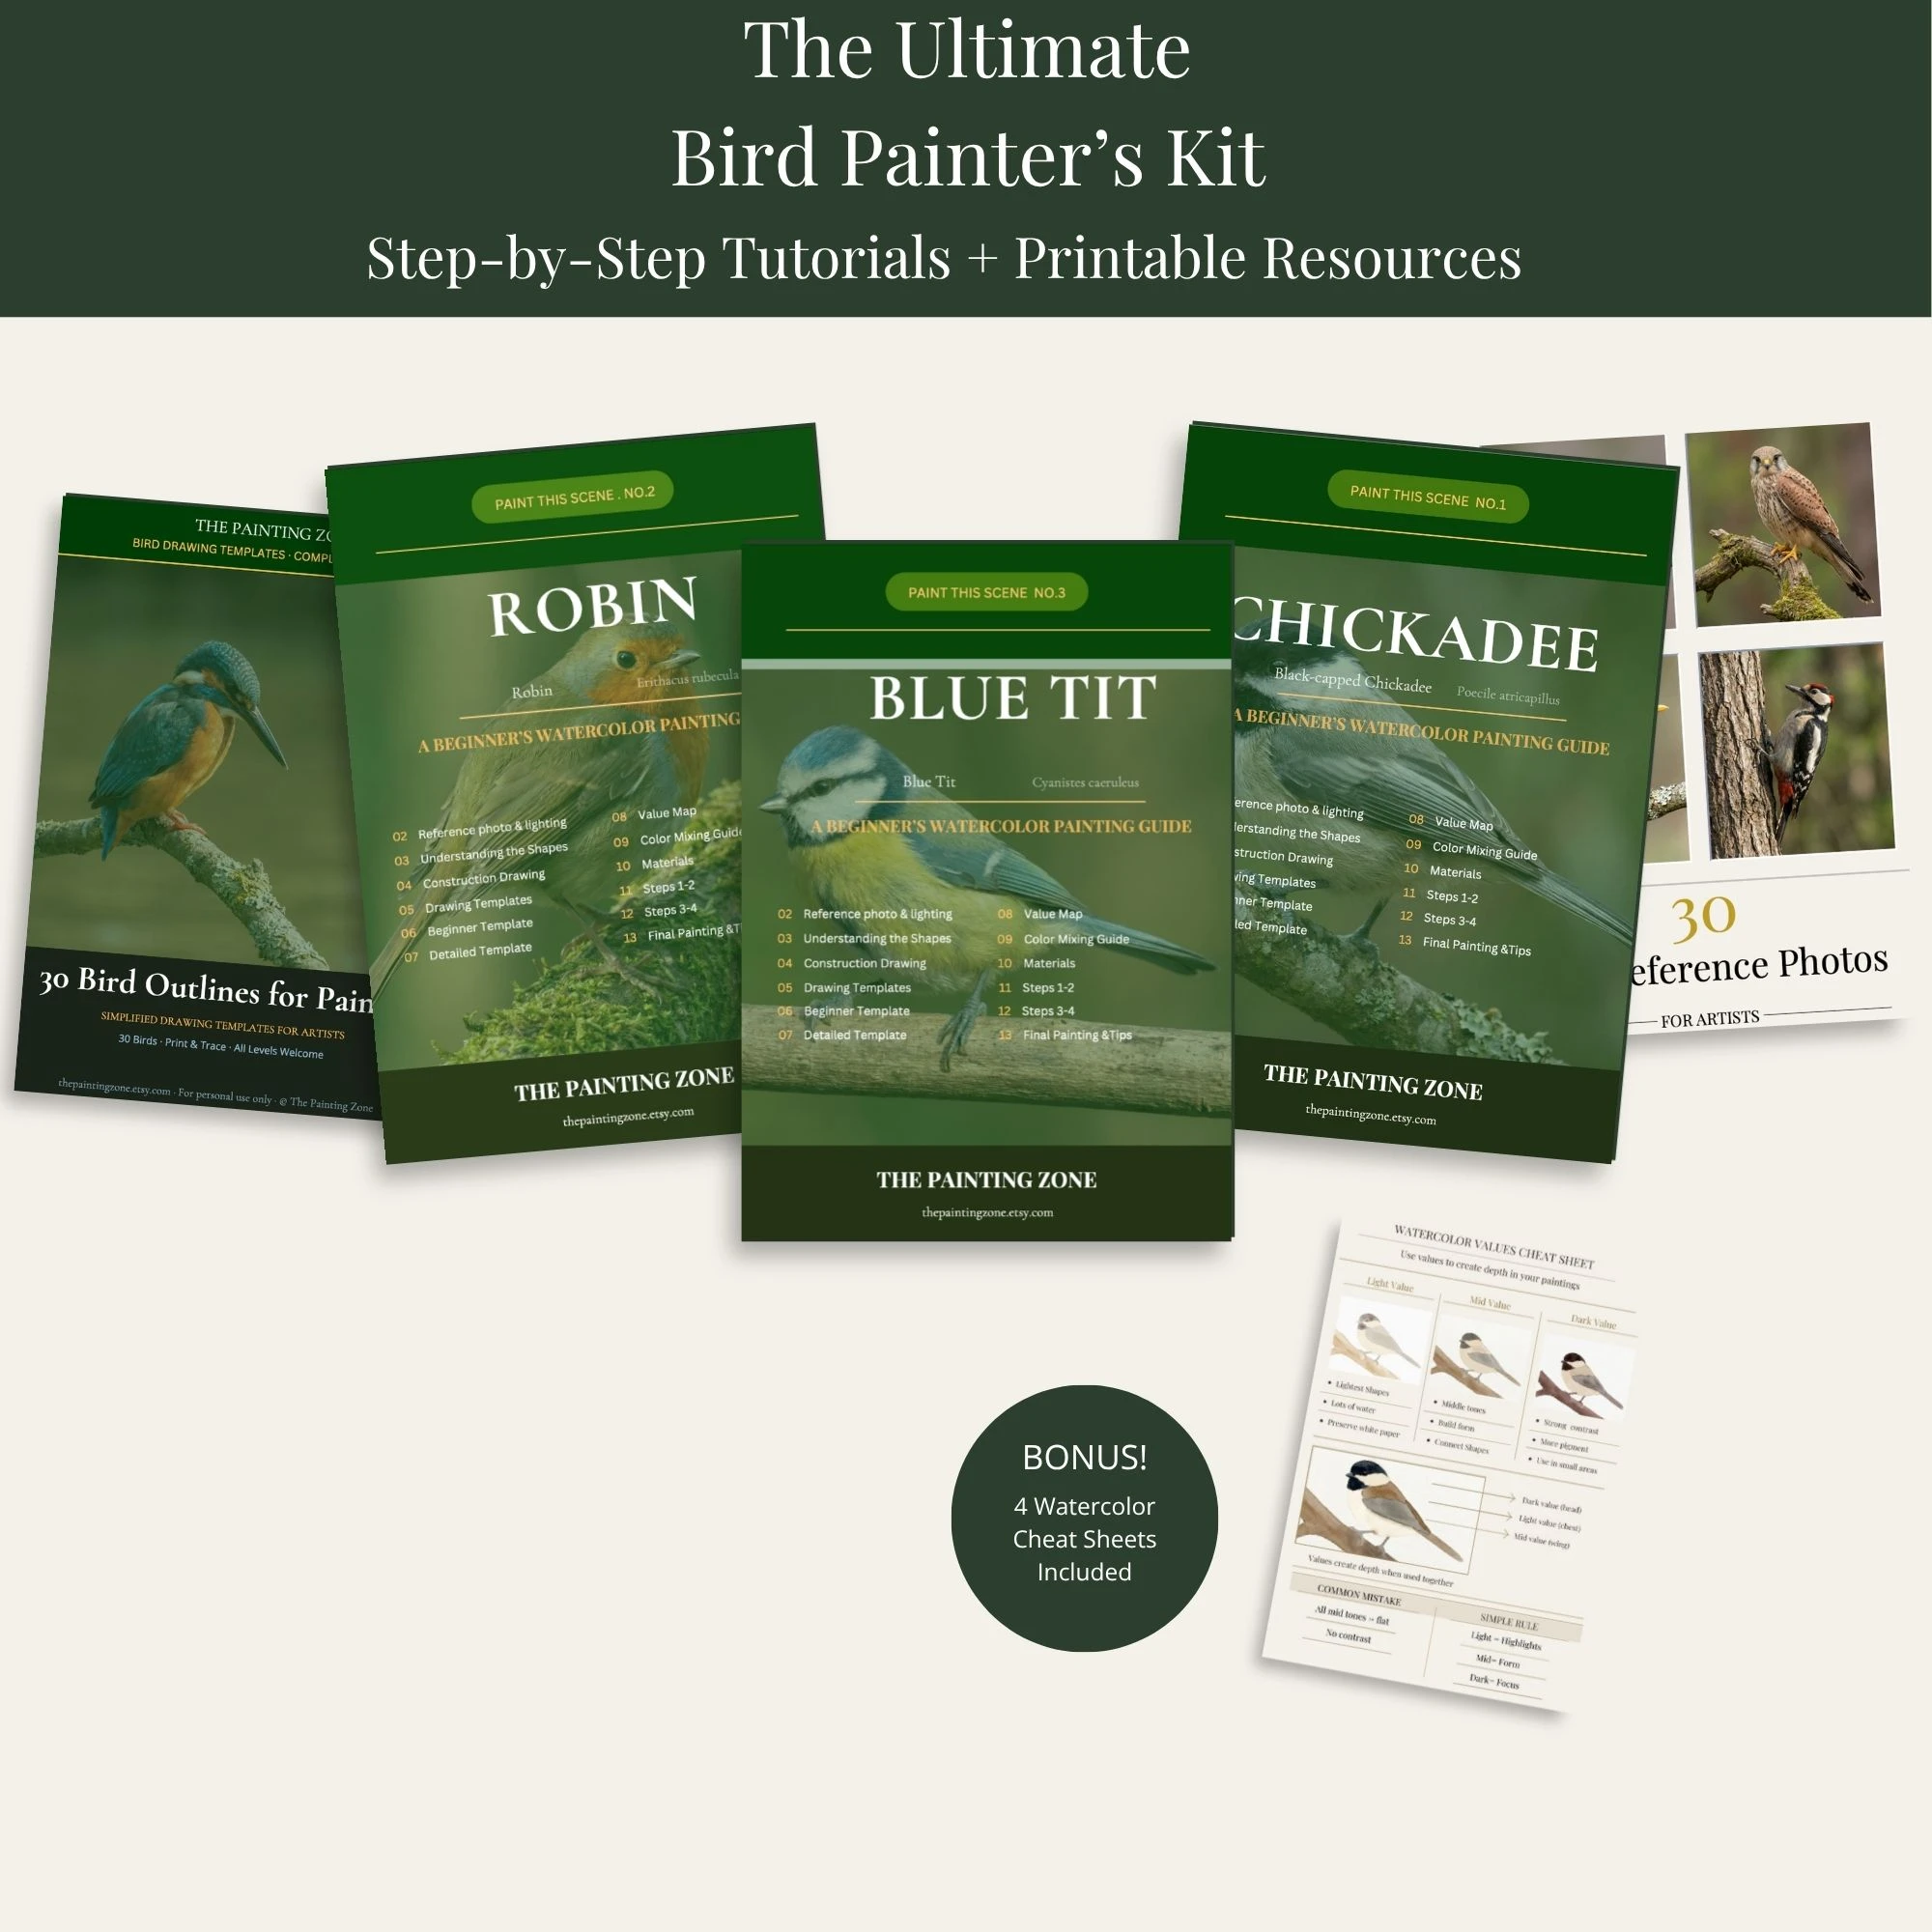
Ultimate Bird Painter's Kit
My master bundle combining step-by-step guides, 30 outlines, and cheat sheets.
View on EtsyContinue learning with the next step in this watercolor series.