Painting realistic eyes on birds
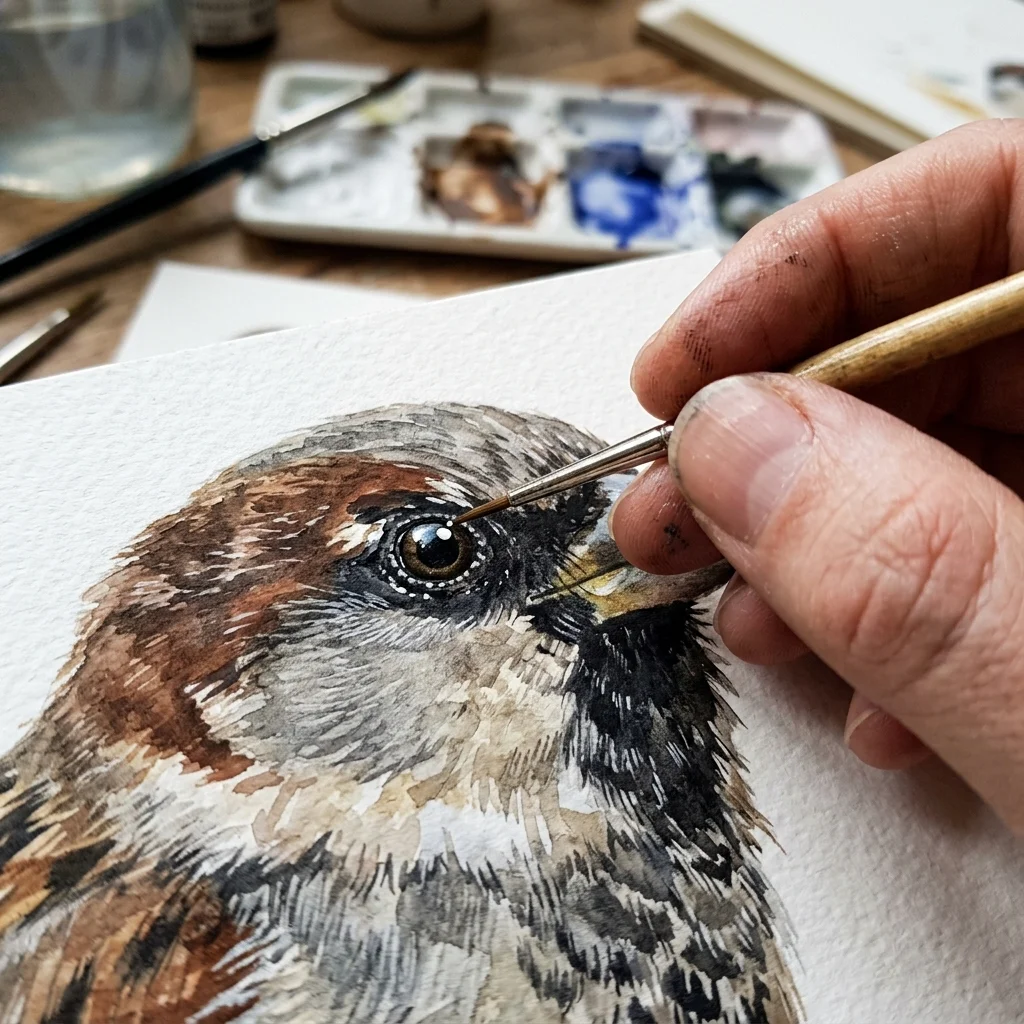
"I painted a beautiful bird, but the moment I added the eye, it looked dead, flat, and lifeless."
If you’ve felt this way, you’re not alone, and the solution is easier than you might think. A bird’s eye is more than just a dark circle. It’s a wet, shiny sphere set into a socket, reflecting light and casting shadows. This small detail does more work than any other part of the painting. When you paint it well, the whole bird looks alive. If it’s off, nothing else in the painting can make up for it.
The One Thing That Makes an Eye Look Alive: The Catchlight
Before you start painting the eye, take a moment to look at your reference photo. On that dark, shiny surface, you’ll see a small spot of reflected light—maybe from the sky, a window, or the sun. This is the catchlight, and it’s what makes the difference between a glass eye and a living one.
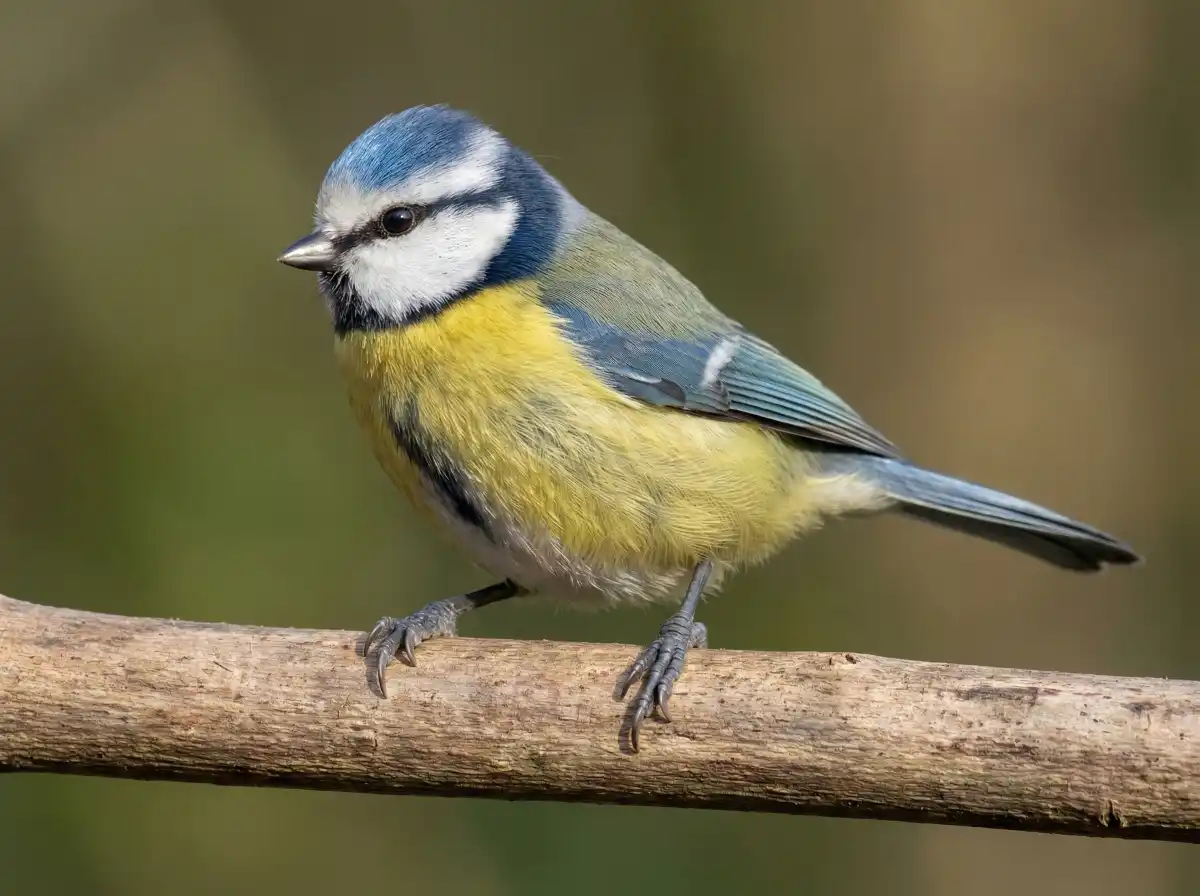
PROTECT IT FROM THE START
The trick is that you can't add it later. You have to protect it from the start.
Find the upper quadrant of the eye and leave a small, untouched dot of bare white paper there. Don't paint over it. Don't go back and try to lift it out or add white paint on top. That single preserved dot of paper will make the eye look wet and alive in a way nothing else can replicate.
Adding Depth: The Eye Is Set Into the Face
A bird’s eye doesn’t sit on the surface like a button. It’s set back into a socket, so it casts a shadow and has depth. Here are three small changes that will help you show this:
- Avoid pure black for the iris: Mix a deep blue-black or rich dark brown instead. Pure black looks flat and artificial; a mixed dark has warmth and depth.
- The lower rim: After the main color dries, paint a thin, subtle crescent of a slightly lighter color along the lower edge of the eye, opposite the catchlight. This shows how the rounded curve of the eye catches a bit of reflected light from below.
- Soften the edges: As you paint the outer edge of the eye, keep the back edge slightly damp and let it soften gently into the surrounding feathers. A harsh outline makes the eye look pasted on. A soft edge makes it look like it belongs there.
THE WHOLE SECRET IN ONE SENTENCE
Protect the catchlight, avoid pure black, and soften the edges. With these steps, your birds' eyes will stop looking flat and start to look alive.
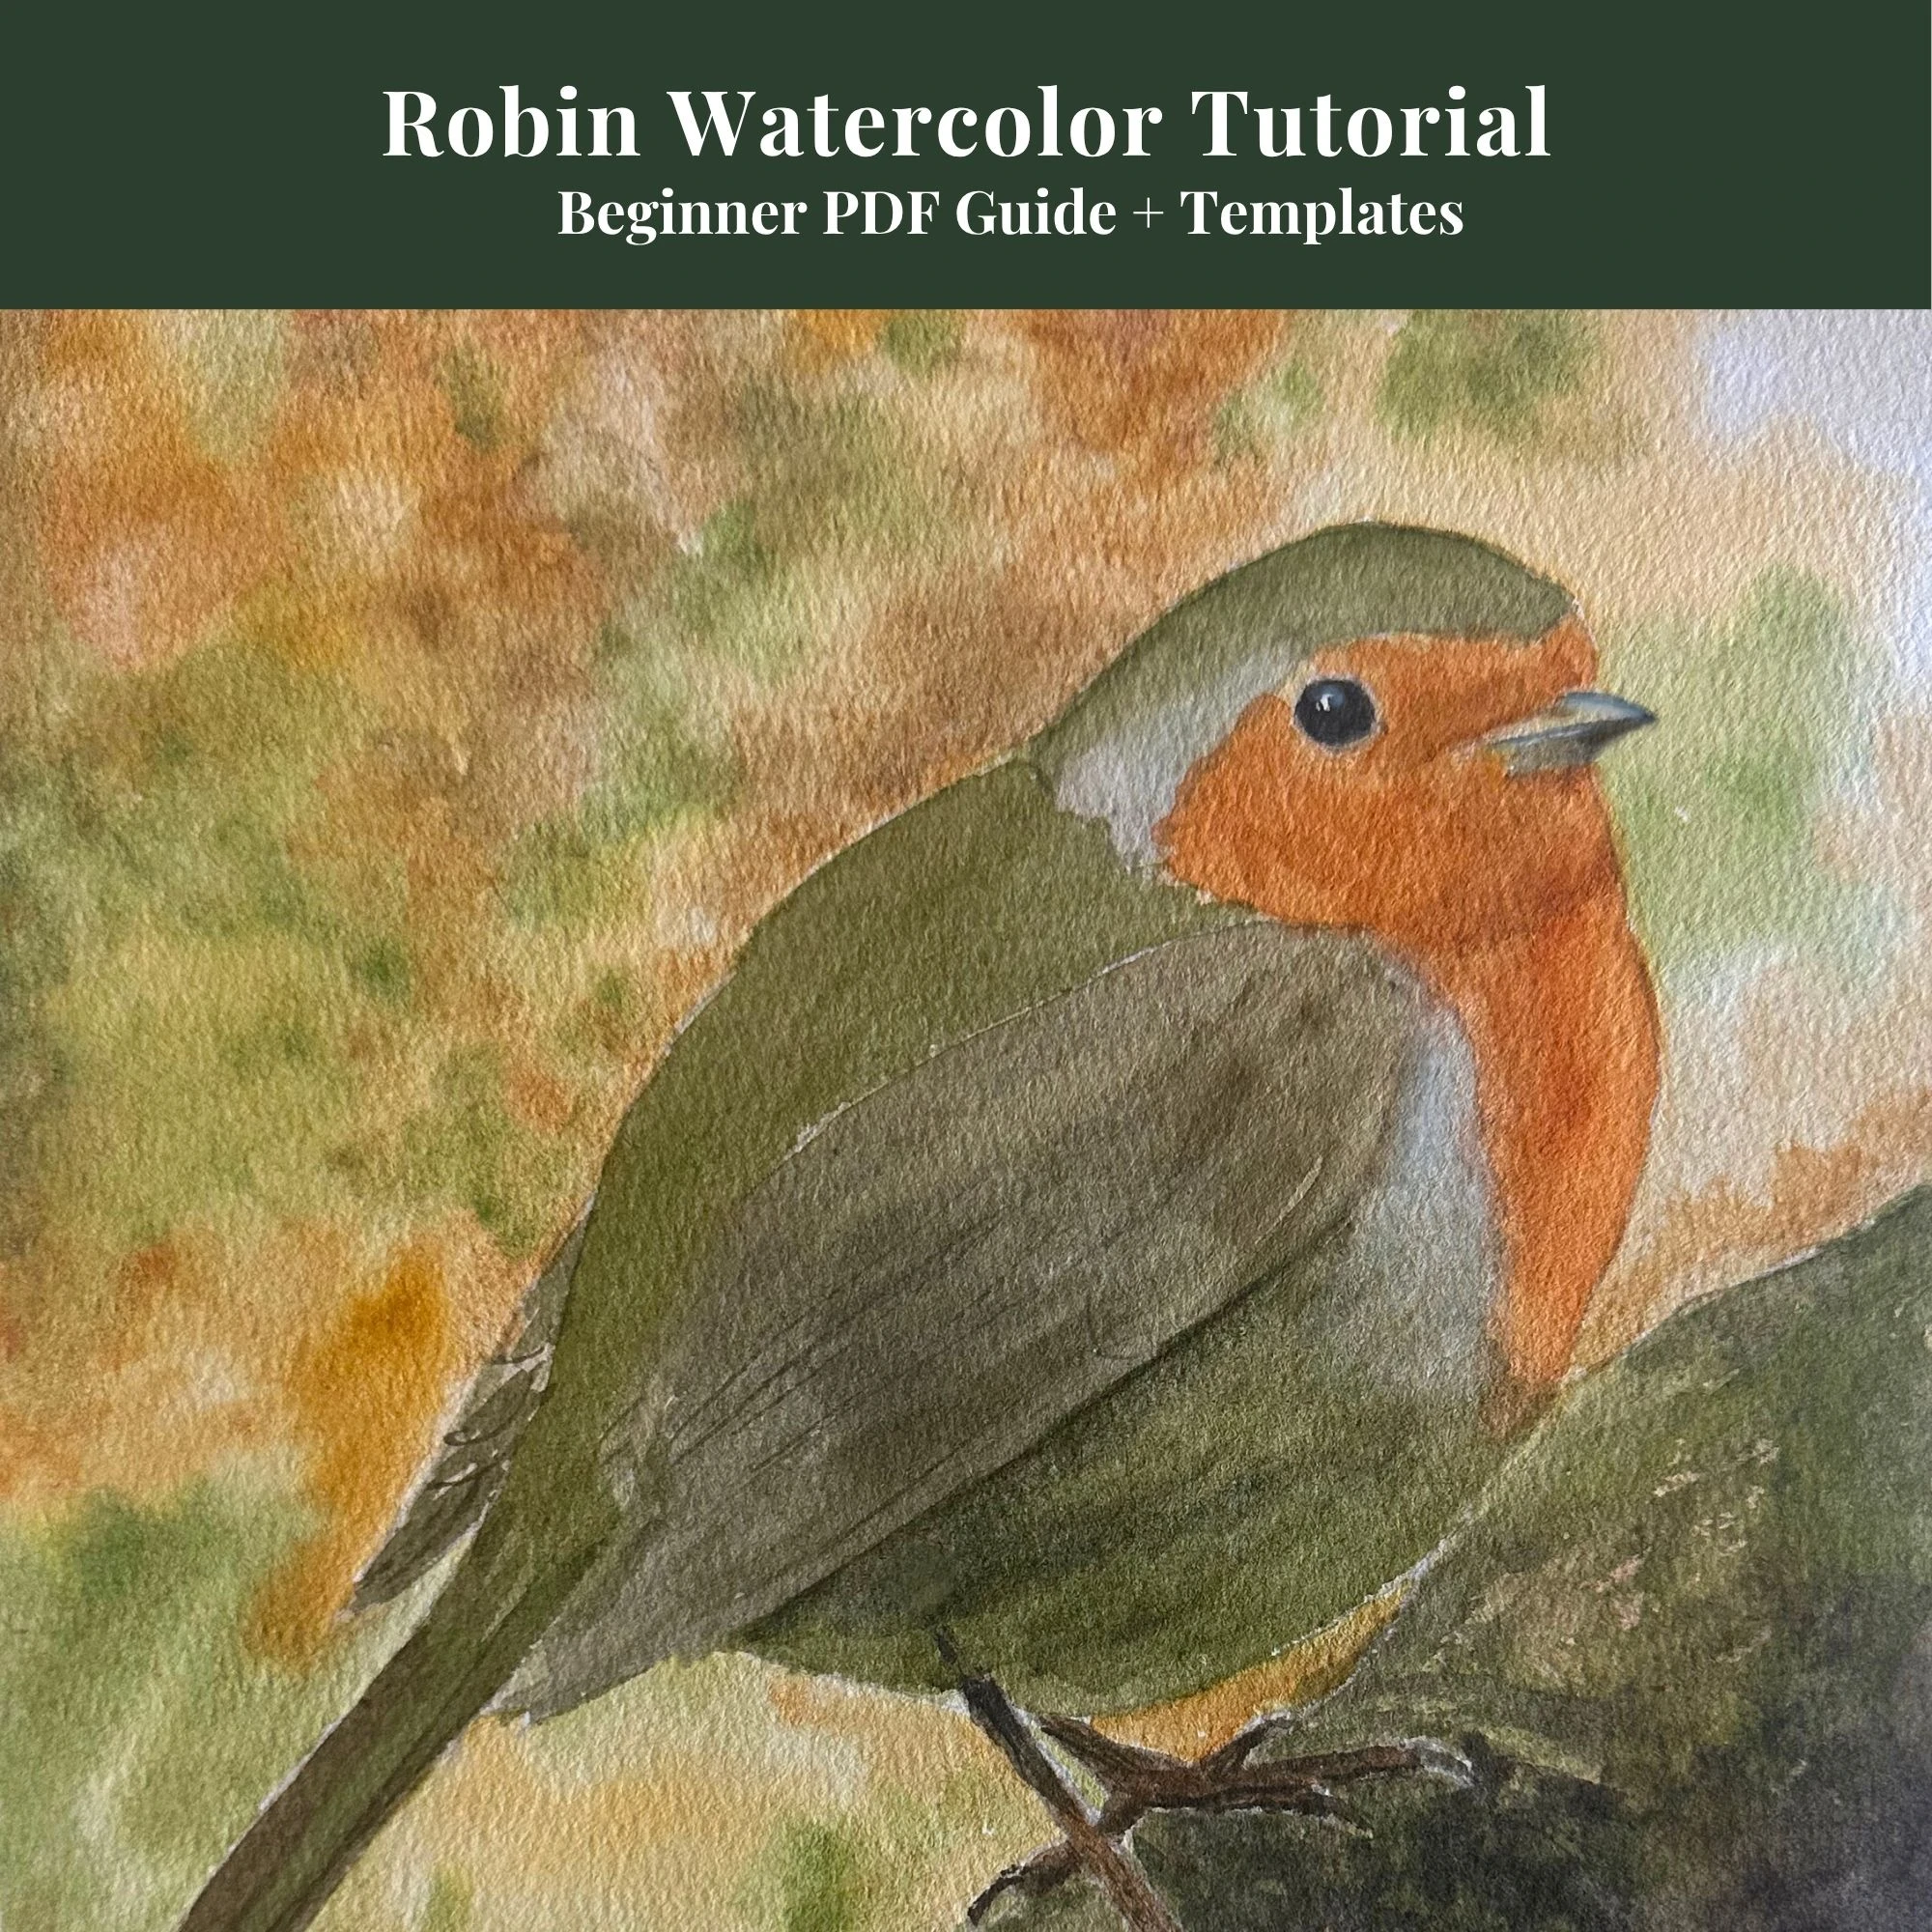
Beginners Robin Tutorial
Complete 13-page digital guide showing you step-by-step Robin wash layers.
View on Etsy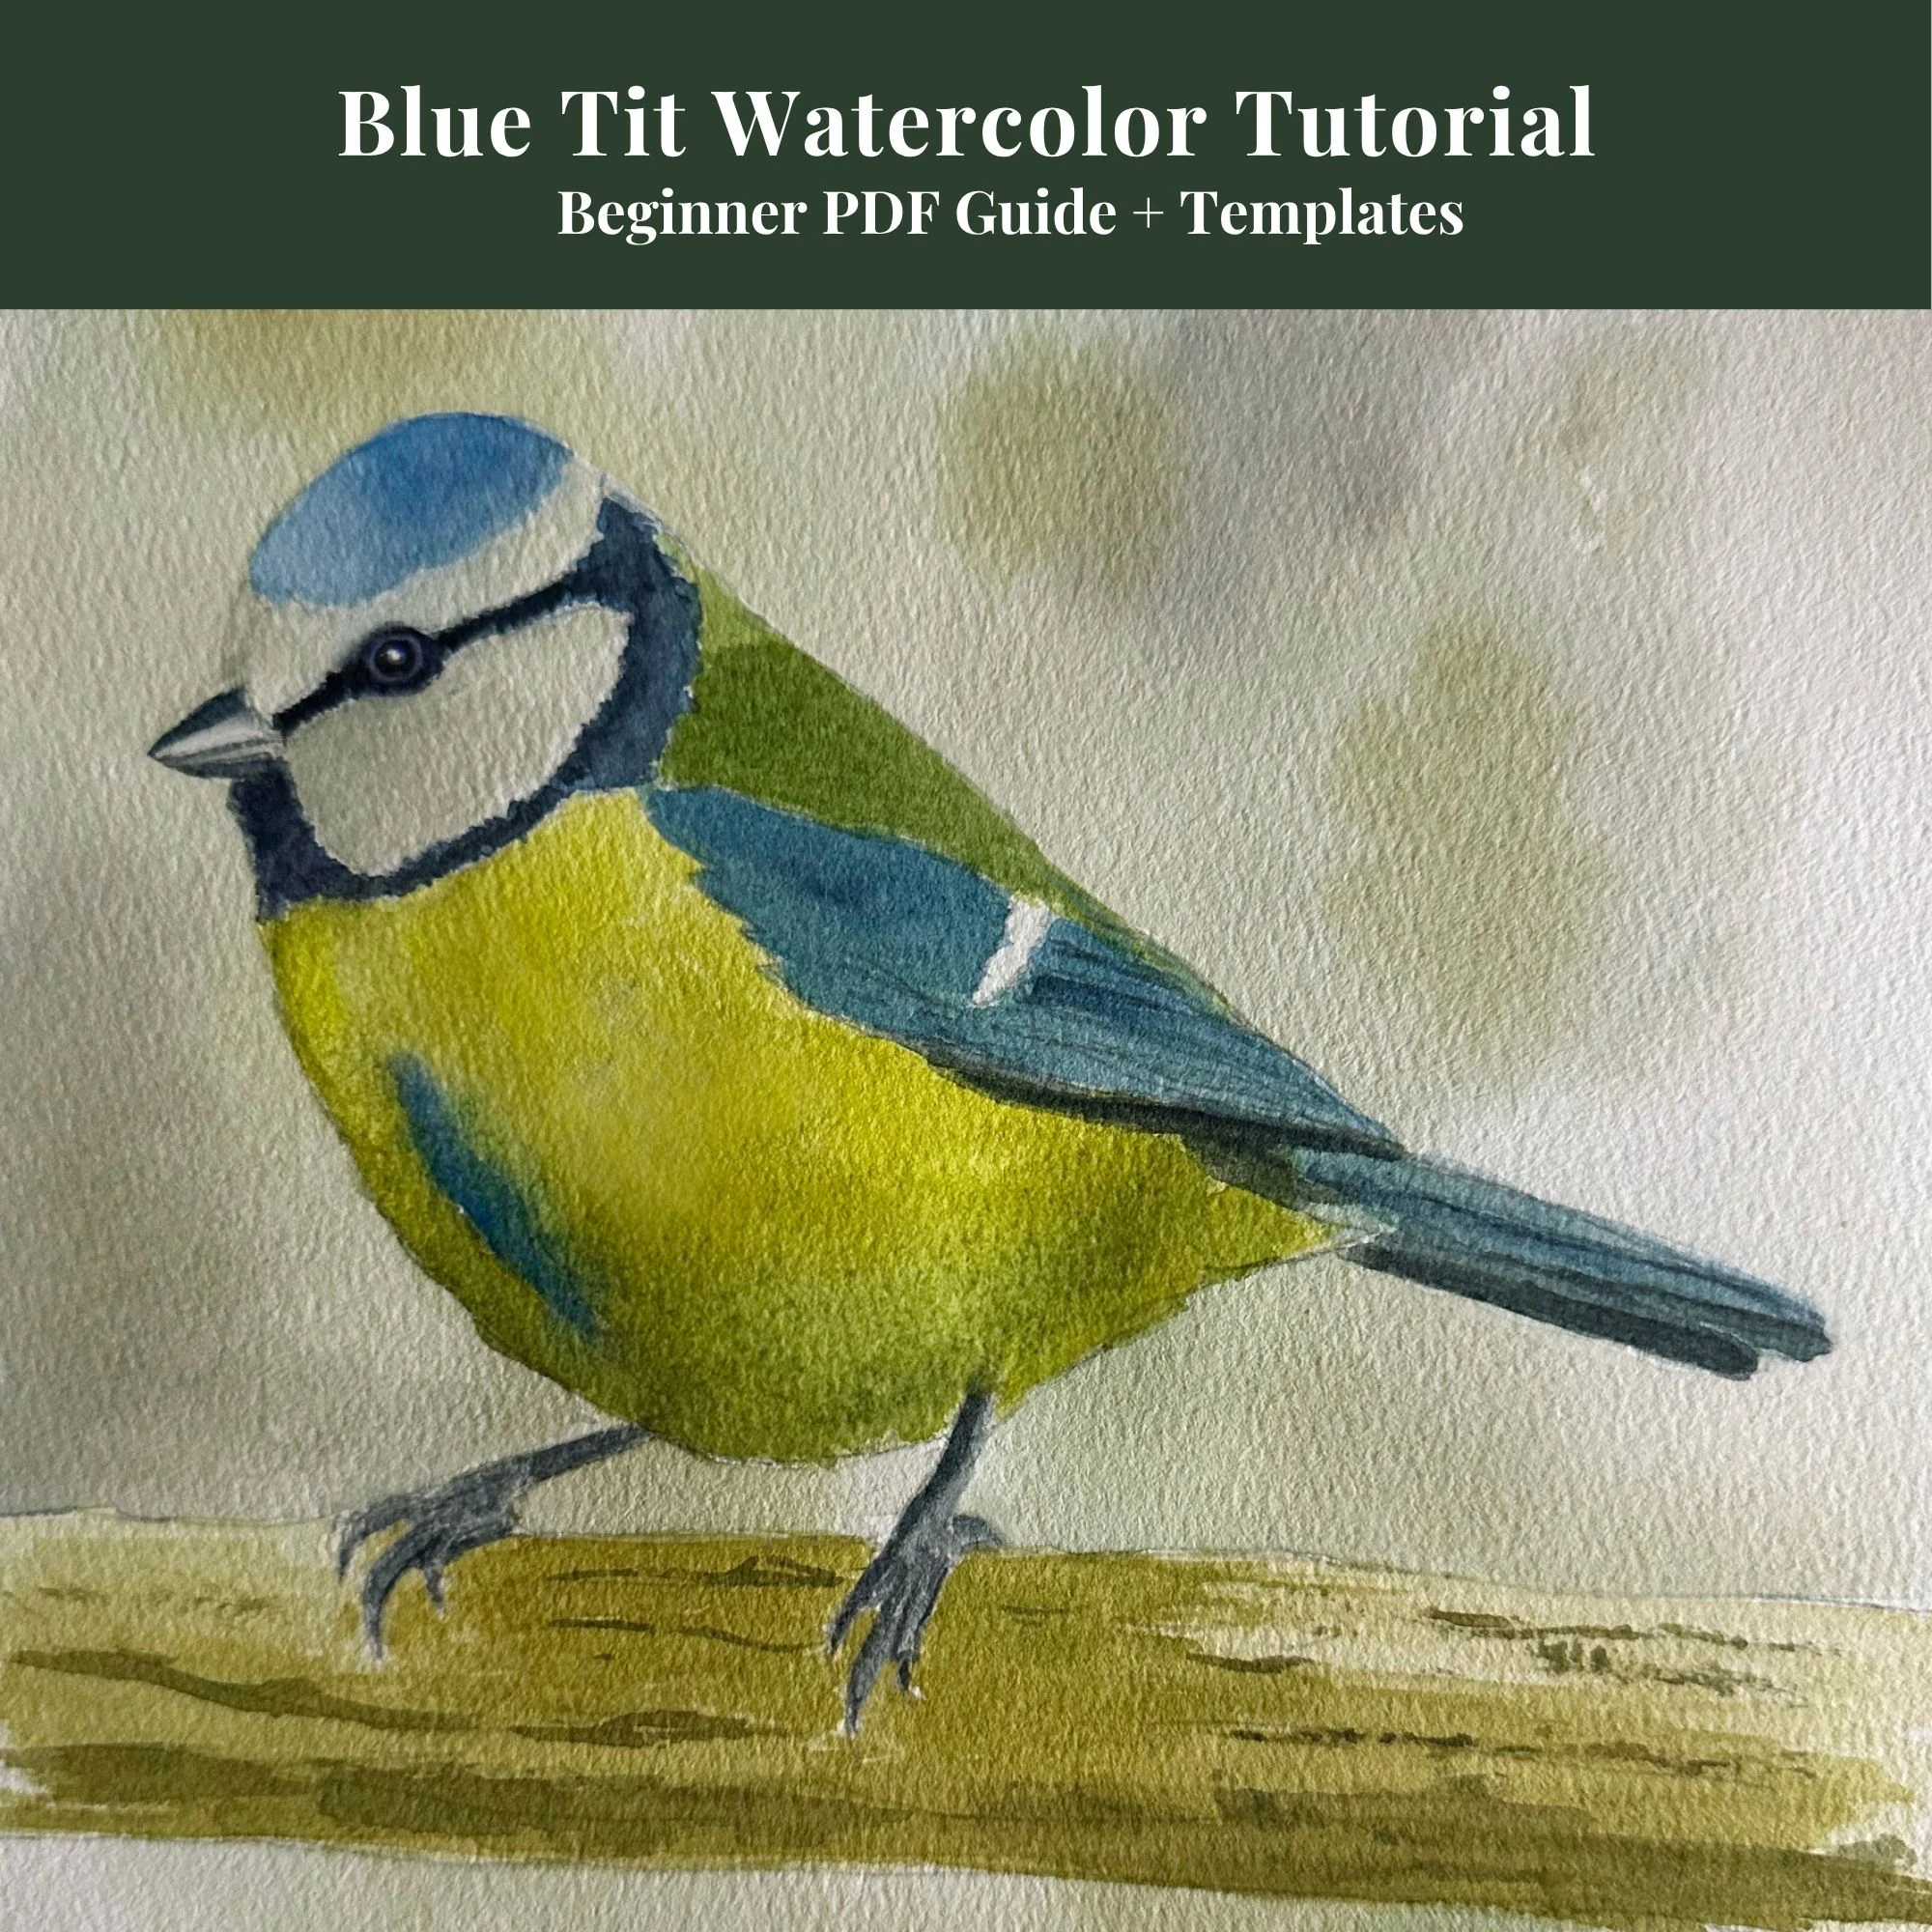
Beginners Blue Tit Tutorial
Learn my simple 4-stage color layering method with outlines included.
View on Etsy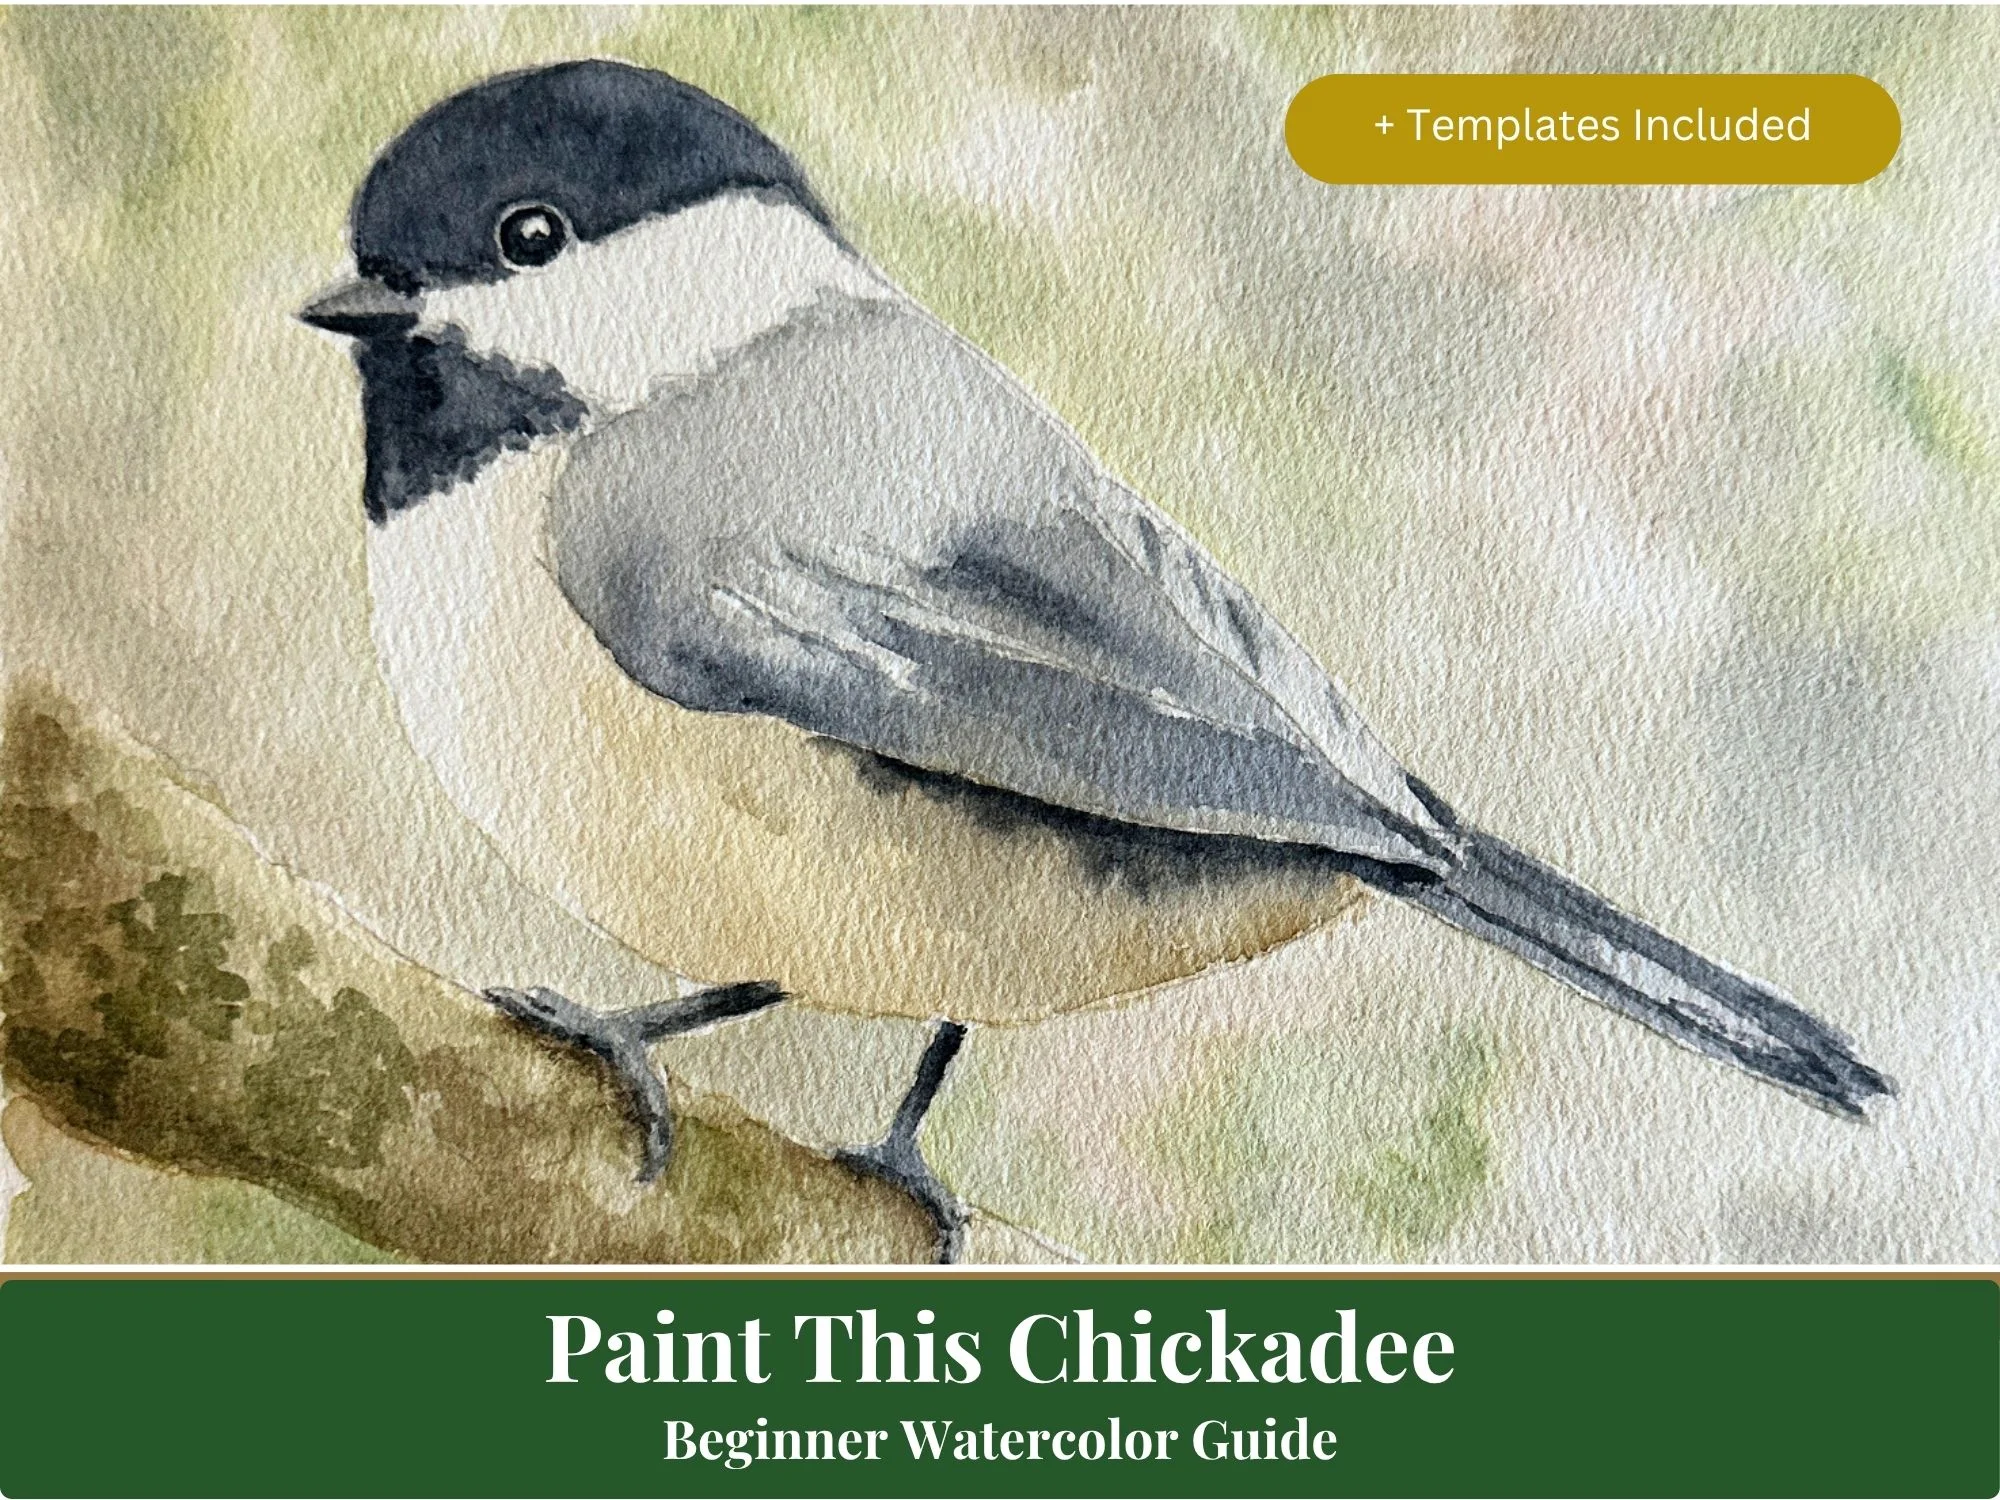
Beginners Chickadee Tutorial
A detailed beginner's guide covering head, bib, and wing glaze details.
View on Etsy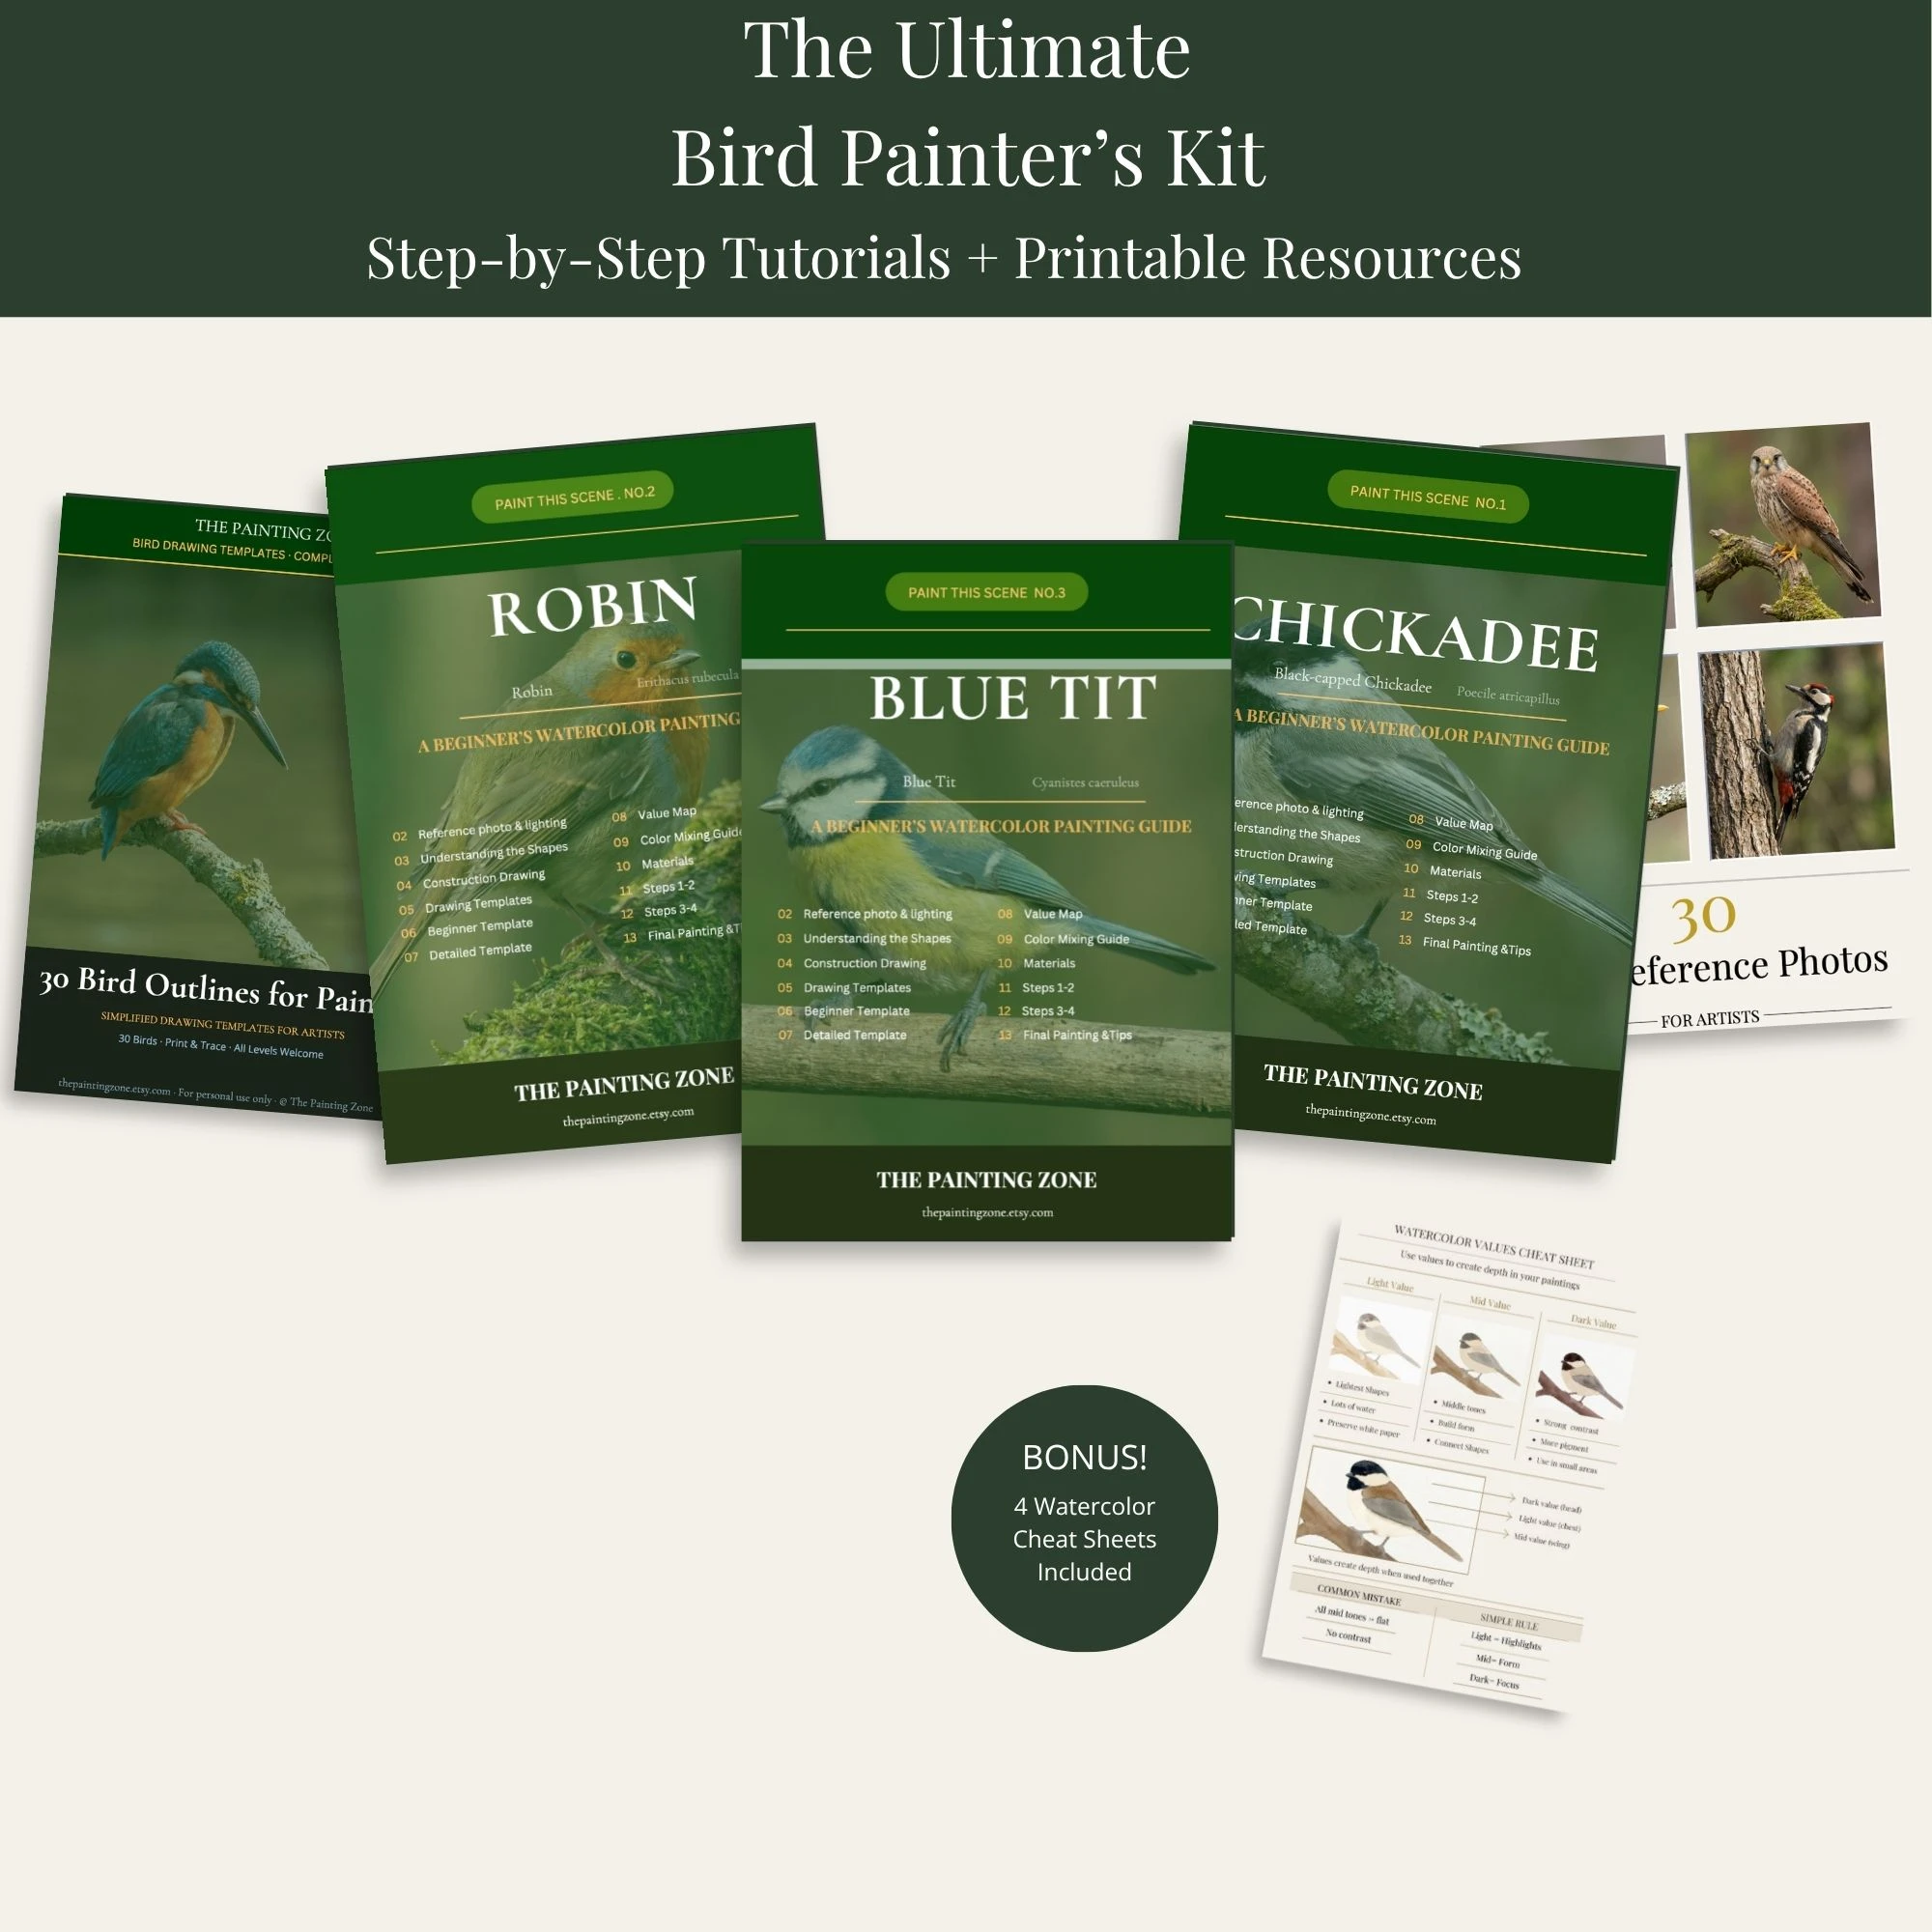
Ultimate Bird Painter's Kit
My master bundle combining step-by-step guides, 30 outlines, and cheat sheets.
View on EtsyContinue learning with the next step in this watercolor series.