Understanding Shadows in Watercolor
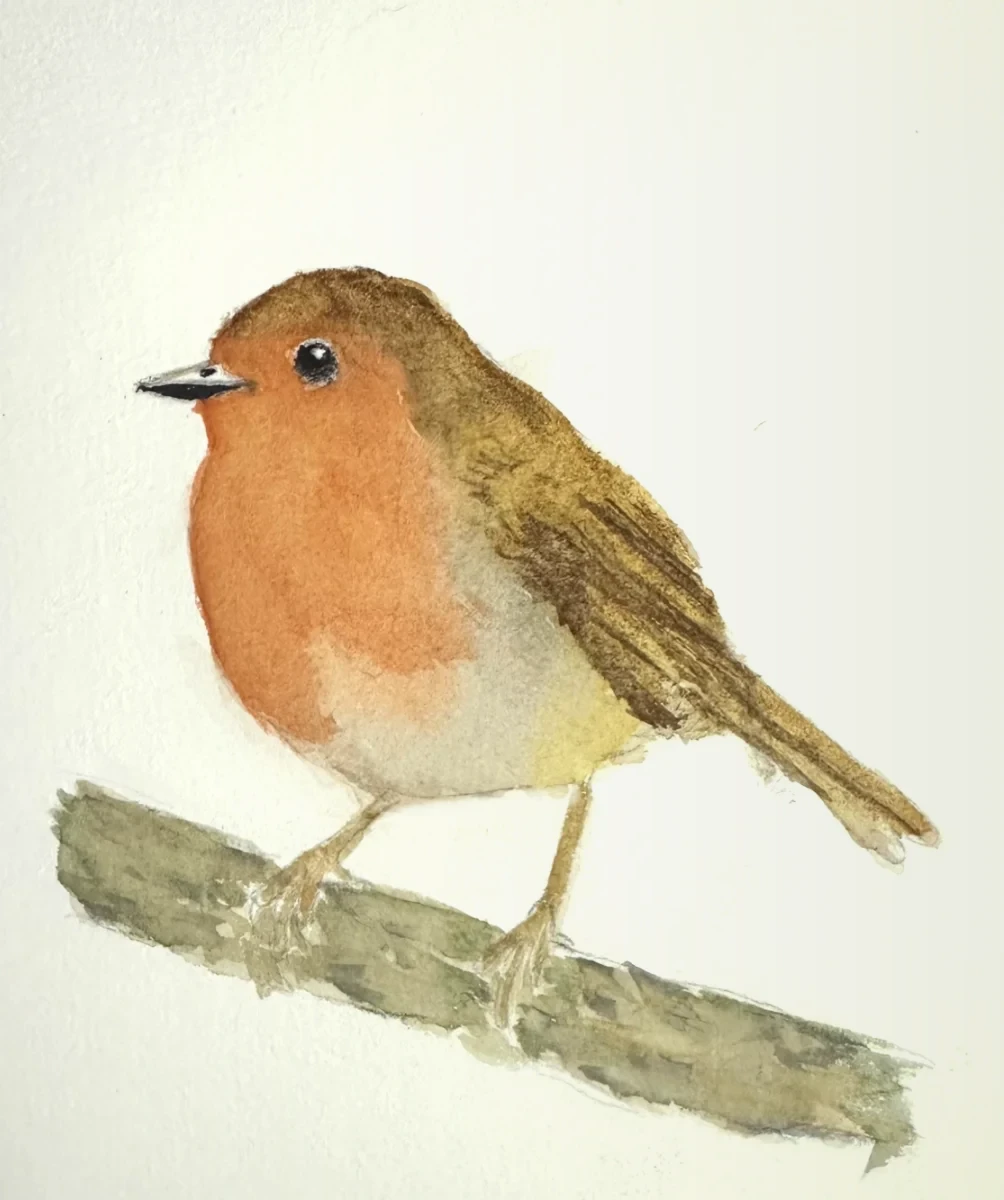
"My paintings look flat, and I don't know where to put the darks."
1. What Is a Shadow?
A shadow is simply an area that receives less light. When something blocks the light, a shadow forms. The direction of the light tells you where each shadow will be. Once you understand this, painting shadows gets much easier.
2. Why Shadows Matter
If you skip shadows, your bird will look flat. Even a nicely painted bird can seem stuck on the paper instead of part of a real scene. Adding a shadow helps the bird look real, as if it’s actually perched on a branch. Shadows do more than just darken a painting; they make it believable.
3. Two Types of Shadow
Many beginners think all shadows are the same, but they are not. There are two main types. Once you learn the difference, you will start to see your reference photos differently.
Form shadow
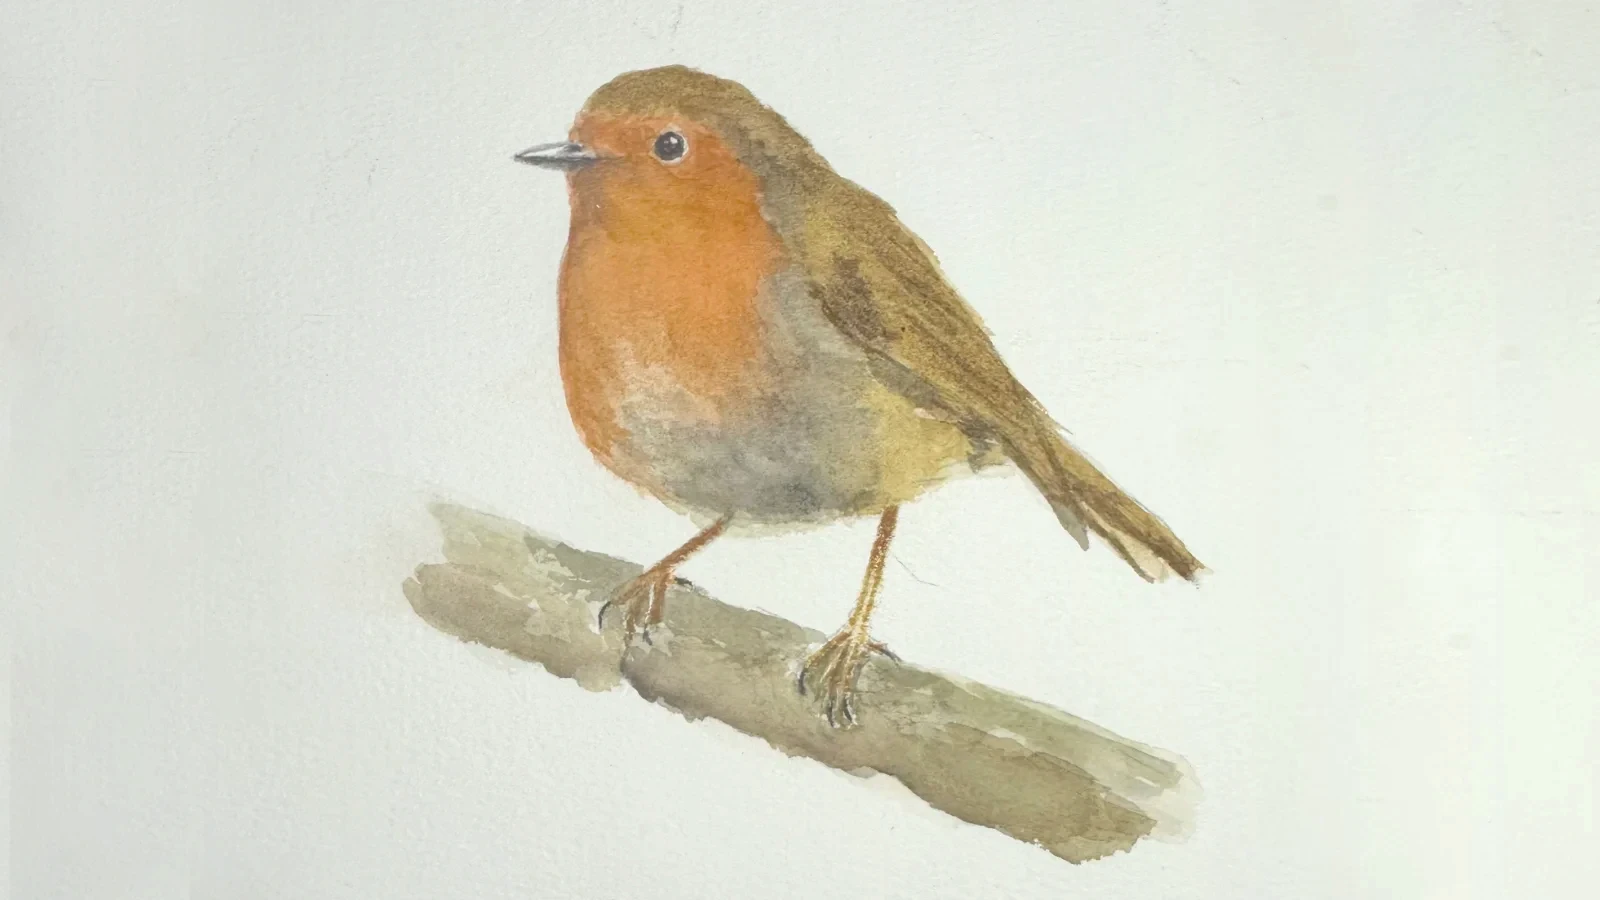
This shadow appears on the bird where its surface curves away from the light. It does not have a sharp edge. Instead, it softly changes from light to dark, following the bird's shape.
Where to look:
- The underside of the belly
- The shaded side of the breast
- Under the neck or chin
- The lower edge of a wing
Cast shadow
This is the shadow the bird makes on another surface by blocking the light. Cast shadows usually have sharper edges than form shadows because the light stops suddenly instead of fading slowly.
Where to look:
- The shadow of the bird onto a branch or the ground
- The shadow of a wing cast onto the body
- The shadow the beak casts onto the breast
When you start to see these two types of shadows separately, you stop just looking for dark spots and begin to look for shapes. This is the best way to paint shadows.
4. Shadow Edges Matter as Much as Shadow Color
Form shadows have soft edges. Because a bird’s surface curves gently away from the light, the shadow changes slowly too. If you paint a hard edge on a form shadow, the bird will look flat, almost like it is cut from paper instead of looking rounded.
Cast shadows are different. When something blocks the light, the shadow’s edge is sharper and more defined. It is not always a hard line, but it is definitely crisper than a form shadow.
Painting these edges correctly does more to make a bird look real than almost anything else.
5. Shadows Have Color
Shadows are rarely just a darker version of the main color, and they are almost never pure black or gray straight from the tube.
Shadows also have temperature. If your light source is warm, like late afternoon sun or golden hour, your shadows will look cooler, with hints of blue and purple. If your light is cool, such as an overcast sky or open shade, your shadows will look a bit warmer, with touches of brown and muted orange. This applies in most cases but not all.
Mix your own dark colors. A deep shadow made from Burnt Umber and Ultramarine often looks much more natural than using black paint straight from the tube.
6. Keep Shadows Simple
When you look at a reference photo, you will see many small changes between light and dark. Do not try to paint every single one.
Squint at your reference photo until the details fade away. You will see one big area of shadow, a single shape. Paint that whole shape in one confident wash. A single, unified shadow looks much better than many scattered dark spots. It also dries more smoothly, which is important in watercolor.
7. Common Beginner Mistakes
- No clear light direction: shadows appear on every side of the bird, with light seeming to come from all directions at once.
- Shadows everywhere: putting dark marks all over the painting without a clear light source.
- Shadows too dark: painting them so heavily that they become black holes and remove the sense of light.
- Shadows too black: using pure black or Payne’s Gray straight from the tube instead of mixing a deep, colorful dark.
- Every edge hard: form shadows should have soft edges, while cast shadows need sharper ones. If you make all the edges the same, the painting will look flat.
8. Paint the Shape, Not the Feather
The next time you start painting, try this: do not look for a dark line under each feather. Instead, squint at your reference, find the one big shadow shape, and paint it as a single wash.
The shape first. The details will follow.
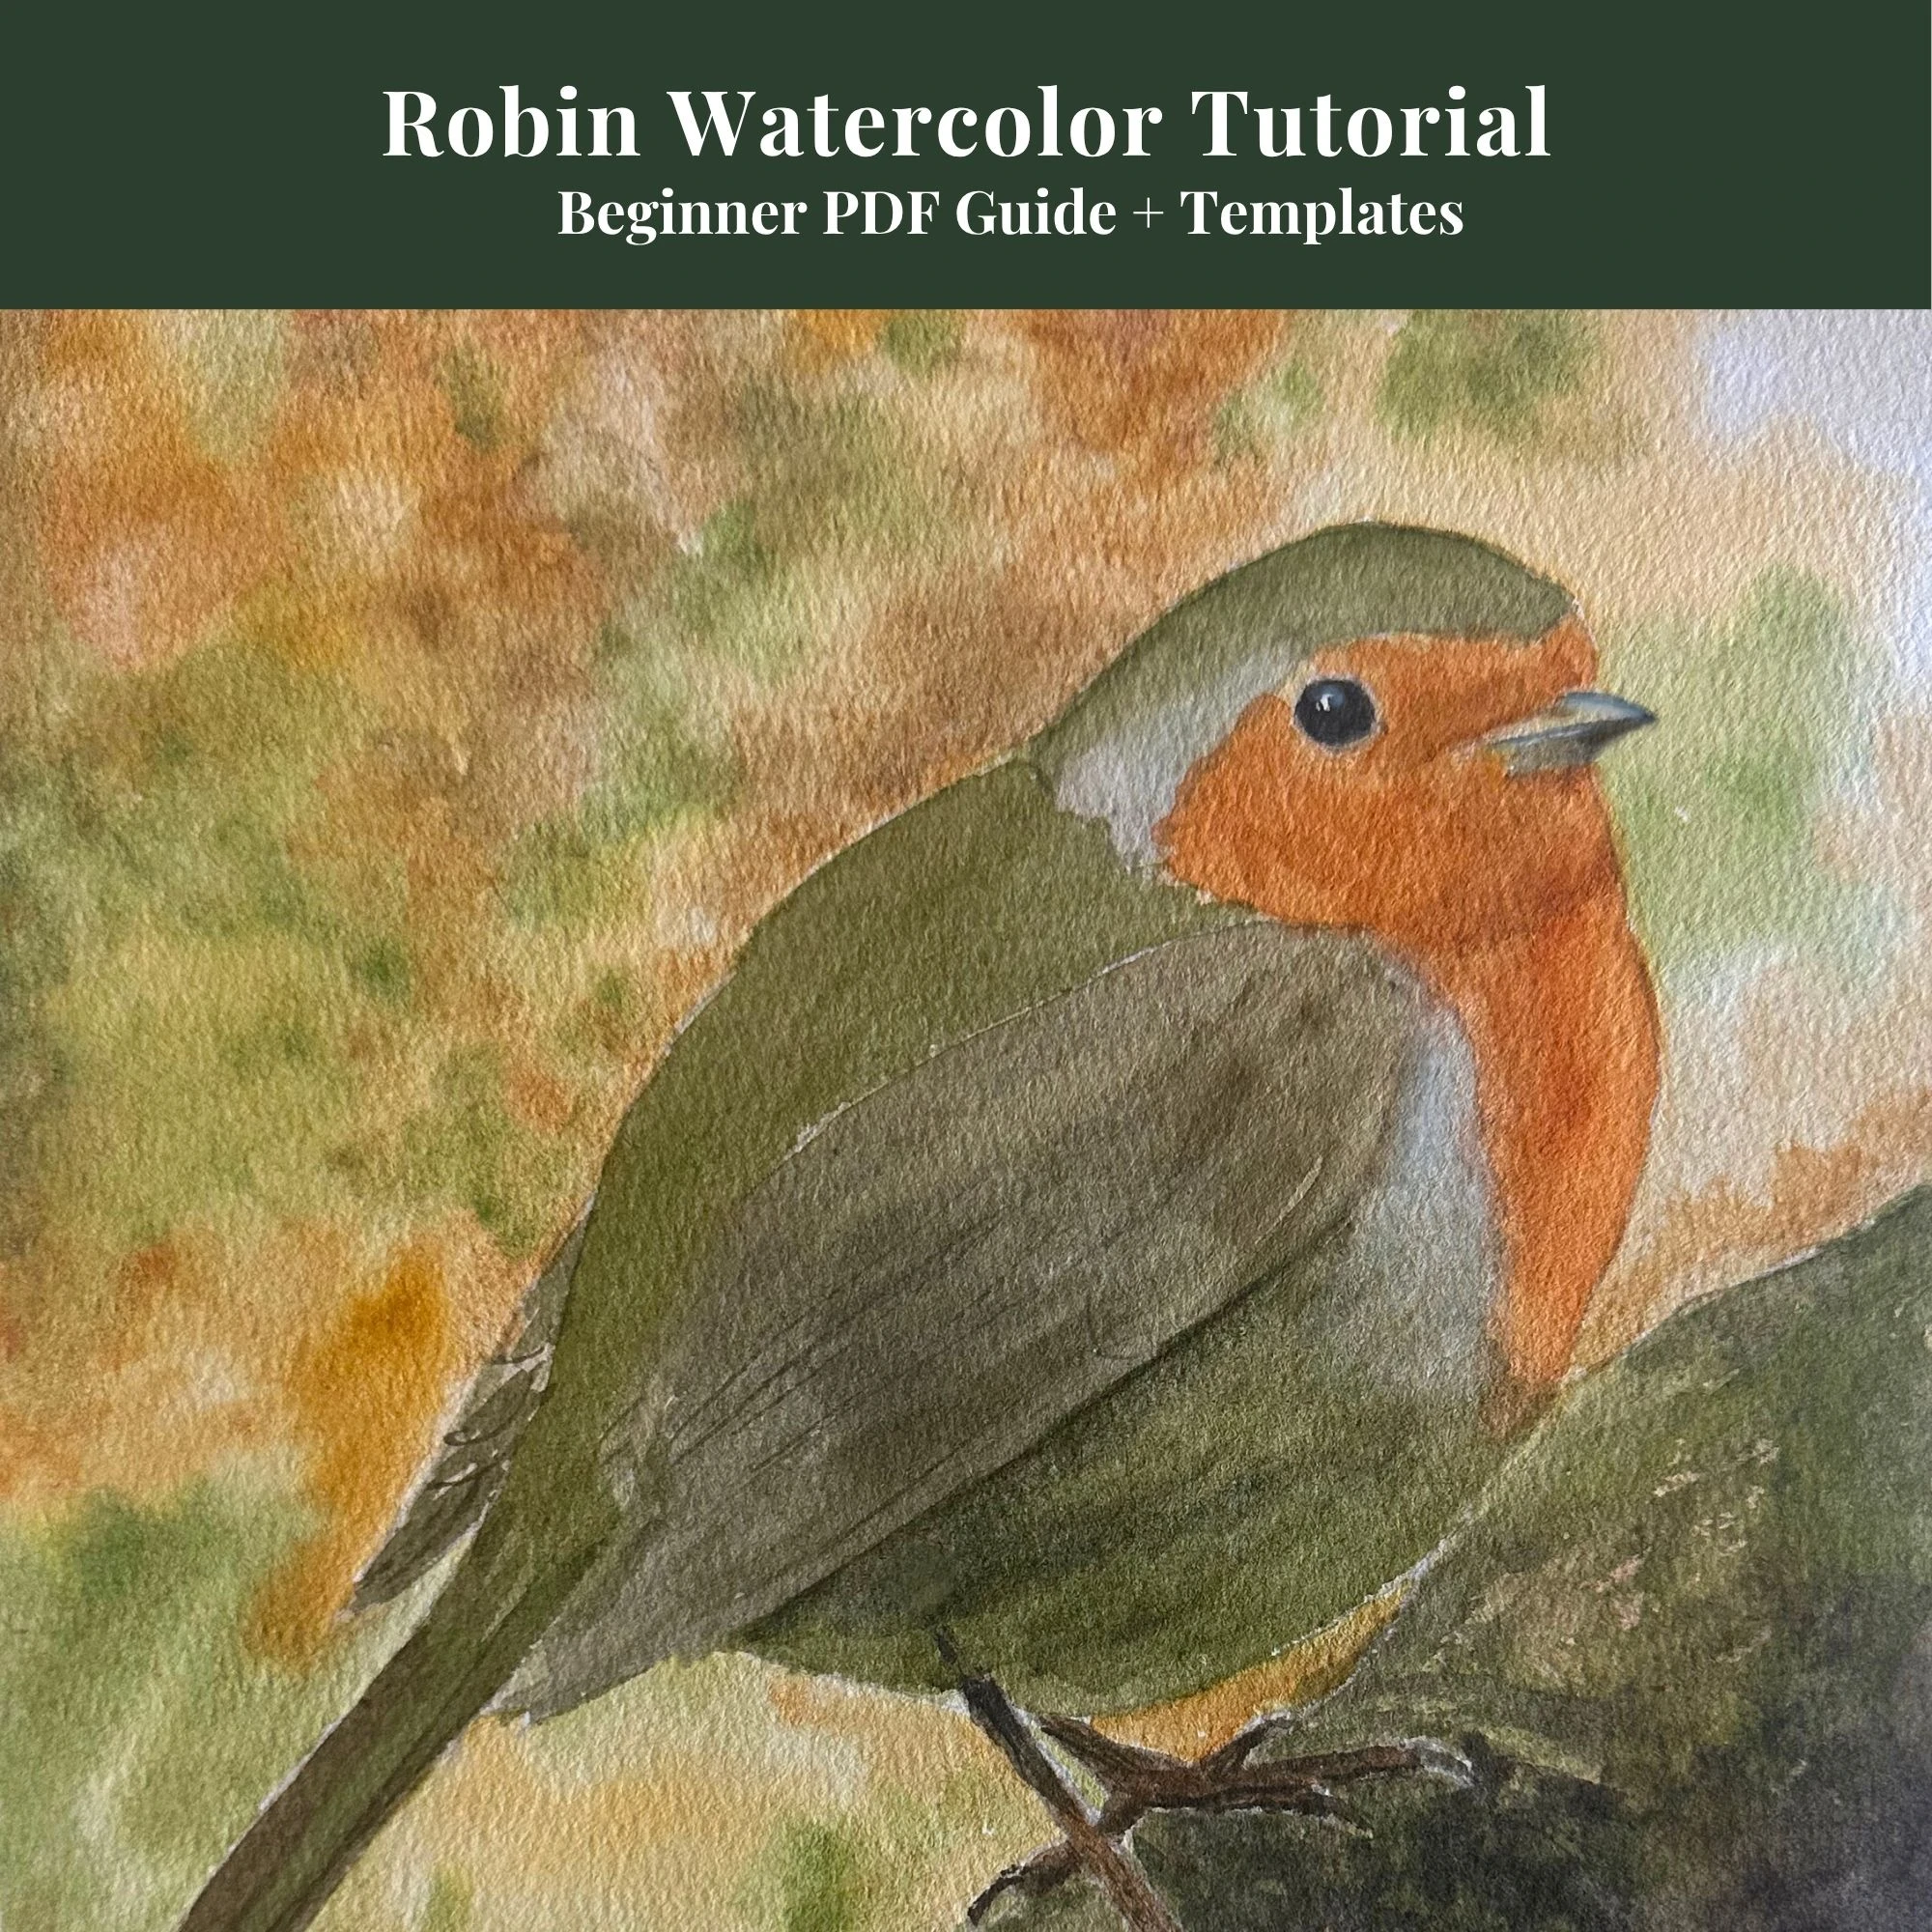
Beginners Robin Tutorial
Complete 13-page digital guide showing you step-by-step Robin wash layers.
View on Etsy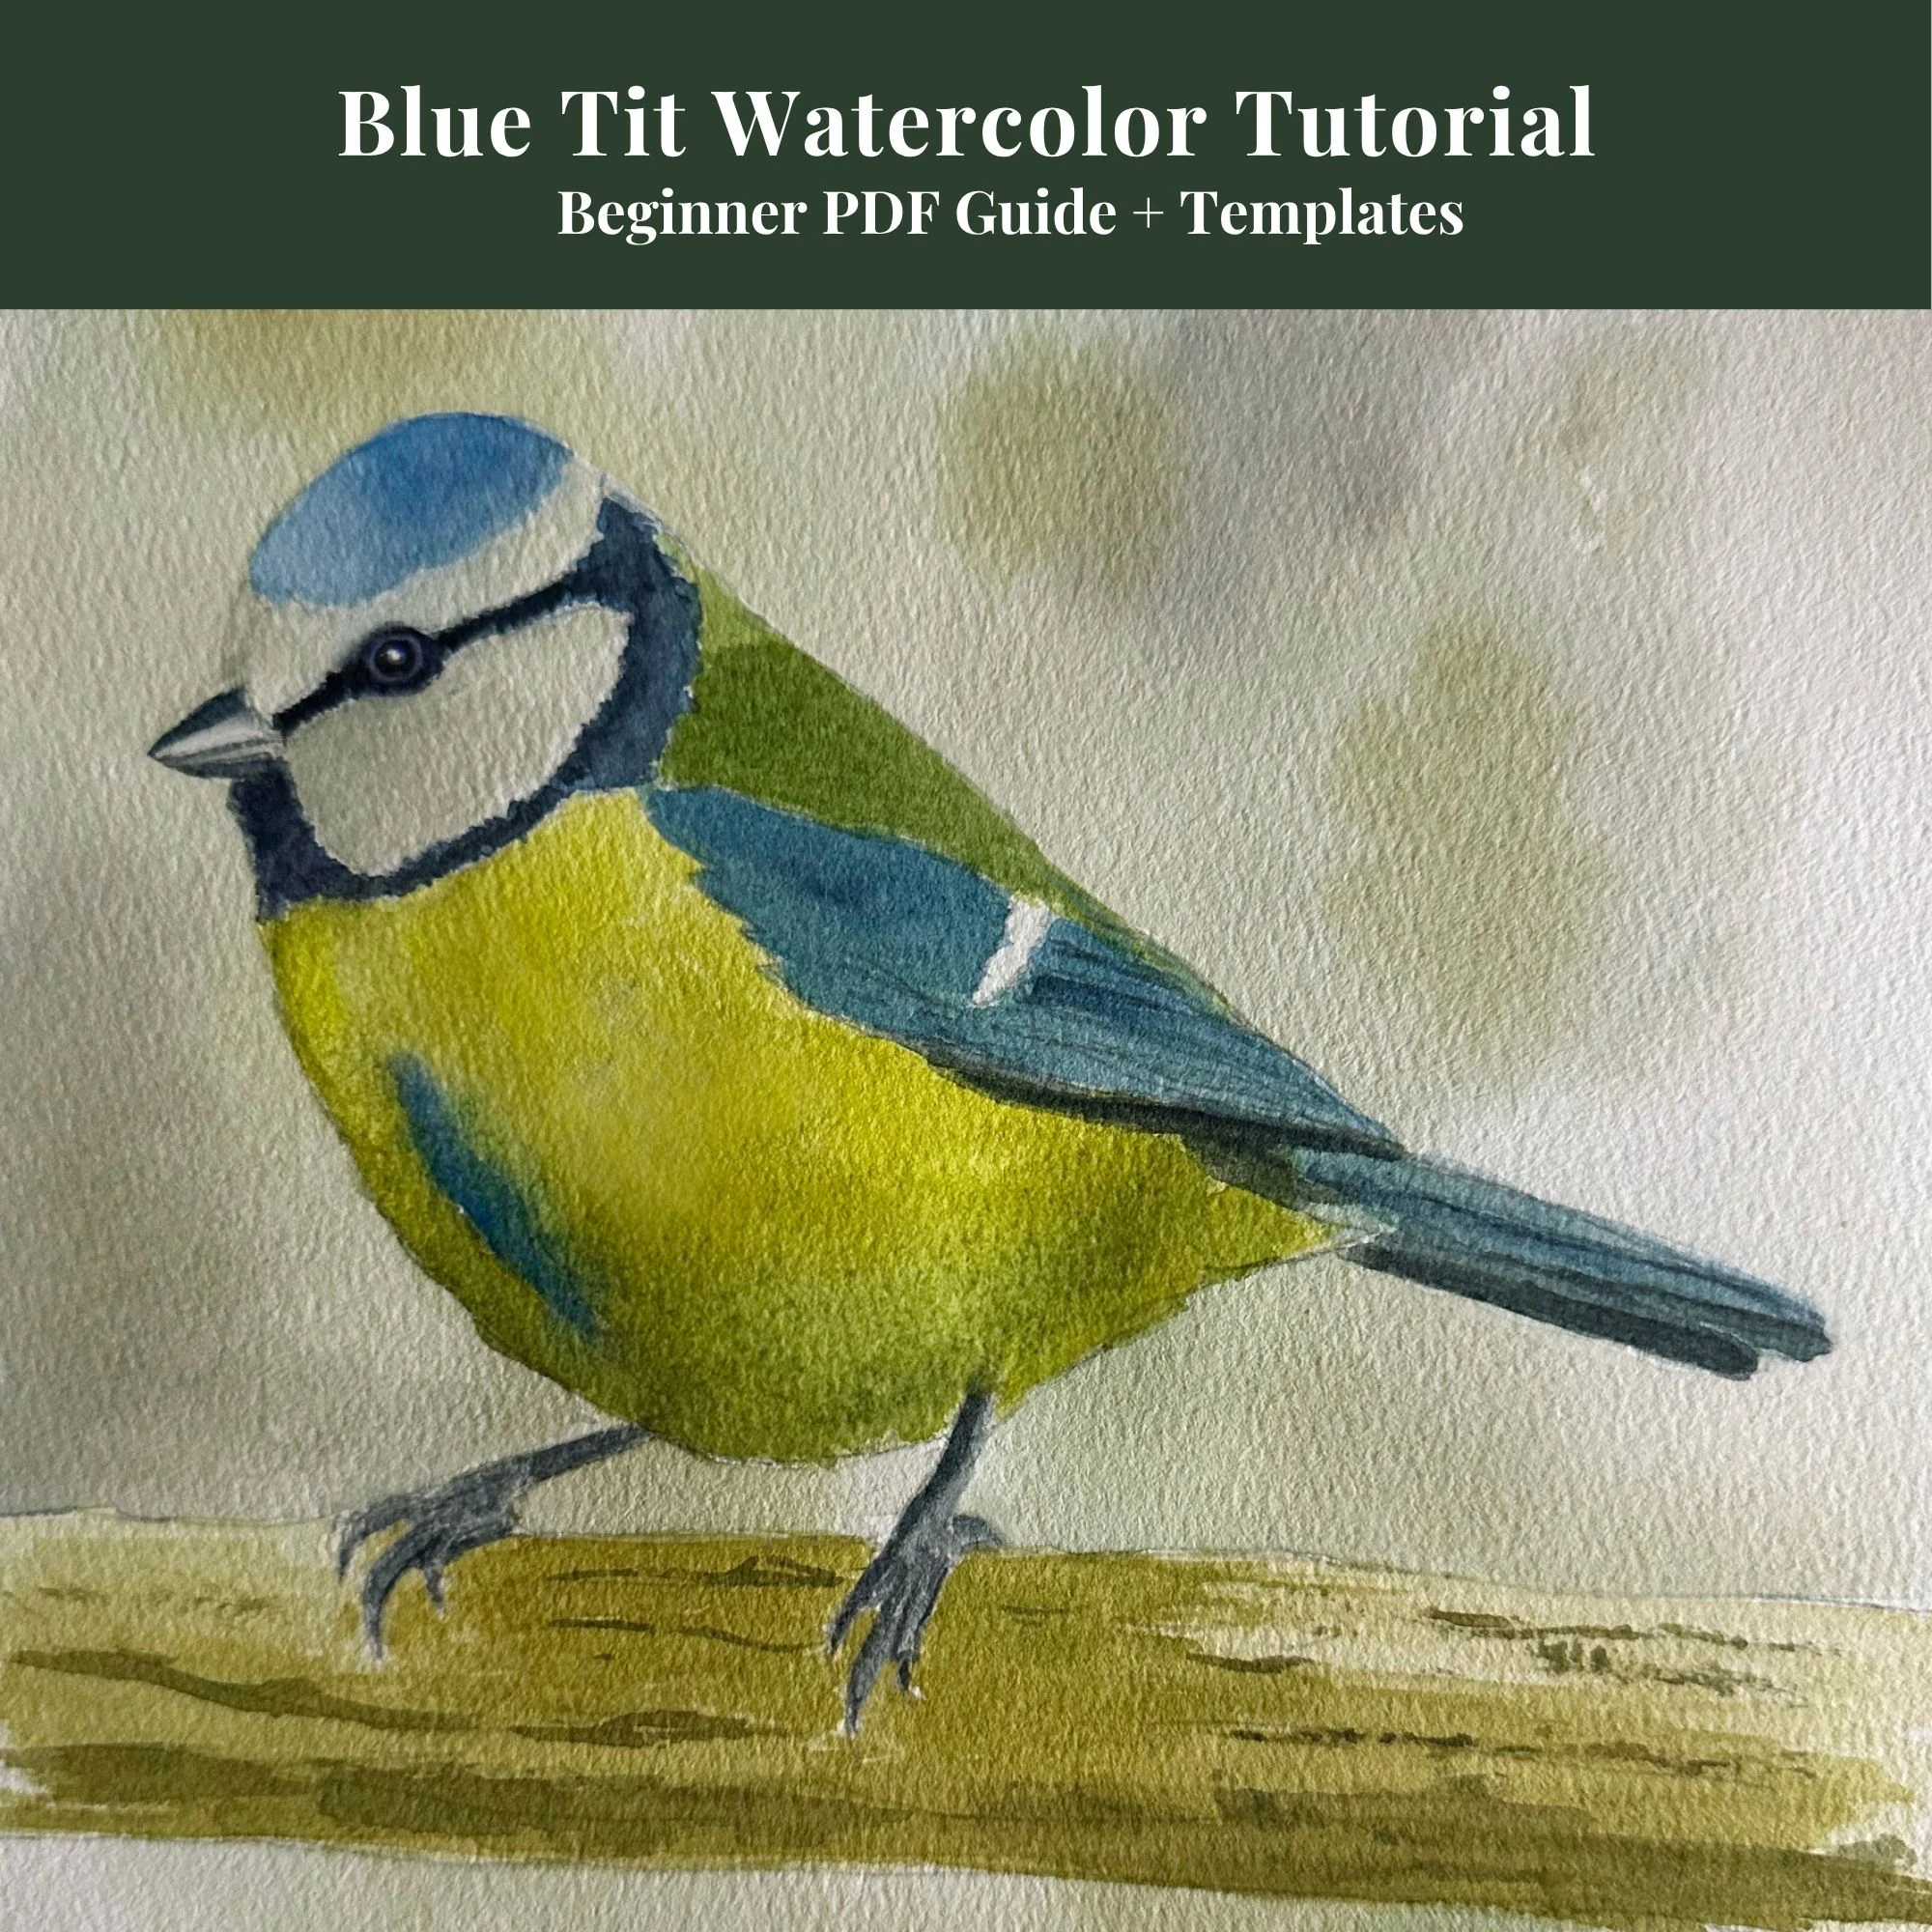
Beginners Blue Tit Tutorial
Learn my simple 4-stage color layering method with outlines included.
View on Etsy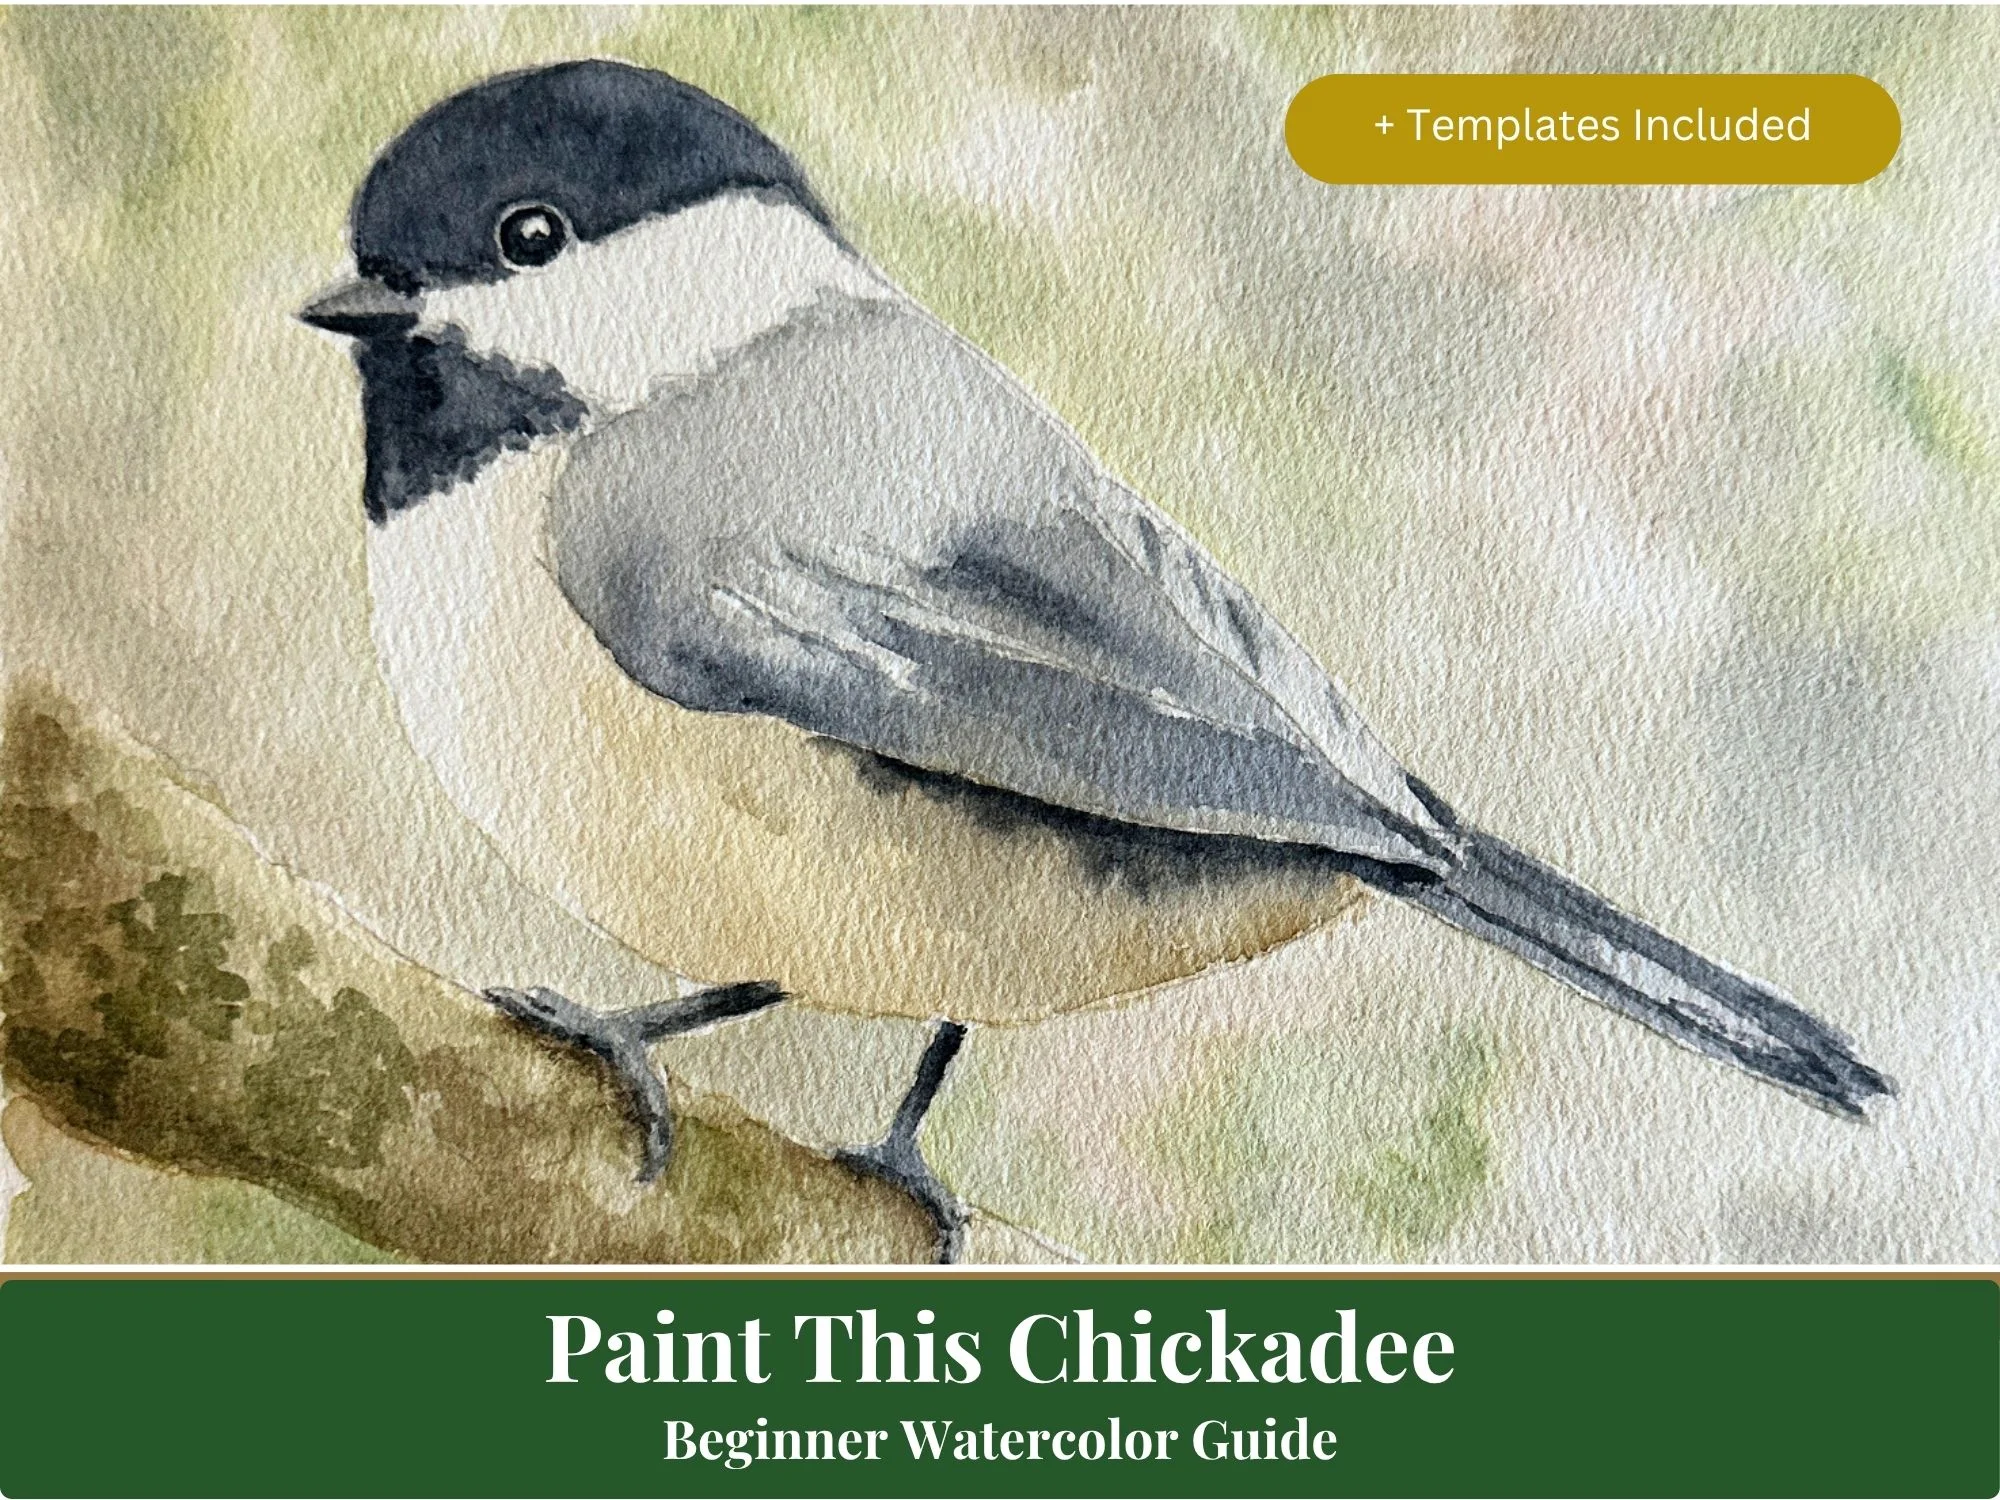
Beginners Chickadee Tutorial
A detailed beginner's guide covering head, bib, and wing glaze details.
View on Etsy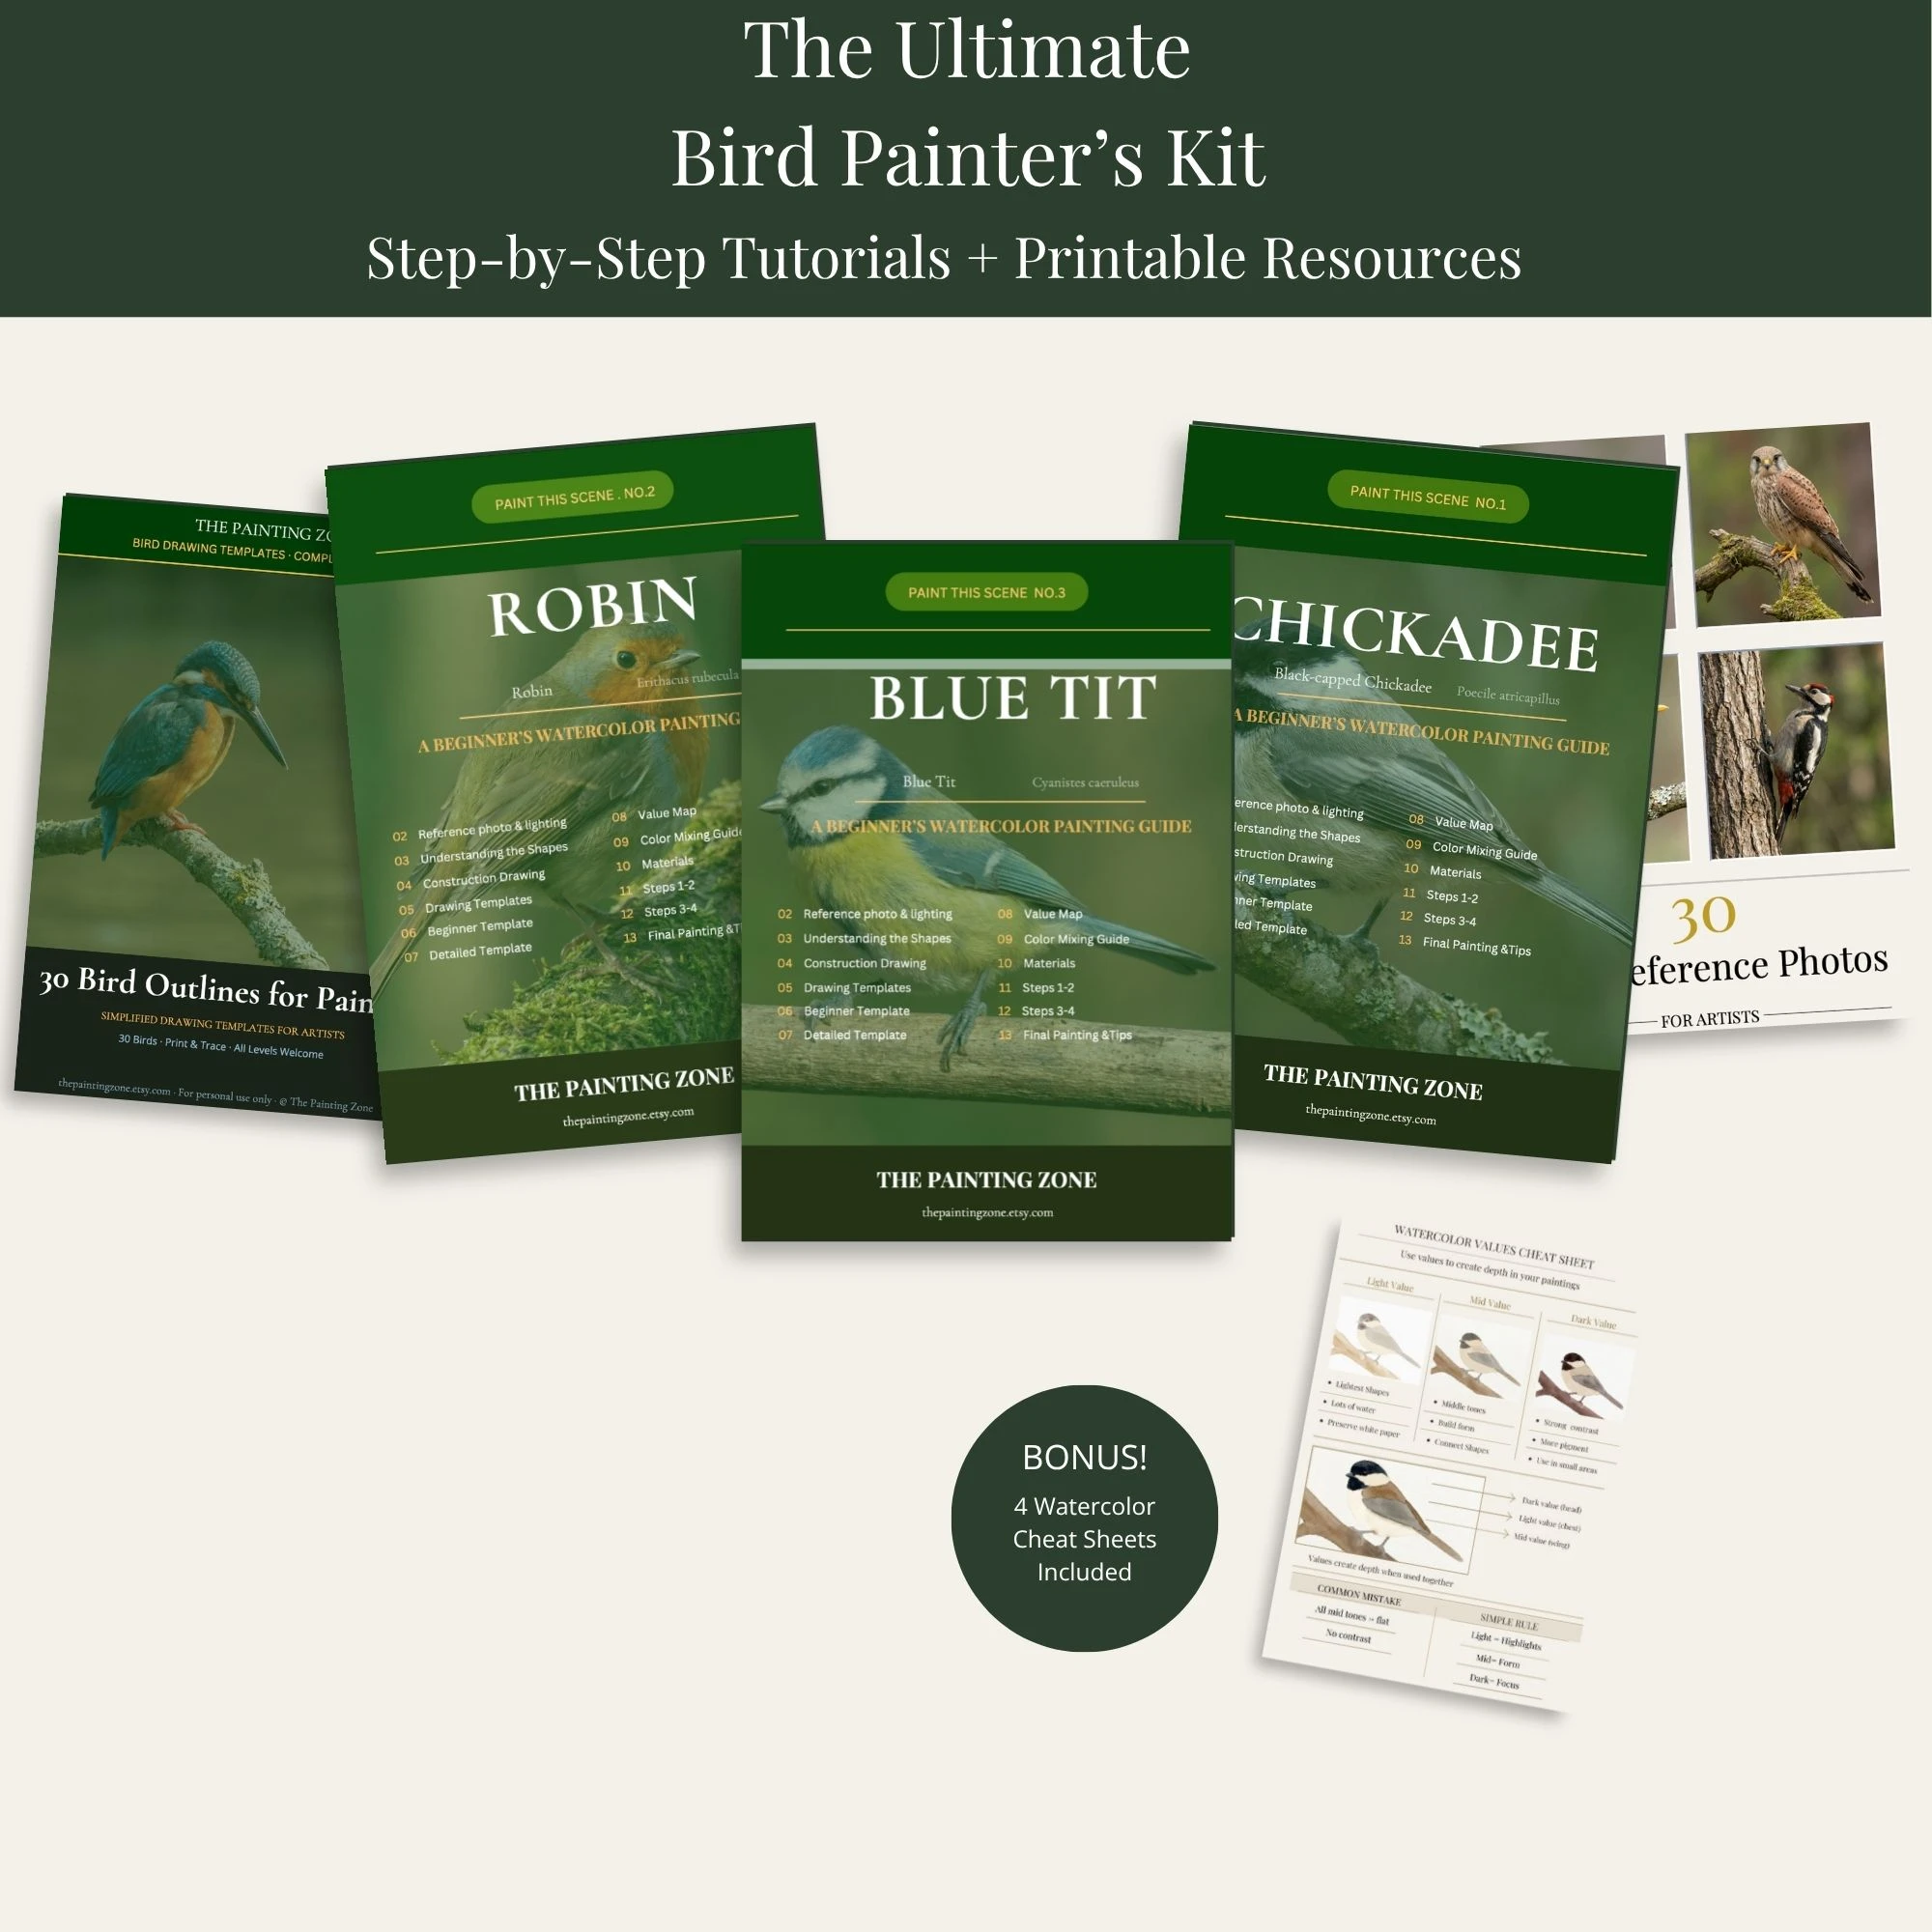
Ultimate Bird Painter's Kit
My master bundle combining step-by-step guides, 30 outlines, and cheat sheets.
View on EtsyContinue learning with the next step in this watercolor series.