How to Control Water in Watercolor: The One Skill That Changes Everything
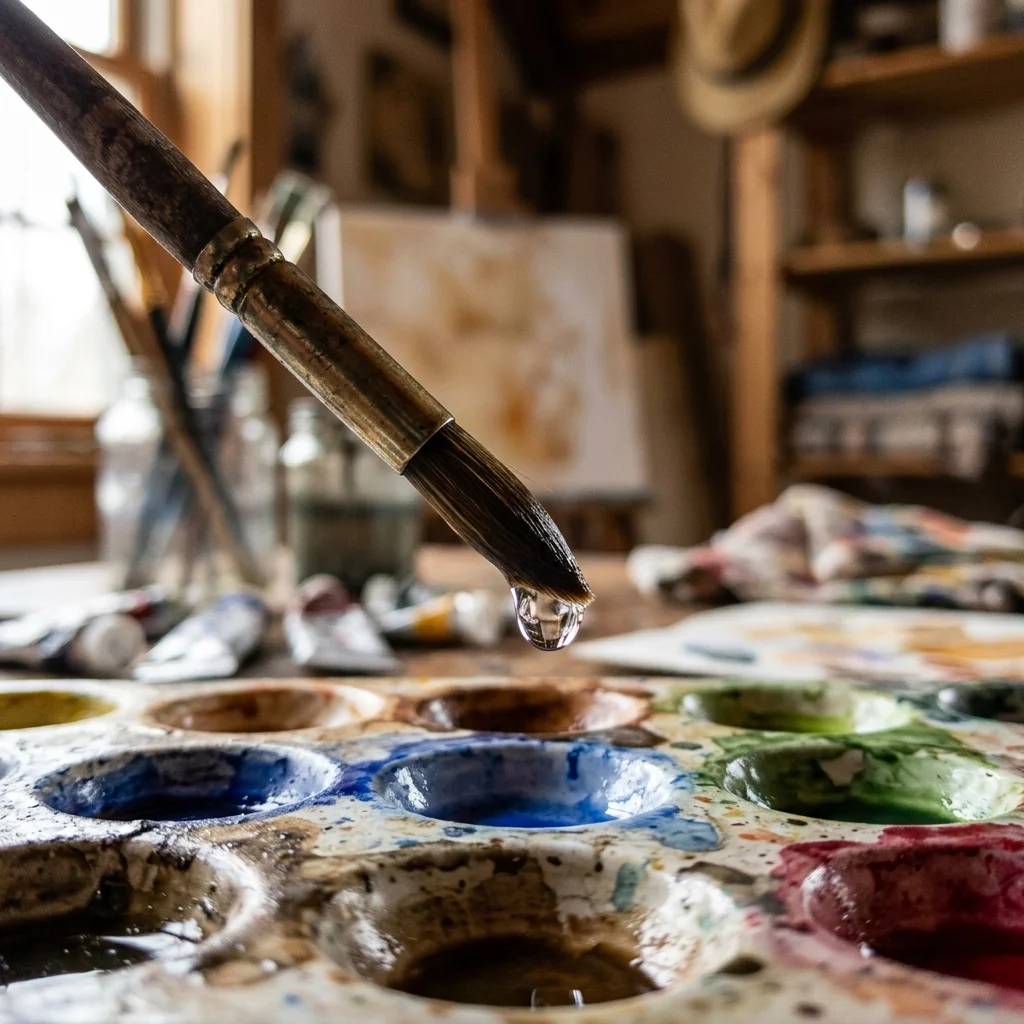
"Water is the medium, not the paint. Most beginners think about color first, then water. Flip that, and everything changes."
Think of your brush as a tool for delivering water, not just pigment. The water on your brush, along with the water already on your paper, affects everything: blooms, hard edges, soft edges, timing, and flow. If you control the water, the paint will follow.
The Four Brush States
Watercolor instructions can often seem vague, such as simply saying to use less water. But you can learn to control water by understanding four clear brush states:
The Paper States Mirror the Brush
In watercolor, the result comes from the combination of your brush state and the paper state. Like your brush, the paper also has four states:
If you’re having trouble with water control, the paper is often the reason. You can visit my Recommended Materials page to see the cotton paper I use to manage moisture.
- Wet: Glossy and reflective. Paint explodes and travels rapidly.
- Damp: The shine is fading. Paint will spread softly but predictably.
- The Danger Zone: The paper has lost its shine but still feels cool. Avoid touching it at this stage. If you use a wet brush now, it will lift the paint underneath and cause muddy colors and cauliflower blooms, as mentioned in earlier lessons.
- Bone Dry: The paper feels like room temperature. It’s safe to glaze over now, and you’ll get crisp, hard edges.
How to Load Your Brush Correctly
Most beginners either use too much or too little water on their brush. Here’s a simple trick to find the right balance.
The Drip Test. Dip your brush in your mixing puddle, then touch the middle of the brush to the edge of your palette. Watch the tip. If it drips quickly, it’s too wet. If nothing moves, it’s too dry. The right amount leaves a bead hanging at the tip.
The Tissue Test
Keep a folded paper towel in your non-dominant hand. Before you touch your watercolor paper, lightly dab the middle of your loaded brush on the tissue. The size of the mark shows how much water and pigment you have. This is your best safety net.
Controlling the Bead on a Wash
When you paint a large wash, gravity helps you. That’s why I talked about tilting your easel at 15 degrees in my easel setup tutorial.
As you move a loaded, moist brush across tilted paper, a bead of water forms at the bottom of your stroke. Catch this bead with your next stroke and pull it down. When you reach the bottom, use a Thirsty Brush to gently absorb the last bead so it doesn’t dry into a hard, dark line at the tape edge.
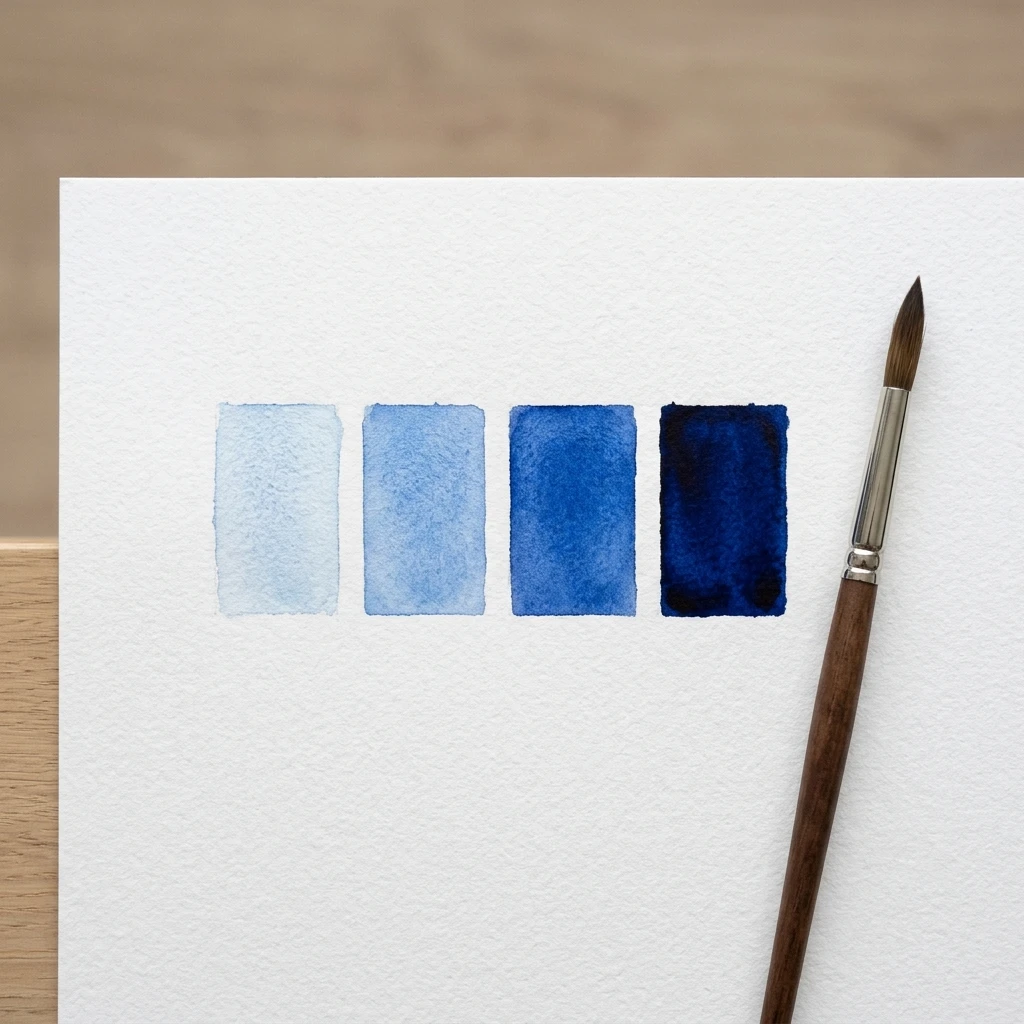
The Practice Exercise: The Graduated Wash
Tape down a strip of watercolor paper. Mix a dark puddle of paint. Load your brush to the “Moist” state and paint one stroke at the top. Dip just the tip of your brush in clean water, tap it on your towel, and paint the next overlapping stroke. Keep repeating, adding a little more clean water each time as you move the bead down. You’ll see the water naturally dilute the paint into a smooth gradient from dark to light.
Common Water Mistakes
- Cauliflower Blooms: Caused by touching a wet brush to paper that is in the "Danger Zone" (drying but still cool). The new water pushes the drying pigment away.
- Streaky, Patchy Coverage: Caused by a "Damp" brush trying to do the job of a "Moist" brush. You didn't have enough water to sustain the wash.
- Mud and Lifted Pigment: Caused by scrubbing a wet brush over a damp layer beneath it, reactivating the paint before it had a chance to set.
- Tide Marks: Caused by uneven water distribution or failing to absorb the bead at the bottom of a wash.
THE BOTTOM LINE
Instead of focusing on the color you pick up, pay attention to how much water you’re using. Once you shift your focus from pigment to water, watercolor painting becomes easier and more enjoyable.
Continue learning with the next step in this watercolor series.