How to Simplify a Reference Photo for Watercolor
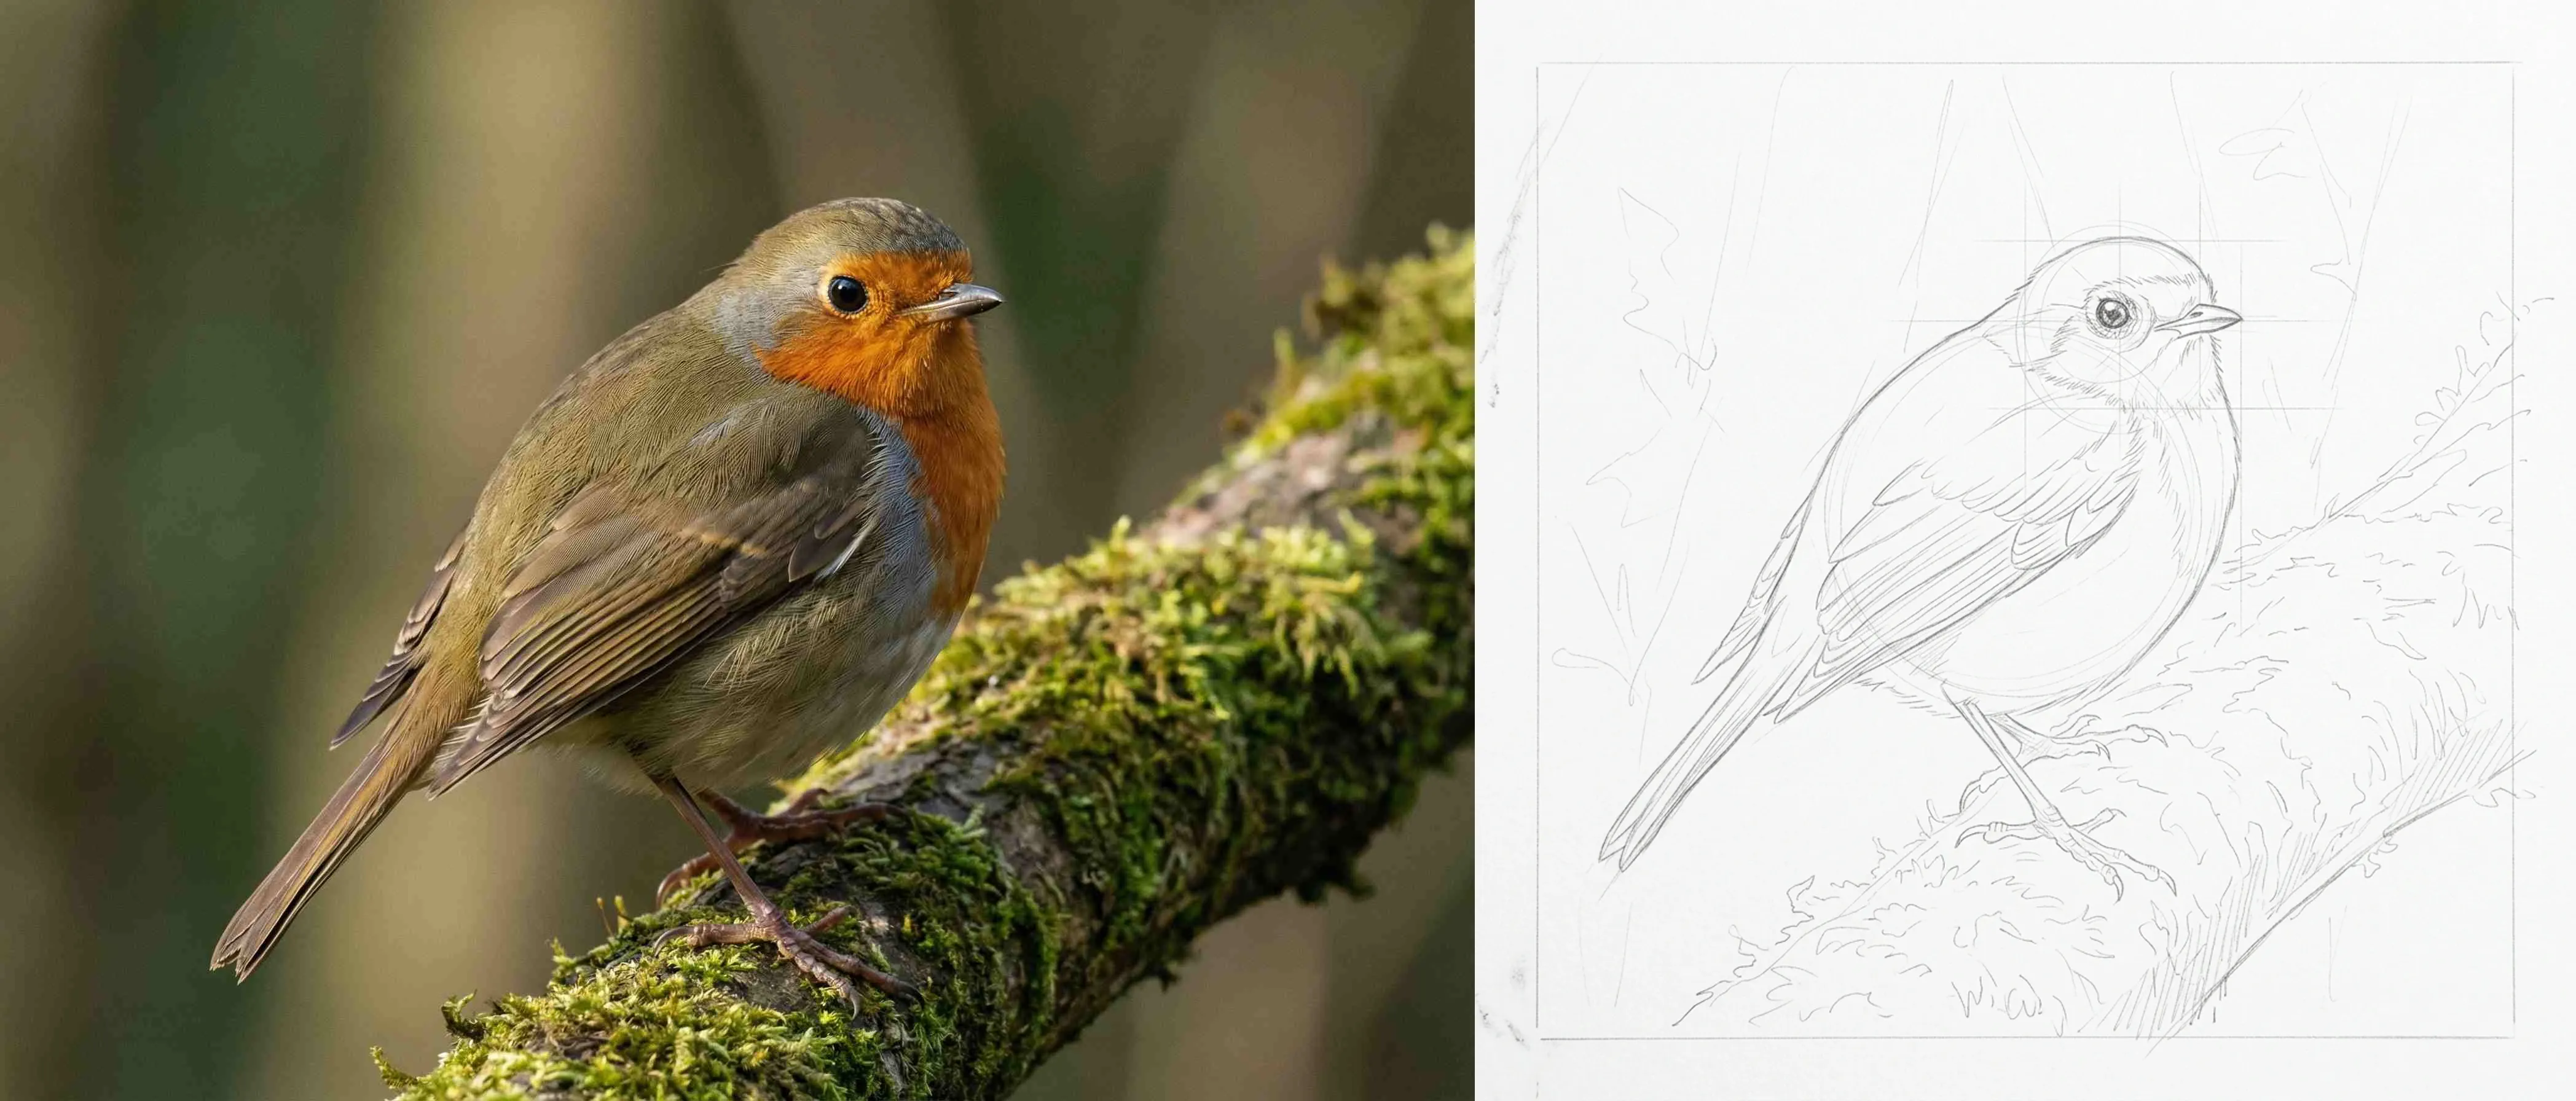
"When I look at a reference photo, I see too much detail and get overwhelmed. Where do I even start?"
Many watercolor beginners struggle with the urge to paint every detail they see. Cameras pick up everything, from small feathers to tiny reflections to twigs in the background. But as a painter, your job isn’t to copy the photo. Instead, you want to simplify it.
If you try to paint every detail, your work can end up looking stiff and muddy. To make your watercolors look fresh and loose, focus on the most important parts of the photo. Here’s how you can turn any reference photo into something you’ll enjoy painting.
1. Look for the Large Shapes First
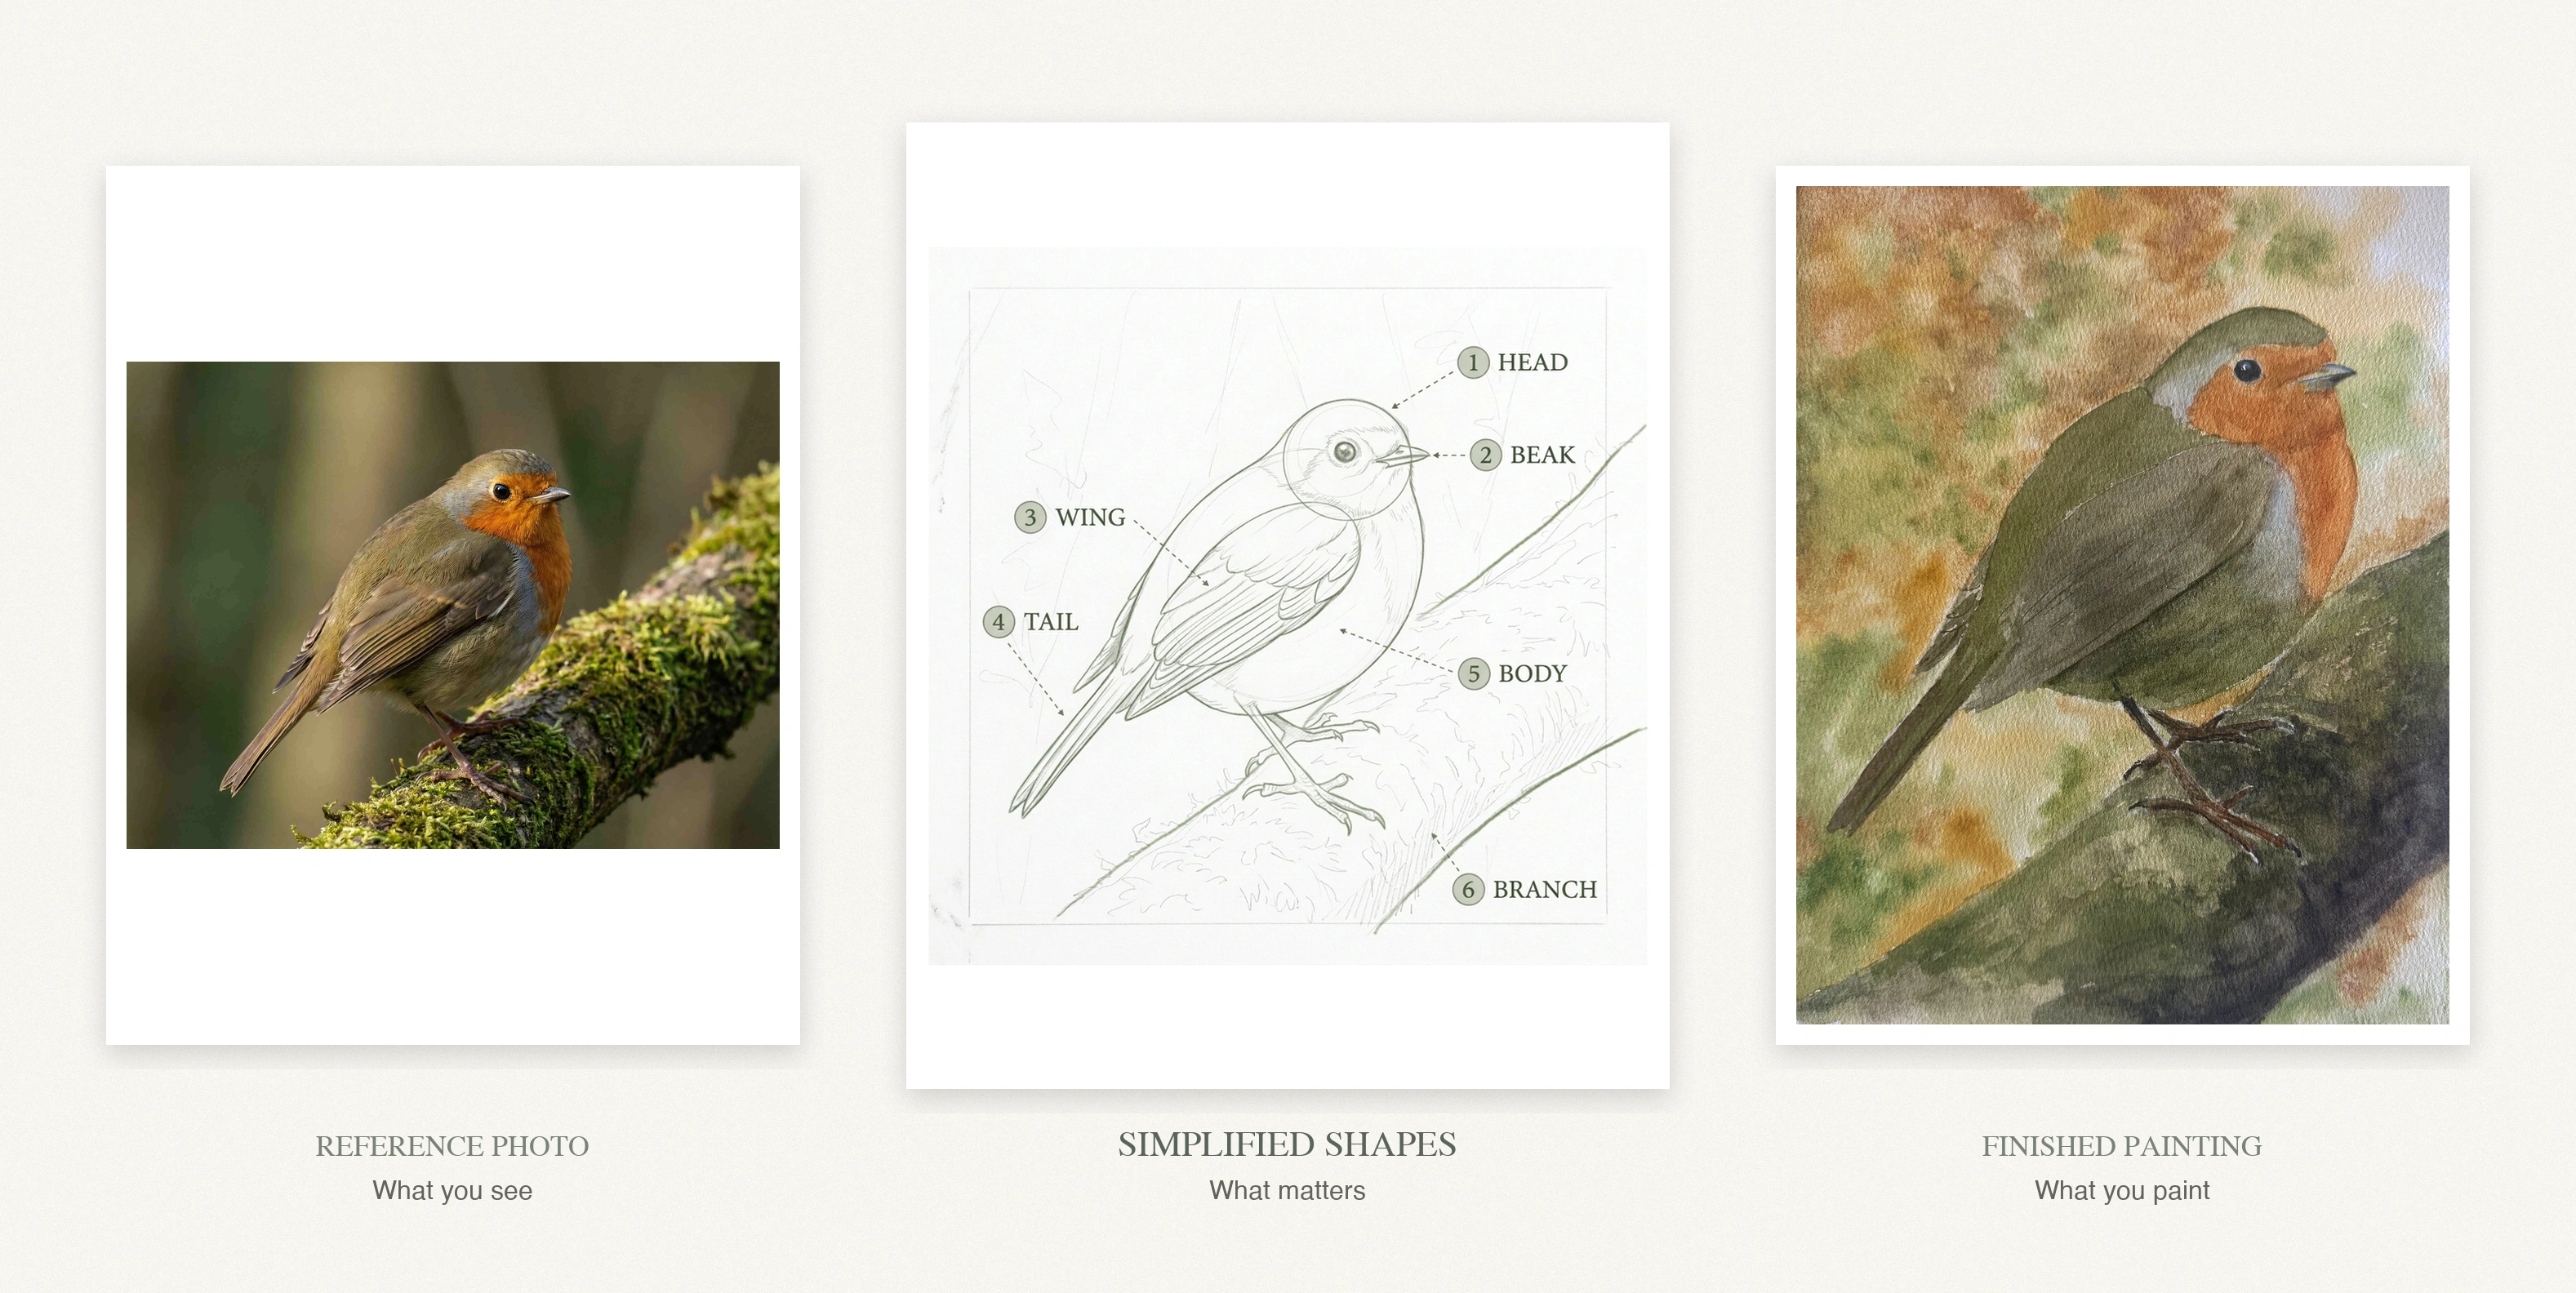
Before you start, squint at your reference photo. Squinting blurs the details and helps you see the basic shapes underneath. Is the body shaped like an oval? Is the head a circle? Is the beak a triangle?
Start by sketching those large, simple shapes. Don’t worry about eyes, toes, or individual feathers yet. If the big shapes are off, adding details later won’t fix the painting.
2. Find the Value Masses
Once you have the big shapes, look for the main areas of light and dark, also called value masses. In watercolor, notice the lightest spots early, since you will paint light to dark.
Try to see your subject using just three values: the lightest areas (bare paper or a pale wash), the mid-tones (the main color), and the darkest shadows. Group these values together instead of painting them as scattered spots. Grouped values help create form, while scattered patches just look like a pattern.
3. Let Go of the Detail
Most beginners find this step the hardest to trust. You don’t need to paint every feather. In fact, the more you try, the tighter and more forced your painting will look.
What you really want to find are the edges. Where does light turn into shadow? Where does one color blend into another? Let the watercolor do the rest. A few well-placed brushstrokes around the head or chest are enough to make the painting work. Leave the background as a soft wash and move on.
BEFORE YOU PICK UP A BRUSH
Before you start your next painting, spend five minutes just looking at your reference photo. Squint to find the big shapes. Map out three simple values: light, mid, and dark. Then make a small thumbnail, about the size of a playing card, using only those three tones. That thumbnail is your plan. If something isn’t in it, you probably don’t need to paint it.
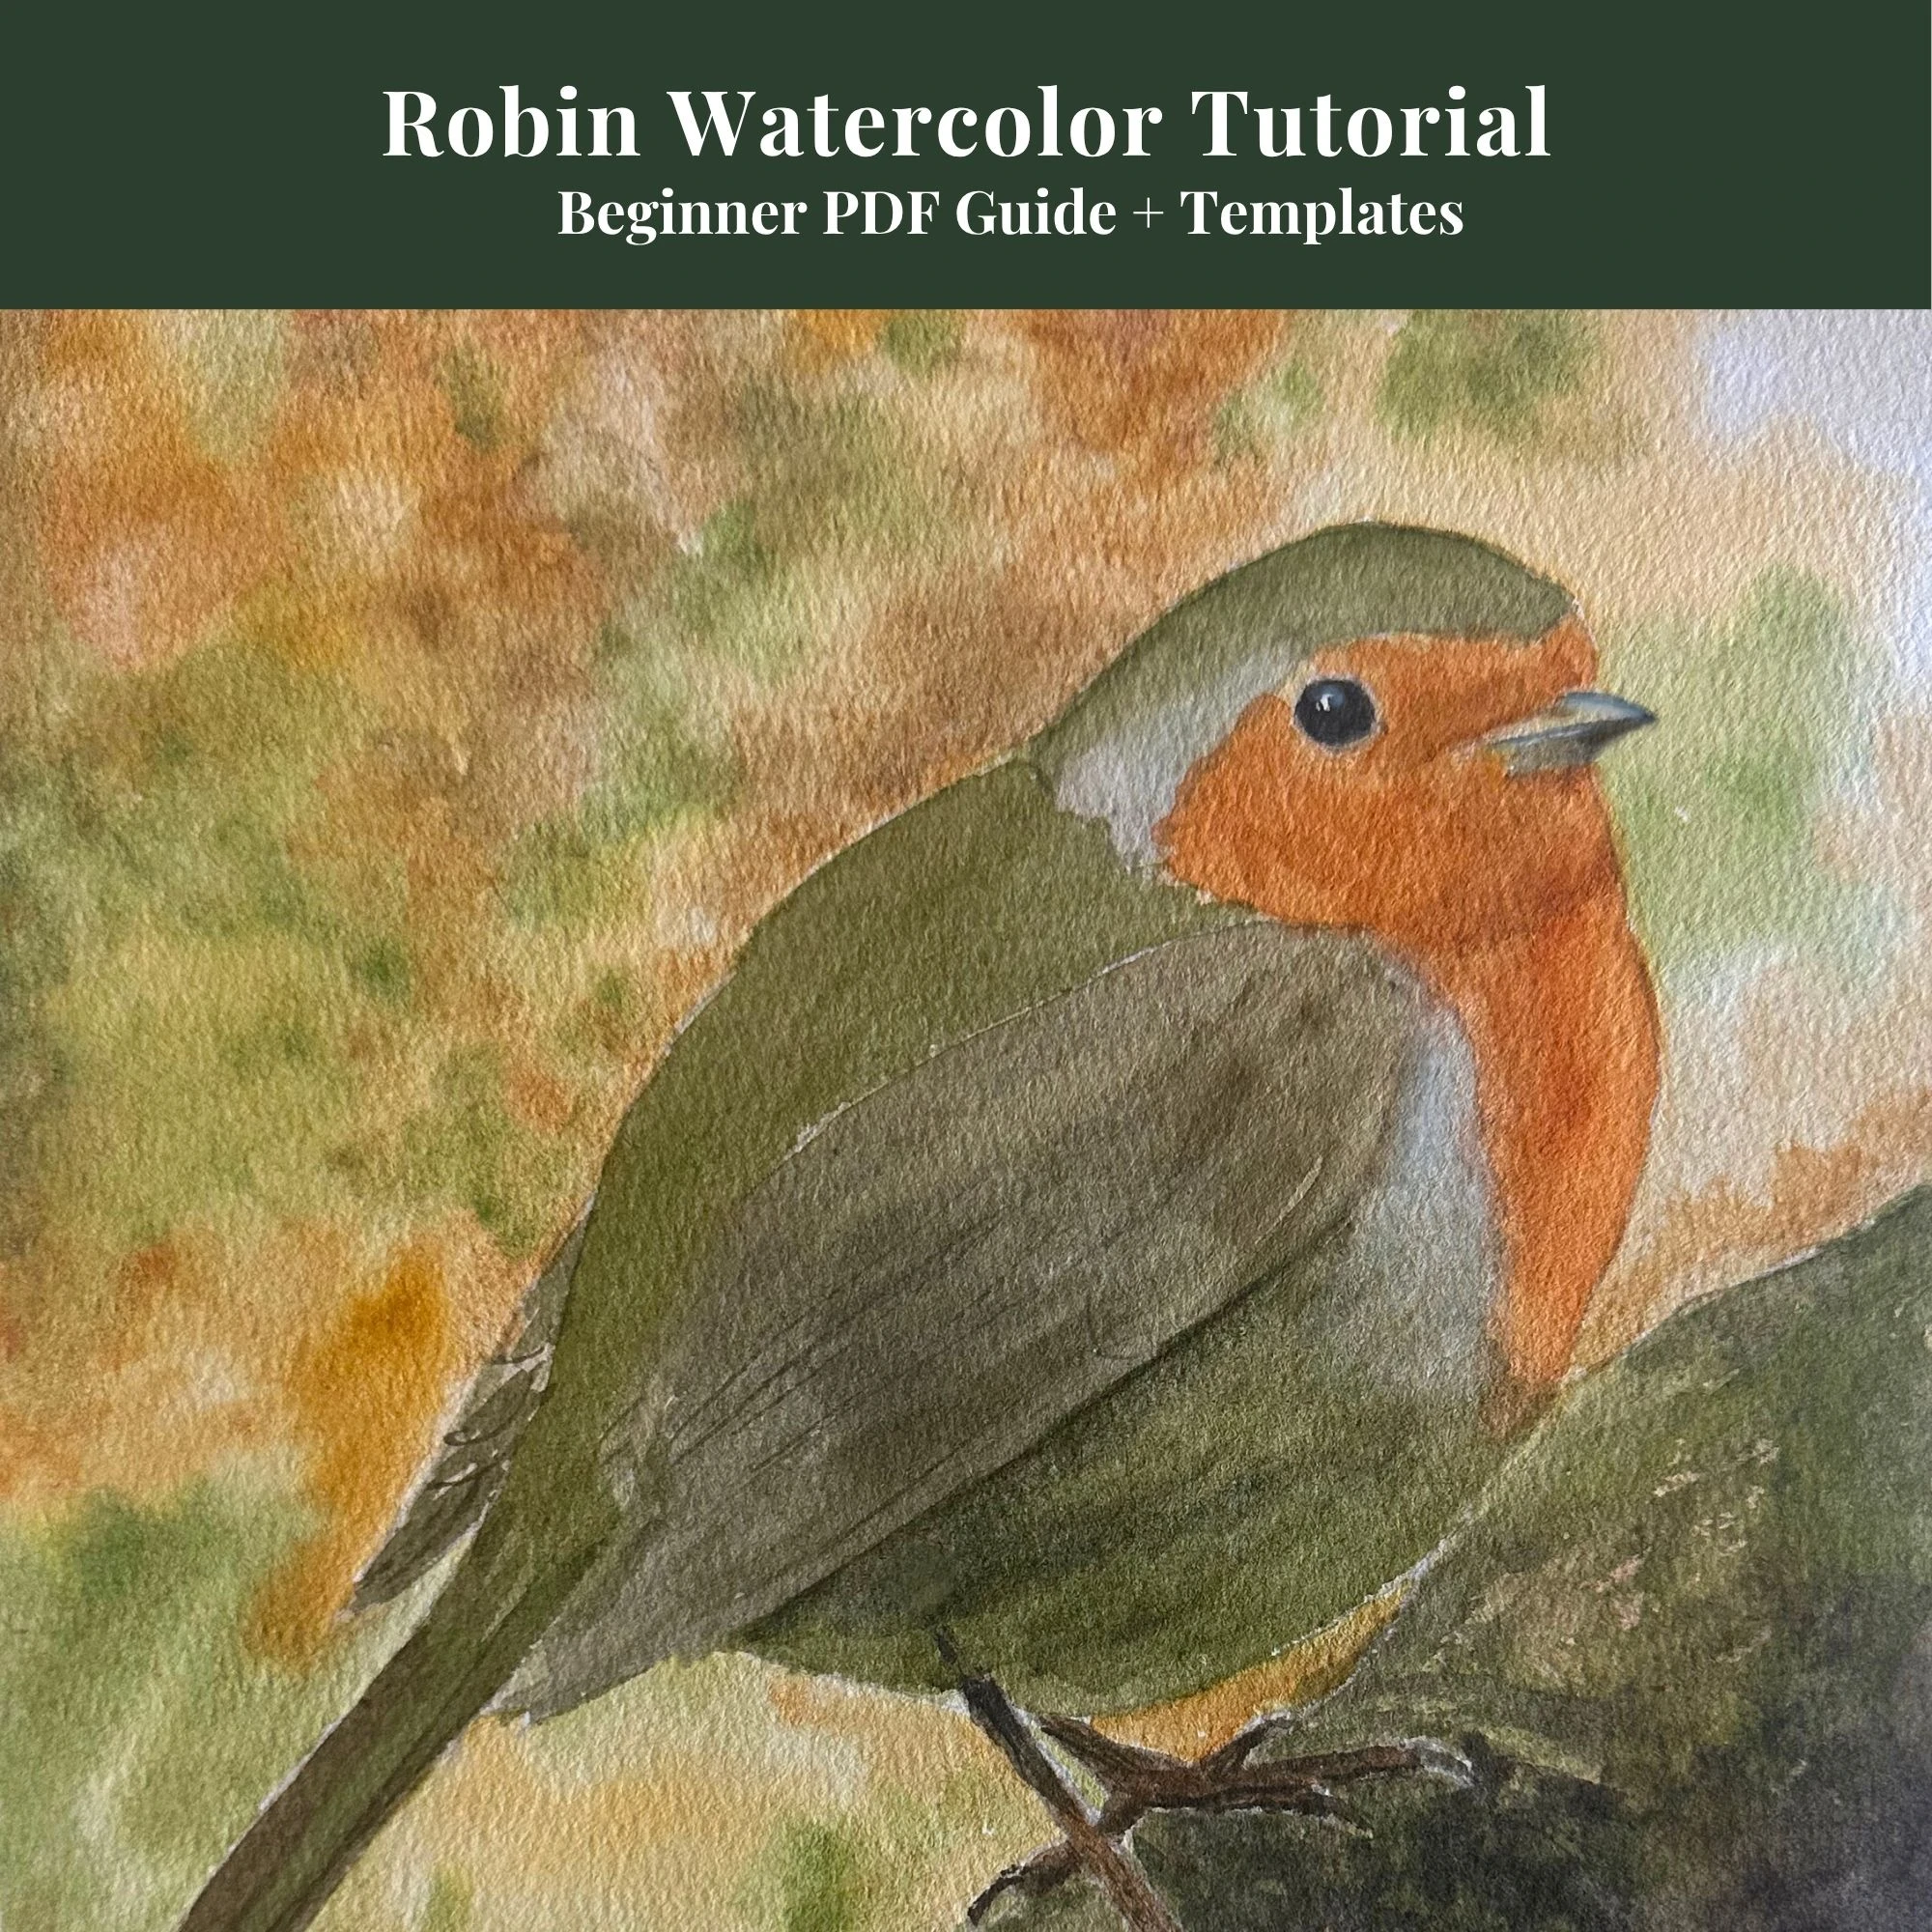
Beginners Robin Tutorial
Complete 13-page digital guide showing you step-by-step Robin wash layers.
View on Etsy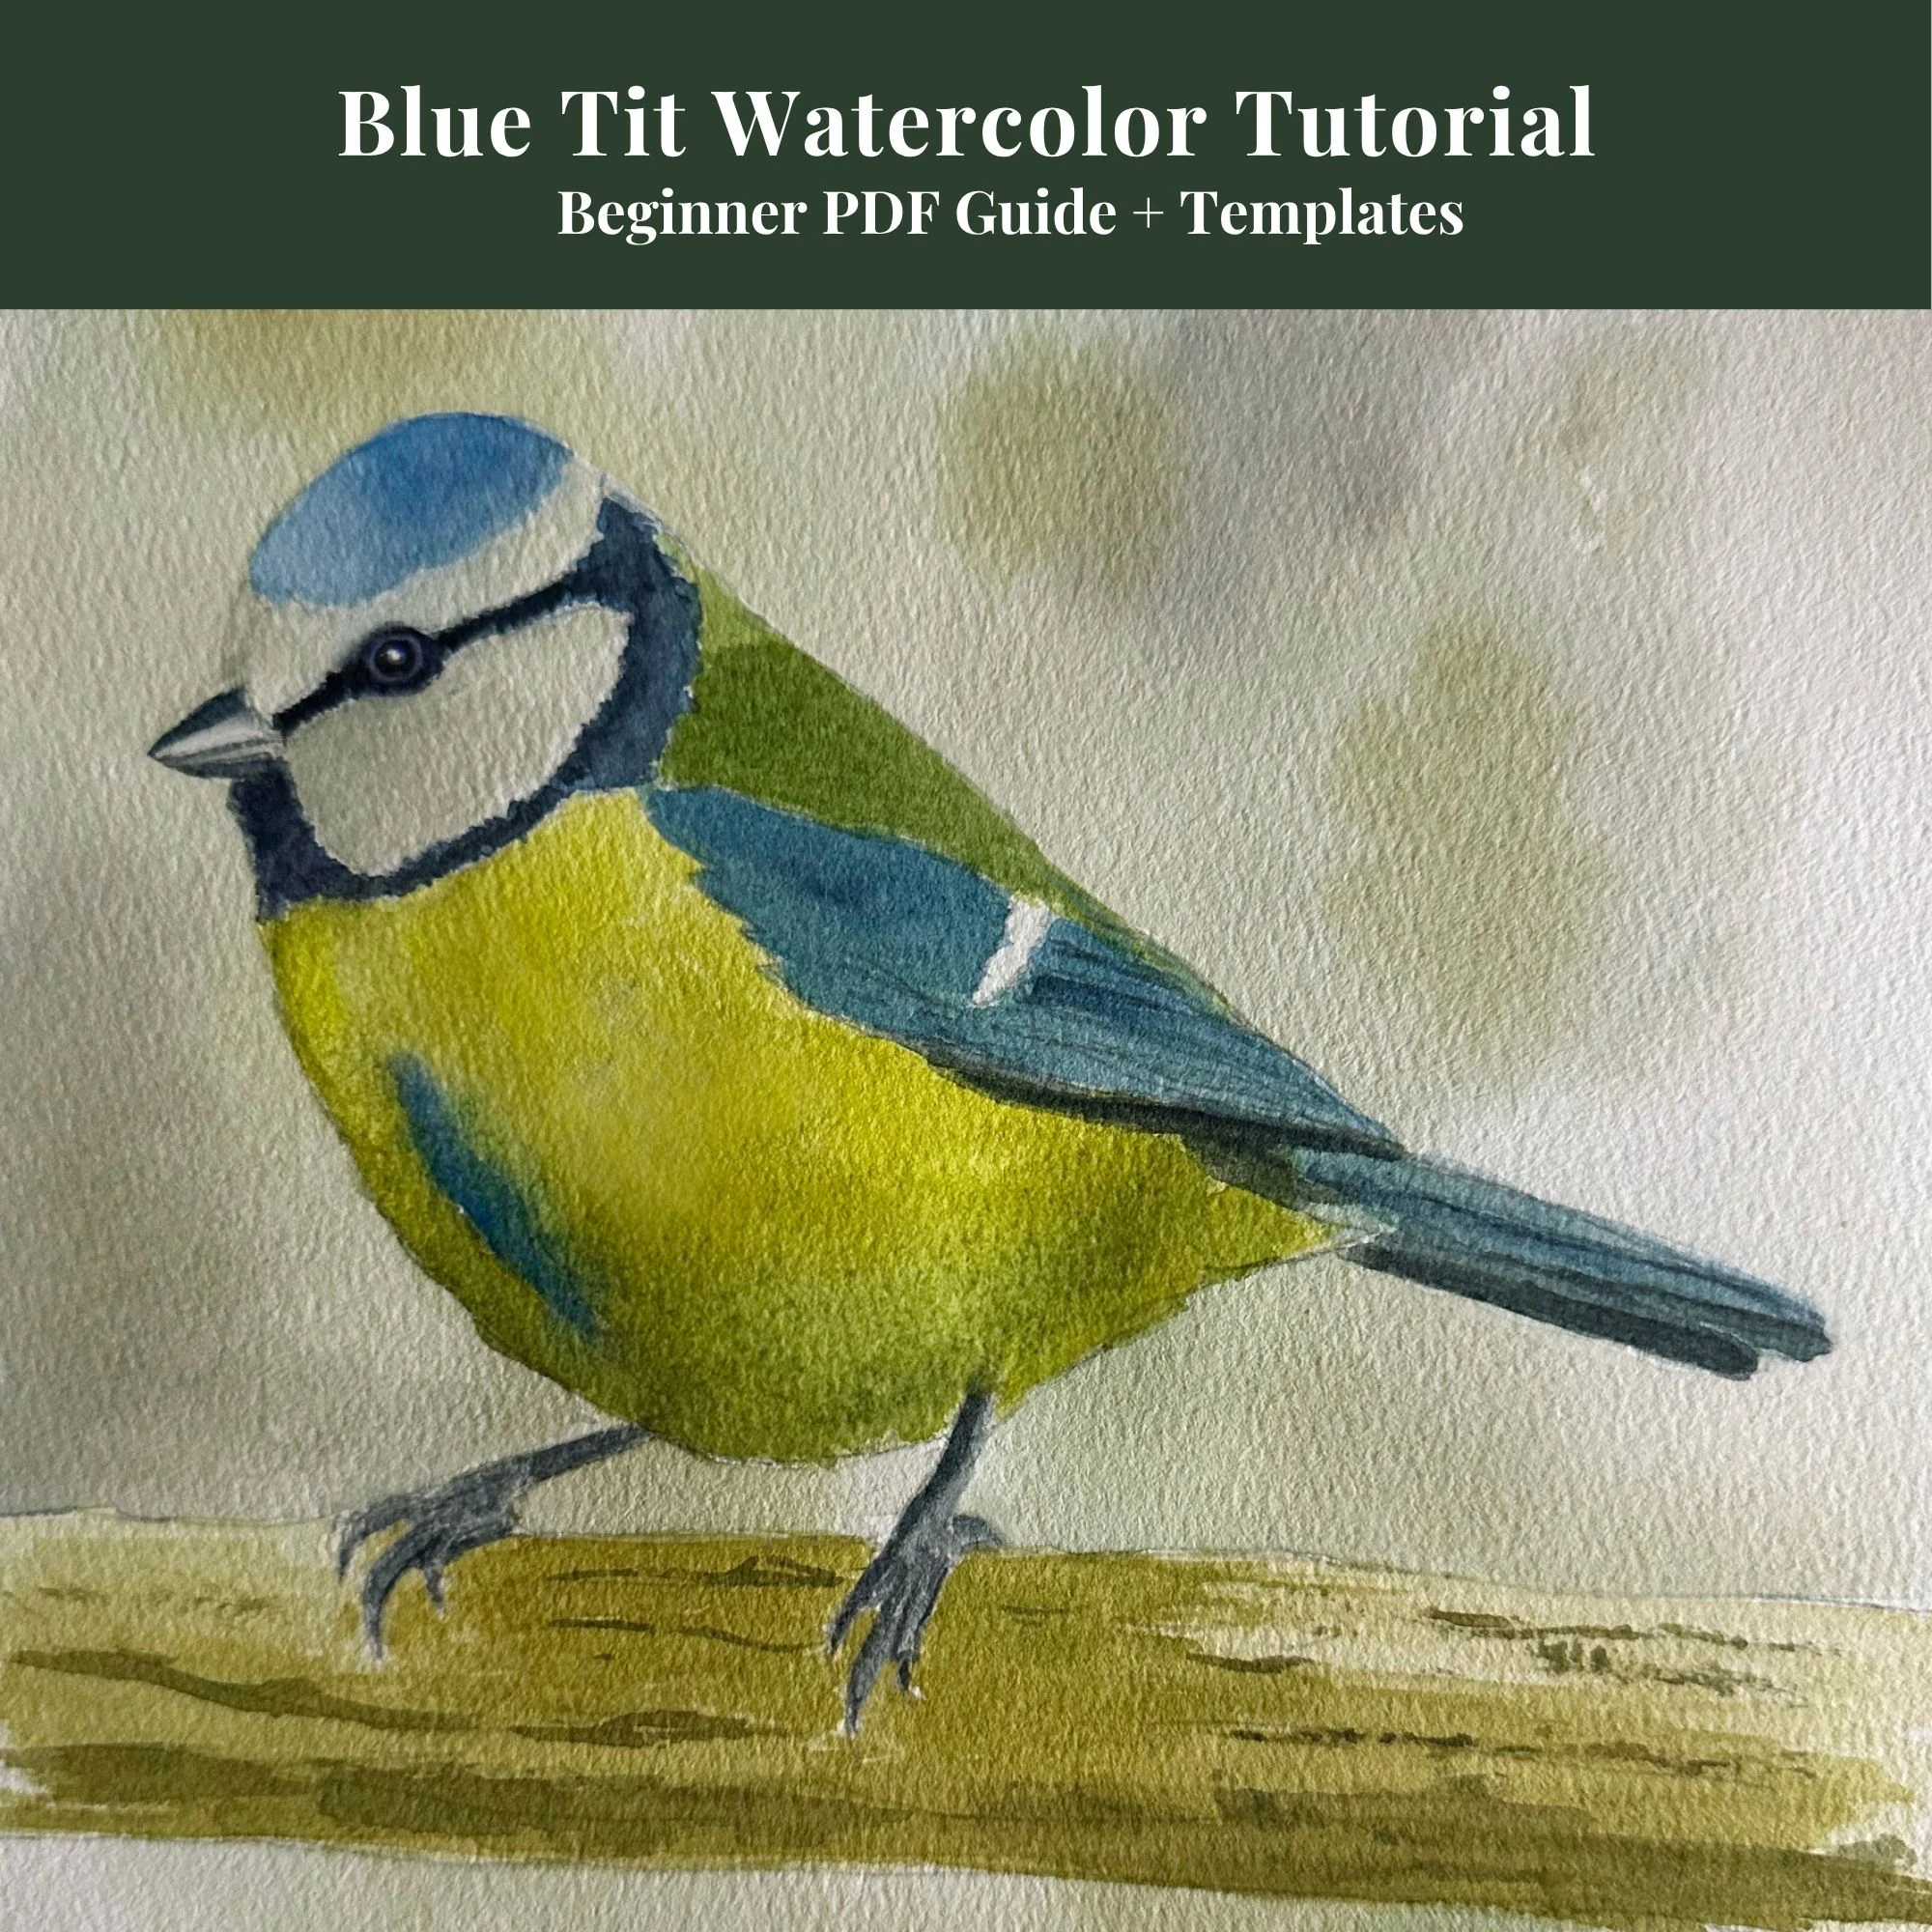
Beginners Blue Tit Tutorial
Learn my simple 4-stage color layering method with outlines included.
View on Etsy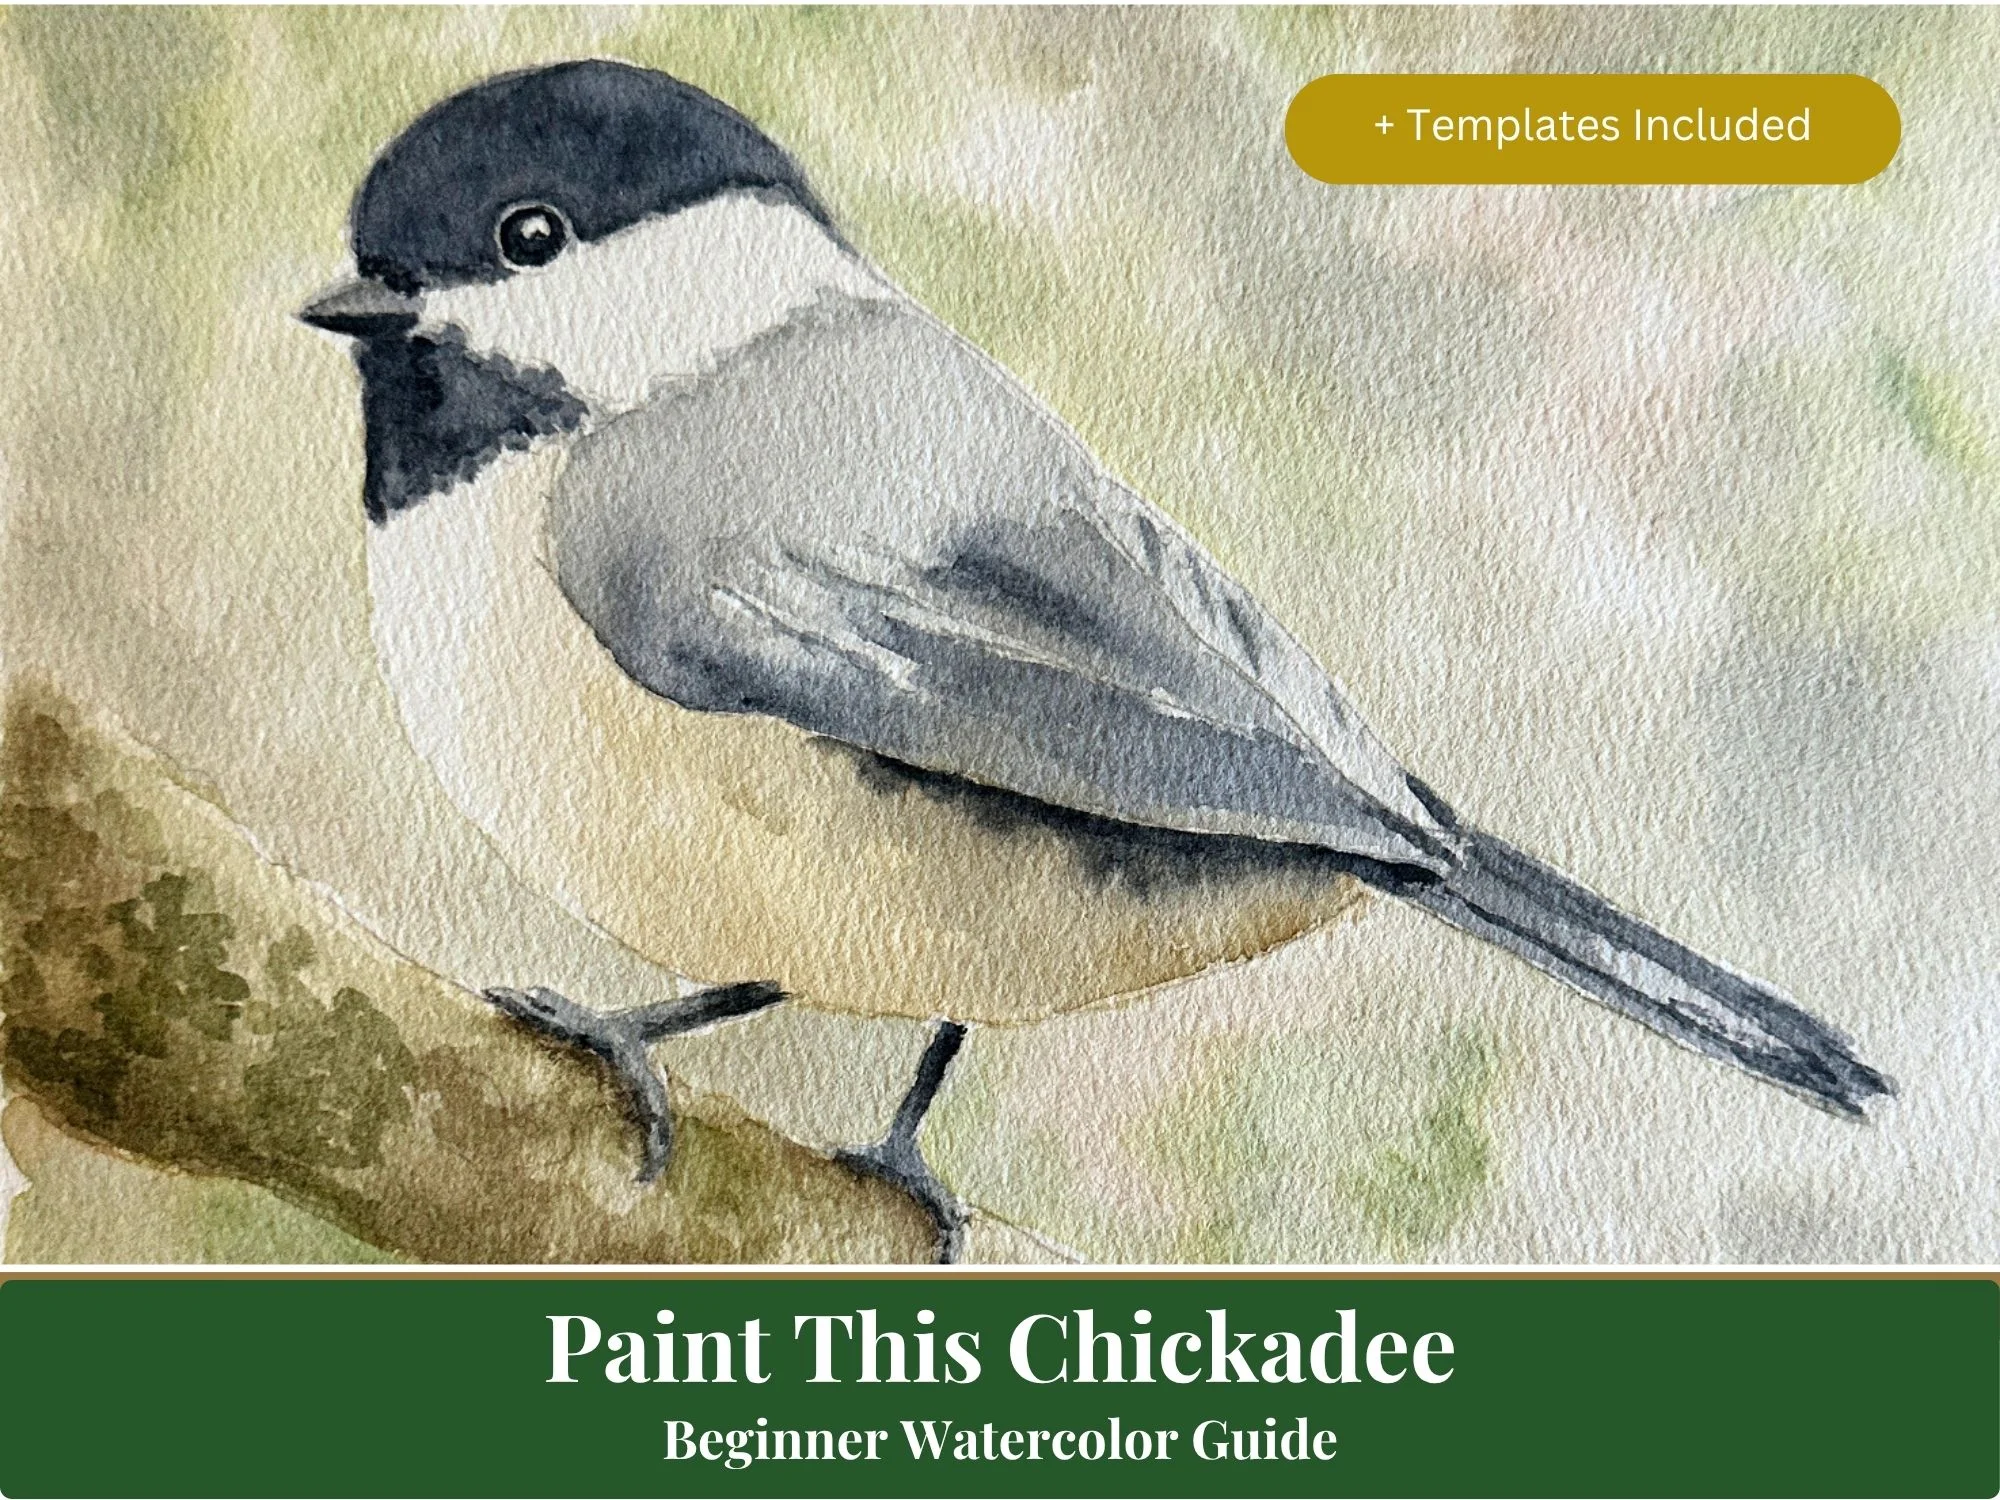
Beginners Chickadee Tutorial
A detailed beginner's guide covering head, bib, and wing glaze details.
View on Etsy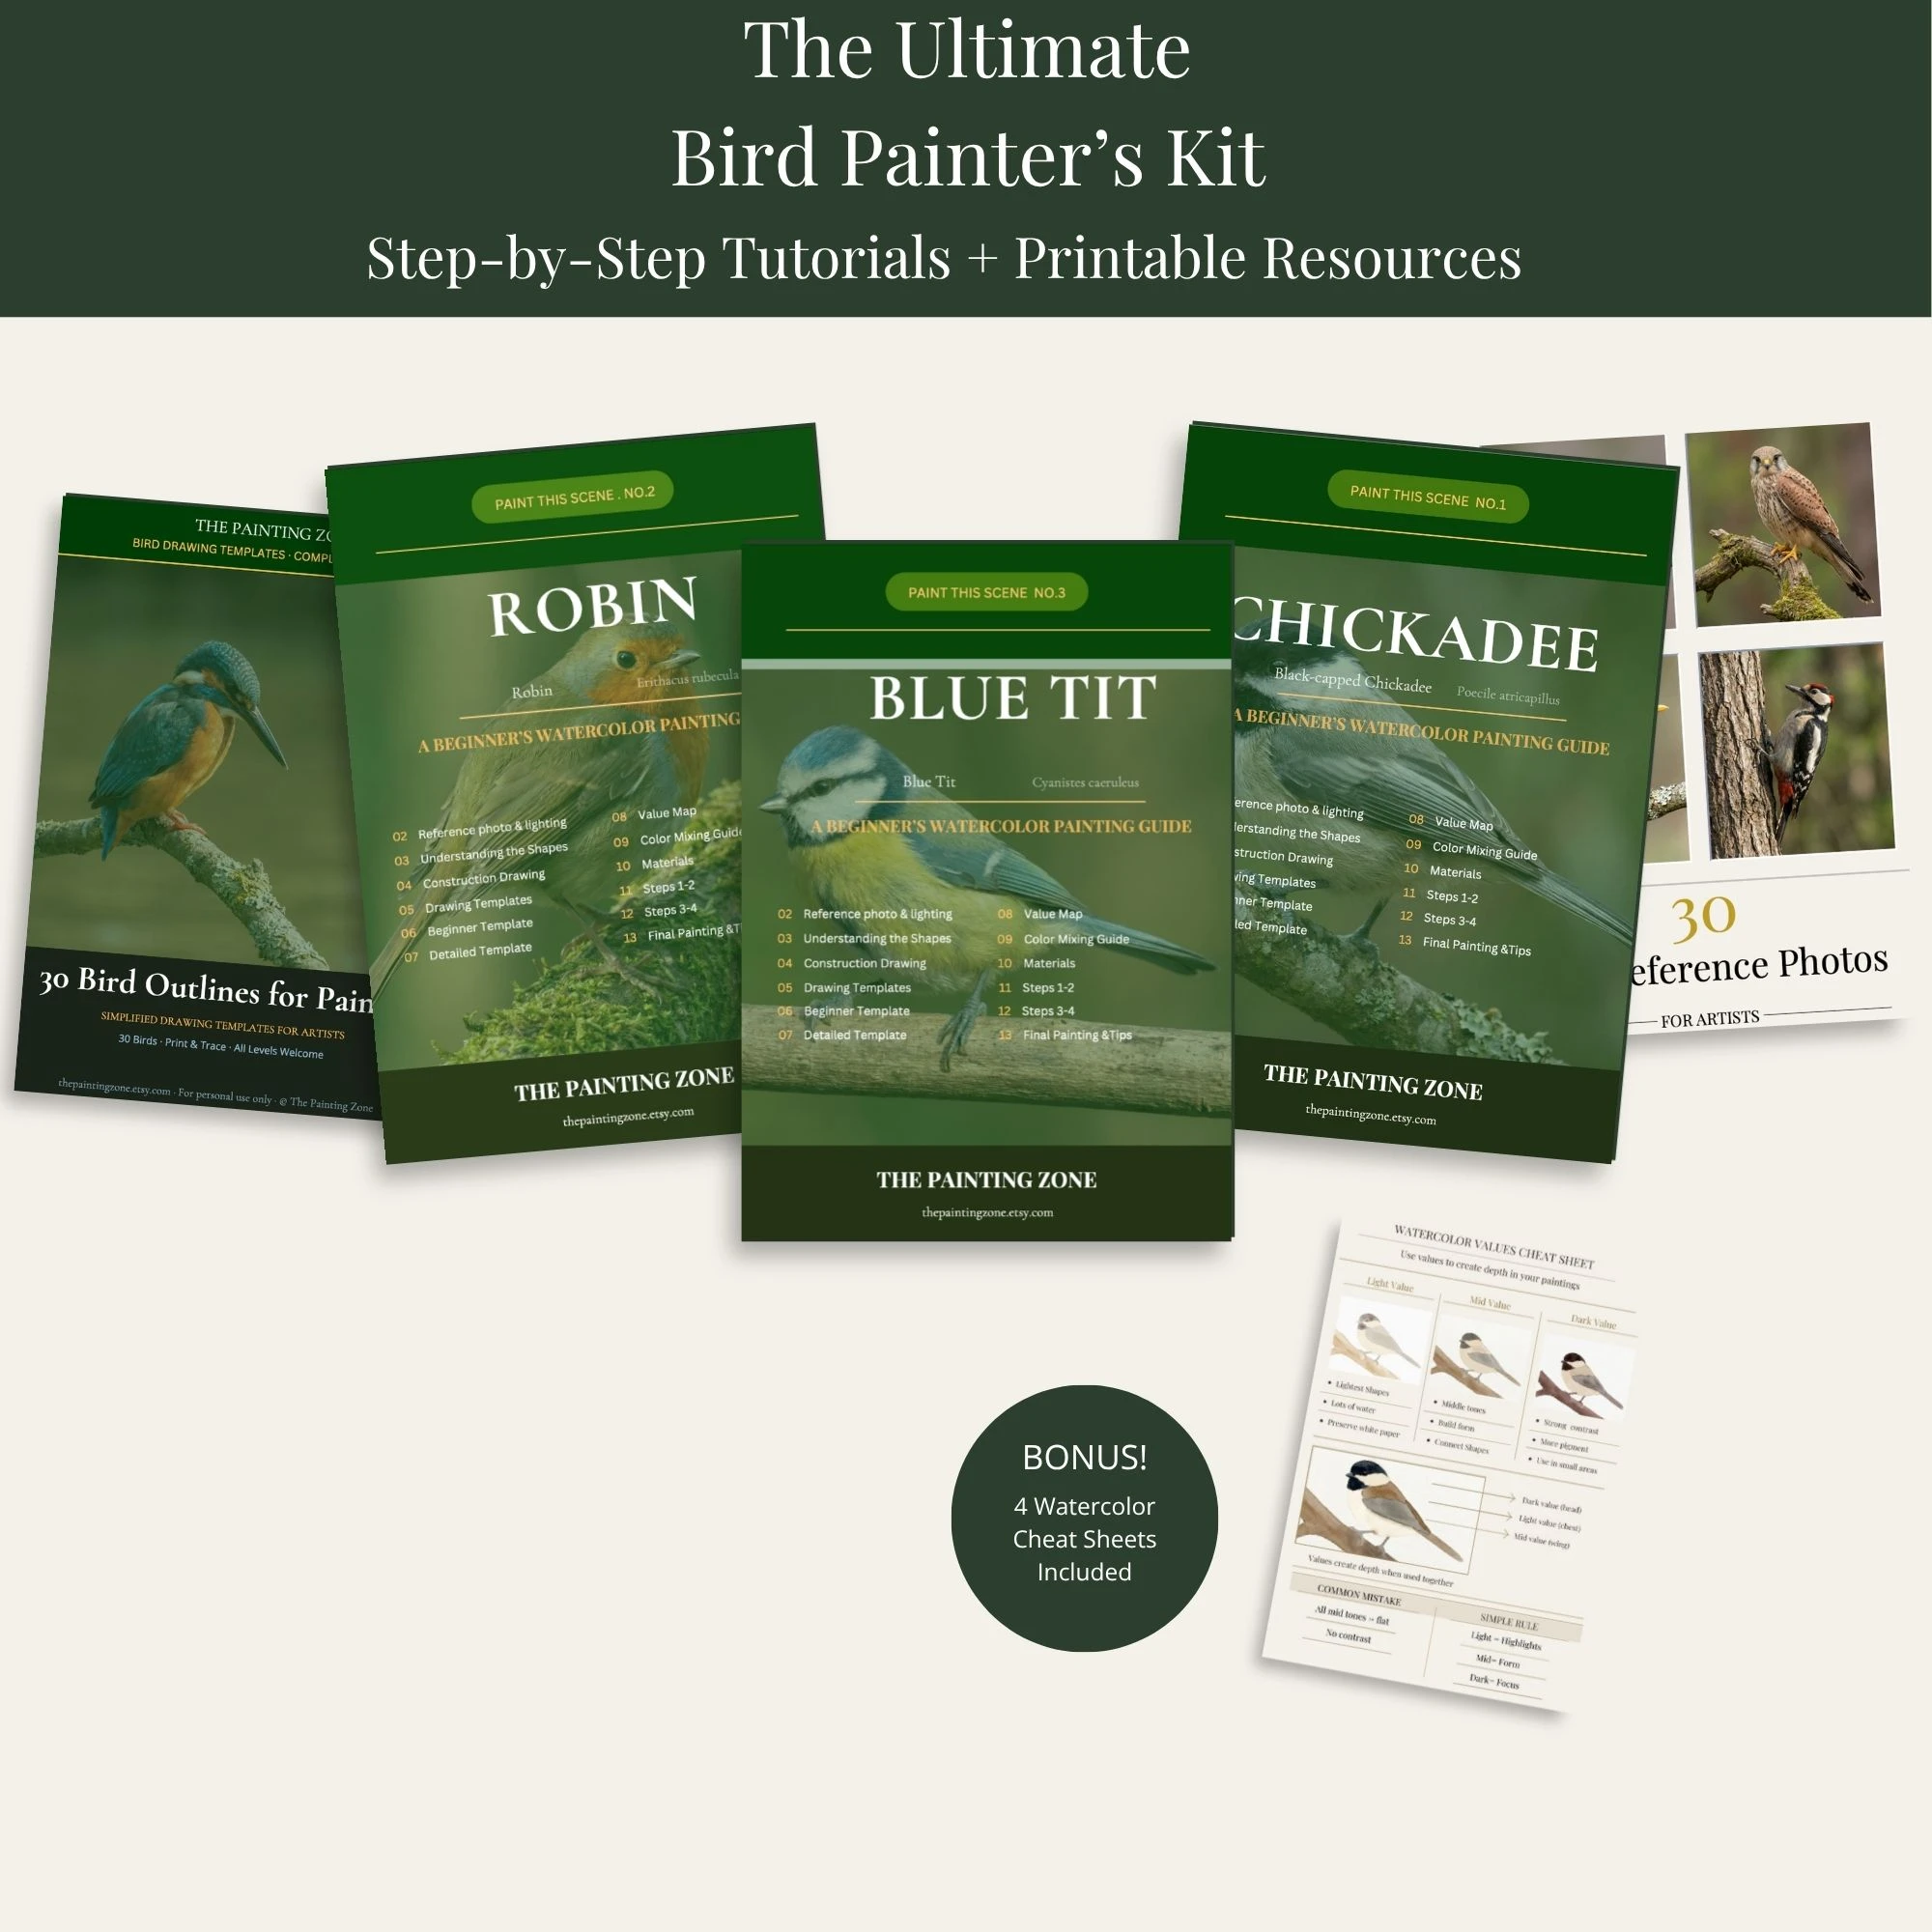
Ultimate Bird Painter's Kit
My master bundle combining step-by-step guides, 30 outlines, and cheat sheets.
View on Etsy